Cubase vst- Getting into the Details by - HTML preview
Download the book in PDF, ePub, Kindle for a complete version.
The Toolbar
The Toolbar is a bar of icons representing shortcuts to common VST functions and commands. The Toolbar has a default set of icons. These may be removed from the bar, but their functions cannot be changed. For example, the Record Button icon can only be assigned that specific function. If you want to add icons to the Toolbar there is a list of “generic” icons, which can be assigned any (non-default) command/function.
P The Toolbar settings are saved in the Cubase Preferences, and included when you save or open Keyboard Layout files (see page 640).Using the Toolbar
1. To display the Toolbar, select “Show Toolbar” on the Windows menu. The Toolbar appears. You can move it to the desired position by clicking on Title bar and dragging.
2. Click on the icon for the function you wish to perform.
To help you find the right icon, the corresponding function is displayed beneath the icon you point at.
Hiding and Showing default Icons
When you first open the Toolbar, a number of icons will be shown. As described above, these are the “default” icons, each of which is exclusively associated to one specific function. If you wish, you can remove any of these icons from the Toolbar:
1. Pull down the Edit menu and select Preferences–Key Commands.The Key Commands dialog appears.
2. Use the tabs and the scroll bar to locate the function whose icon you want to remove. The icons currently on the Toolbar are shown in the “Icon” column to the right.
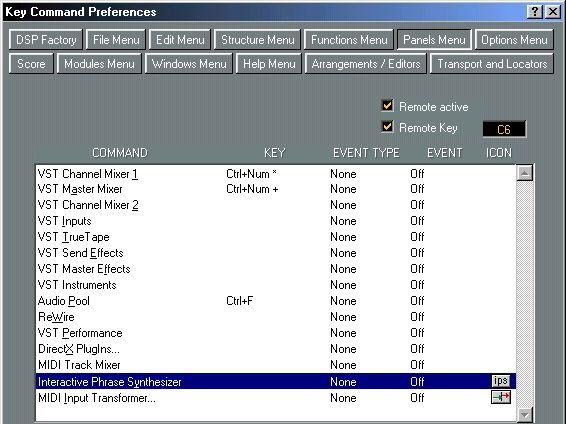

3. Click on the icon to remove it from the Toolbar.
4. Click OK to close the dialog.
• To show the icon again, click in the “Icon” column for its function.
Adding generic Icons
For the majority of functions, there are no exclusive icons. Instead you can choose generic icons for these, and add them to the toolbar:1. Open the Preferences–Key Commands dialog.
2. Use the tabs and the scroll bar to locate the function for which you want to add an icon.
3. Point at the “Icon” column for the function, and press the mouse button. The custom list of icons appears. As you can see, some of the icons suggest specific functions, some contain text and others are just symbols. In any case, they can all be used for any non-default function.
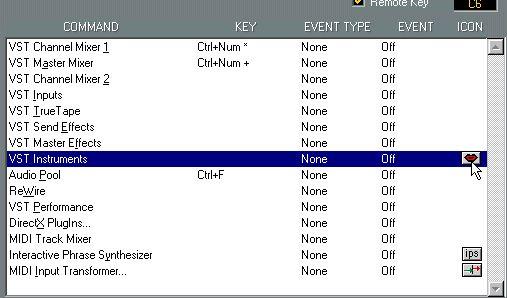
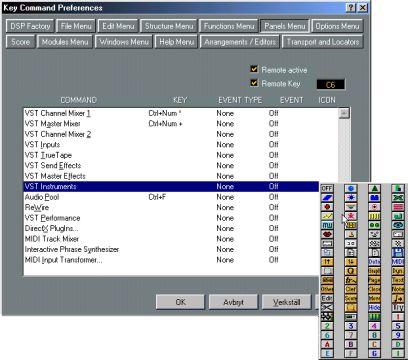 4. Select an icon.
5. Click OK to close the dialog.
The selected icon is added to the Toolbar.
Removing generic icons
To remove an existing generic icon from the Toolbar, proceed as follows:
1. Open the Preferences–Key Commands dialog.
2. Use the tabs and the scroll bar to locate the function whose icon you wish to remove.
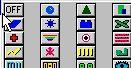
 3. Pull down the Icon list for the function and select “Off”.
 4. Click OK to close the dialog.
The icon is removed from the Toolbar.
Rearranging icons on the Toolbar
You can quickly customize the Toolbar without having to open the Preferences dialog. This is done using modifier keys:• To move an icon in the Toolbar, hold down [Ctrl] and drag it to a new position.
• To remove an icon from the Toolbar, hold down [Alt] and click on it.