How to get Started Using Microsoft Access Even if You've Never Used it Before by Paul Barnett - HTML preview
Download the book in PDF, ePub, Kindle for a complete version.
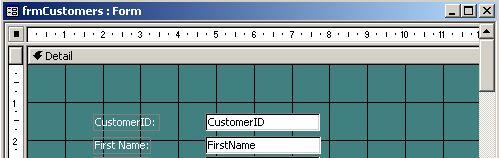
CREATING THE SUB FORM
Now that we have created a main form for recording customer information we now need to show sales information. We could do it by creating a sub form to hold sales information and link this sub form to our main customers form.
Firstly we need to create the table to store the sub form data. I have created a basic sales info table as follows:
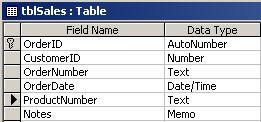
Notice I have created a CustomerID field. We also created one earlier in our customers table. This is the field that links both tables. The data type was set as an auto number earlier in out customers table and for this new sales table we should set the CustomerID field to have a data type of Number. In the properties we should then set the field size to be long integer.
We do not have to name the linking fields with the same name. We could call one CustomerID and the other xyz if we wanted, but it makes things clearer if we keep to something which makes sense.
Recall we set the CustomerID field in the customer table to be a primary key. The CustomerID field in the sales table is what is known as a foreign key. We do not need to set it though. Just creating it and naming it is enough.
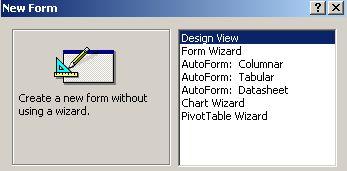
There is a way of manually linking the tables using what is known as relationships, but I will leave that for another day. Let’s just get it up and running.Go back to the database window and select the forms tab. Select ‘New’ and then select the AutoForm: Datasheet option that appears.
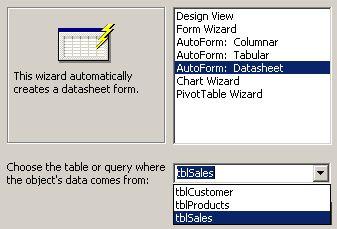 Select the table ‘tblSales’ to be the source of the form and click ok.
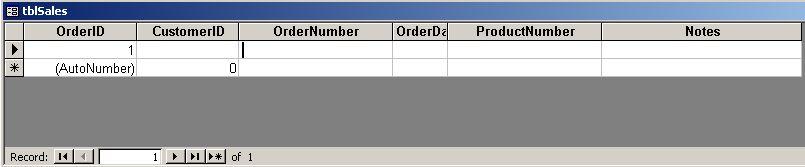
 You should now see a datasheet as follows:
 Close the datasheet by clicking the X on the top right hand side of the datasheet

Say yes when it asks if you want to save it and give it a name of frmSales

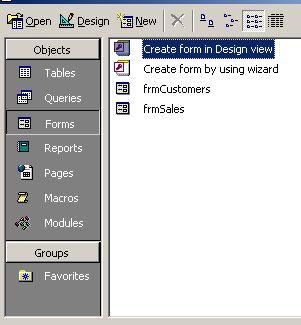
At the main database window you will now see that we have created two forms – customer and sales.
 Now we need to wire the forms up so that we can see which customers have made sales.
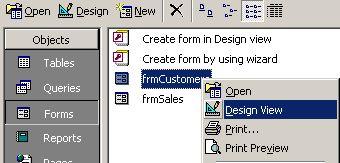
 To do this right click the frmCustomers form and select design view.
You will need to bring the database window into focus so that you can see it alongside the form. Pressing the F11 key will show the database window.
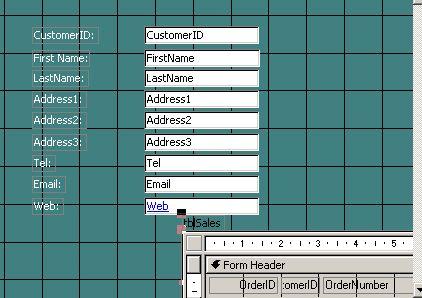
Select the Sales form and keep the mouse button pressed while you drag it to the main Customers form. Only release the mouse button when it is in position at the bottom of the Customers form. It should look like the following:
 Double click the top of the form to maximise it to full screen.
You can now drag the sub form into position. Click on the sub form so that it is highlighted. You will see small colored squares around the edges showing that your have selected it.
Move the mouse to the small square at the top left and hold and drag the form into position.
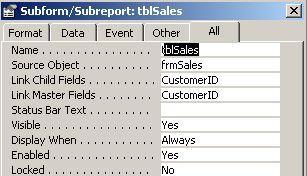
If you right click the sub form and select properties you will notice that Access has understood that you want to link the forms together via the CustomerID fields that we set up in the customer and sales tables. The properties are Link Child Fields and Link Master Fields. If the field names were different we may have to link them manually in the properties.
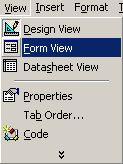
 Run this form to check out how it looks. To do this go to the ‘View’ menu and select ‘Form View’
You will see something similar to the following display
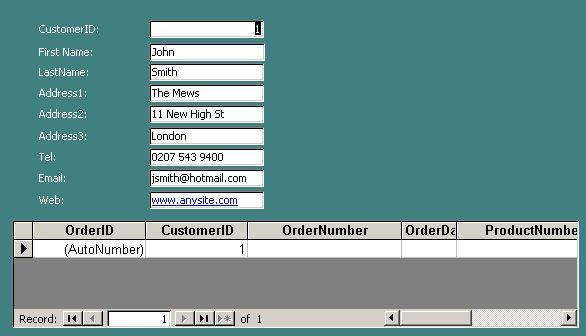
Try entering an order number, date etc into the fields of the sub form. Don’t enter anything into the CustomerID field. Access will update this field automatically.
You can move to the next line after each entry is completeObviously the form needs some tidying up as we can’t see all of the sub form at present, but you get the idea of how to create a simple system.
Now save your work