LESSON 03 – CREATING A CAMPAIGN
In this lesson I will show you how to create a simple campaign which will include a welcome letter. If you are using Trafficwave then you will find that setting up a campaign is a simple step by step process. Log into your Back Office, then locate the icon below and click the “Campaign Manager” link.

On the next screen you will see a list of all the campaigns you have set up. At present you can only see the default Trafficwave Campaign you set up in lesson 02. Let’s create a campaign of our own. Locate the following menu on the left hand side of the screen.
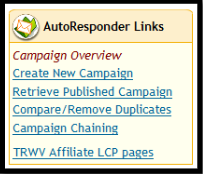
Click on the “Create New Campaign” link to start the step by step process.
STEP 01 – CHOOSE A CAMPAIGN NICKNAME
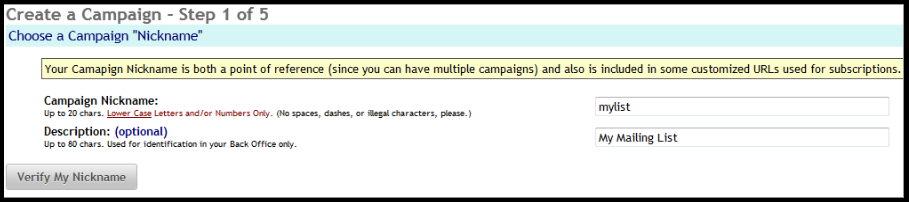
The first step is to choose a nickname for your campaign. Once you have decided what your campaign is going to be then you need to choose a suitable nickname to tell people what it is about. You will also need a description which is used for identification in your back office. In this example I am going to start my own mailing list. So the nickname will be “mylist” and the description will be “My Mailing List”.
Click the “Verify My Nickname” button and you will be taken to a screen that shows you what your Subscription Address and Capture Page URL looks like with your nickname in it.
STEP 02 – ADD YOUR SIGNATURE TOKENS
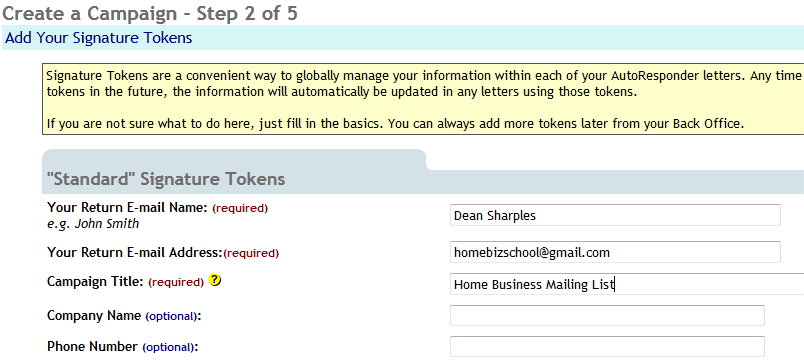
Tokens allow you to store information which can be retrieved and shown in letters and will be covered in more detail in a later lesson. In the meantime you only need to add the basic information which is your name and email address. When a subscriber receives your letter it will show it is from whatever name you enter in the “Return Email Name” box and any reply will go to the email you enter in the “Return Email Address” box. Note I have put my own name and address in the boxes. You should put your own.
When someone subscribes to your campaign they will get a message asking them to confirm their subscription to your mailing list and will mention the Campaign Title. In my example I have named the campaign title as “Home Business Mailing List”. So the subscriber will receive the message below…
Please confirm your subscription to Home Business Mailing List.
STEP 03 – CAN-SPAM COMPLIANCE
This step simply asks for your home address. You can either enter it manually or tick the box to import it from your Trafficwave profile.
STEP 04 – DEFINE CAMPAIGN DATA TO BE COLLECTED

Here you can choose what information you require from your subscriber. Anything you select will appear as a input box on your opt in form. By default you only need the basic name and address field which is already selected. The only thing you might want to change is the choice of one box where the subscriber can enter their full name, or two boxes where they can enter their first and last name separately. Leave these settings as they are and move onto the next step.
STEP 05 – NOTIFICATION OF SUBSCRIPTIONS
When someone enters their name and address into an autoresponder form they get an email asking them to confirm their email address in order to receive more information. You can add your own message or leave it as the default message. It is a good idea to set up Trafficwave to email you when someone subscribes to your campaign as it saves you logging in to see how it’s doing.
Tick the box at the bottom to confirm you agree to the requirements and click the “Finish” button. This will bring you to a screen that informs you that you have successfully set up a campaign. Now it is time to add a welcome letter. On the current screen click the “Great, take me to the Letters Tab” button.
CREATE A WELCOME LETTER
Once the prospect has confirmed their email address they will receive a welcome letter. We will create a simple one to go with this campaign. On the left hand side menu - click on “Create New Letter”. When asked whether to start with a template or a blank letter – choose a blank letter.

Enter a simple message like the one above and click the “Save This Letter” button. This message simply says “Welcome to my mailing list”. You could add more information such as what prospects can expect to receive from you in their email. Remember to add a subject line. I have entered “Welcome to my Mailing List” so my subscriber will see that subject appear in their inbox.
The final step is to add a Day Delay. A Day Delay tells Trafficwave how many days later you want to send a letter. A value of 0 tells Trafficwave to send the letter straight away.
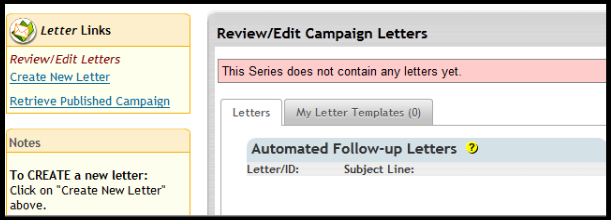
Note that you will see a section where the welcome letter is. This is the Stored section. While a letter is in the stored section it will not be delivered anywhere. We need to change this so it moves up to the Automated Follow up Letters section.
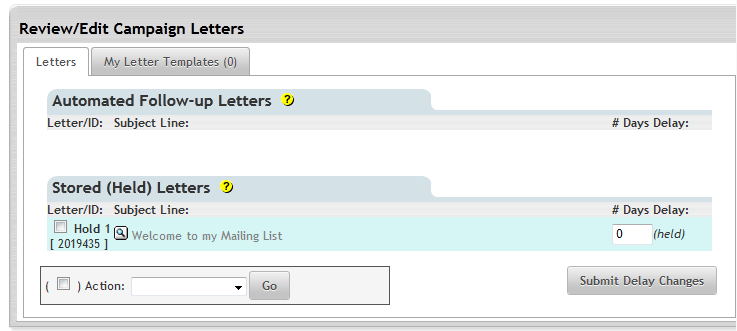
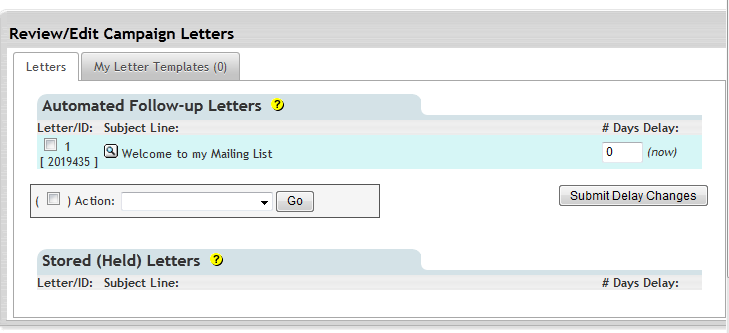
Enter a zero (0) into the Days Delay box next to the welcome letter as shown in the screenshot above and click the “Submit Delay Changes” button. The letter now moves up to the Automated Letters section.
Congratulations. You have successfully created your first campaign.