LESSON 02 – CAMPAIGN OVERVIEW
As mentioned previously, an autoresponder campaign contains the information you need to send to your prospects or subscribers. In this lesson you will examine the default Trafficwave campaign which comes pre-installed in every new account. Log into your back office and click the “Campaign Manager” link.
The Campaign Manager contains a list of all your current campaigns. Currently there is only the Default Campaign which is used to promote Trafficwave.

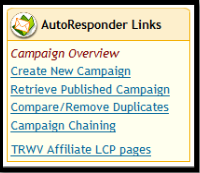
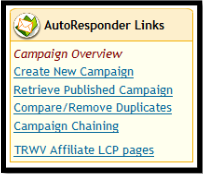
On the left hand side of the page you will see a small menu with a list of options. Each section of Trafficwave contains this small menu which you can use to perform a task.
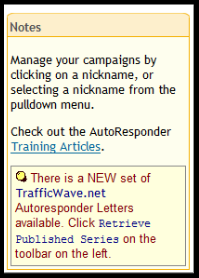
Under the menu you will see a “Notes” section. This briefly explains what each option does. Notice that there is a flashing message telling you that there is a new set of autoresponder letters available. This is a useful feature of Trafficwave that allows you to define a set of letters which any other Trafficwave user can import into their own campaign. Great if you want to update letters from your computer and then simply contact other users to import them from you.
IMPORTING LETTERS INTO DEFAULT CAMPAIGN
Before we proceed you will need to import these letters into the default campaign as it currently has no letters installed. To do this, click “Retrieve Published Campaign” from the left hand menu.
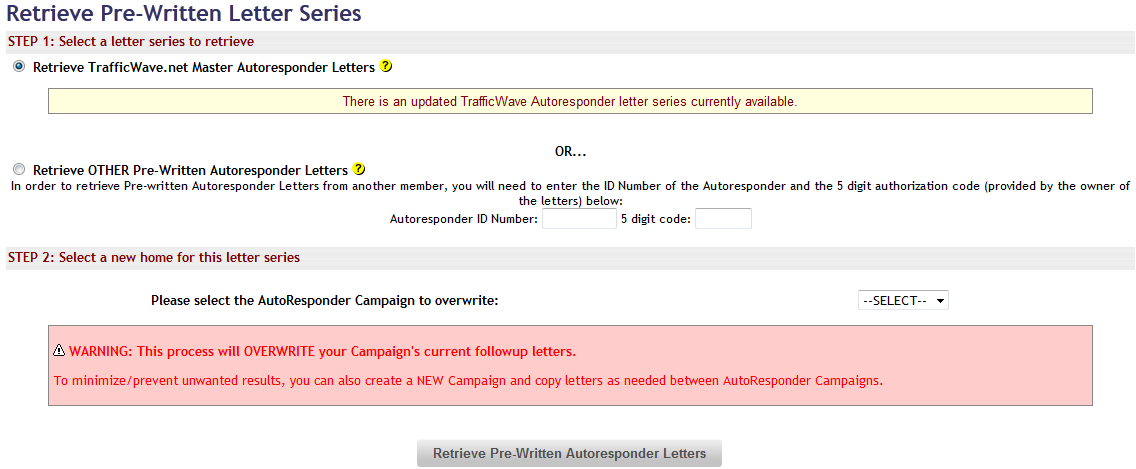
On the next screen you have two options. The first one is to retrieve the Default Autoresponder Letters and the second one is to retrieve letters from another Trafficwave user. For this option you will need an “Autoresponder ID Number” and a “5 Digit Code” which you will get from the person with the letters.
As we only want the default letters you should select the first option to “Retrieve Trafficwave.net Master Autoresponder Letters” (Step 1). Next choose which campaign to overwrite. From the drop down menu choose “DEFAULT” (Step 2). Now click on the “Retrieve Pre-Written Autoresponder Letters” button.
You will receive a message telling you that the 13 letters have been placed in the series “DEFAULT”.
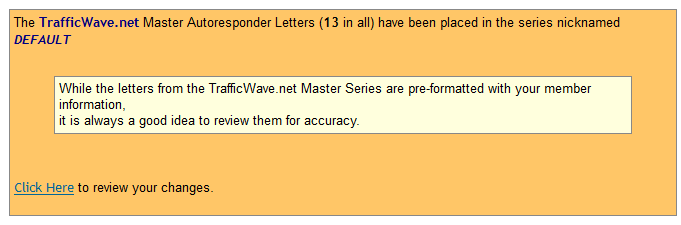
Let’s take a closer look at the campaign. From here you can take a shortcut by clicking on the “Click Here to review your changes” link or you can click on “Campaign Overview” from the left hand menu. From that menu you will have to click on the name of the campaign to enter it. Of course right now it is easier to take the shortcut. This brings you to this page.
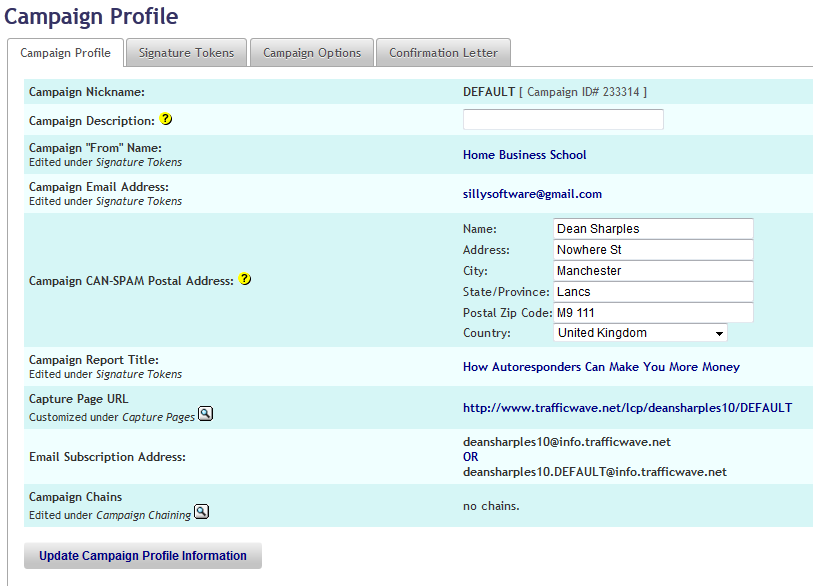
The Campaign Profile is the first of four pages where you can view and change the settings for your campaign. Here you can see the “Capture Page URL” and “Email Subscription” address for your campaign which I will cover in a later lesson. Notice the four tabs at the top of this page? Click on the one that says “Signature Tokens” to view the next page.
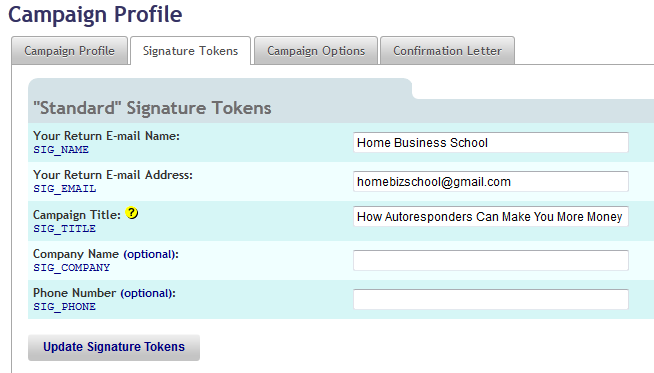
The Signature Tokens allow you to enter the name that will appear when you send the letter. The return email address is the address you want your subscribers to reply to. The “Campaign Title” tells your prospect what this campaign is all about which is “How Autoresponders can make you More Money”.
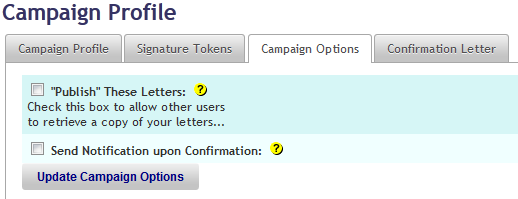
Remember how you retrieved the letter series for this campaign? This page allows you to choose whether you want to allow other people to retrieve your letters. Click the “Publish This Letters” box and you will get an Autoresponder ID Number and a Five Digit Code to give to them so they can retrieve your letters.
Trafficwave does its job without bothering you but if you want to know if you have received any new subscribers then you can ask Trafficwave to send you an email every time someone subscribes to your campaign and confirms their email. Click the “Send Notification upon Confirmation” box to allow this.
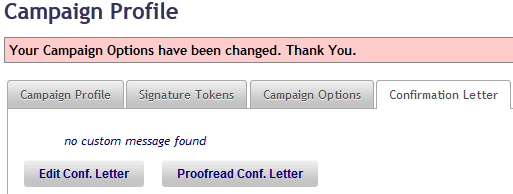
As mentioned before, when someone enters their details on your form they first receive a confirmation letter which tells them they need to confirm their email address. Once they do that then they will get the rest of the letters in the campaign. By default a simple message is sent but you can create your own letter in this section. To do this you click the “Edit Conf Letter” button which takes you to the editor.
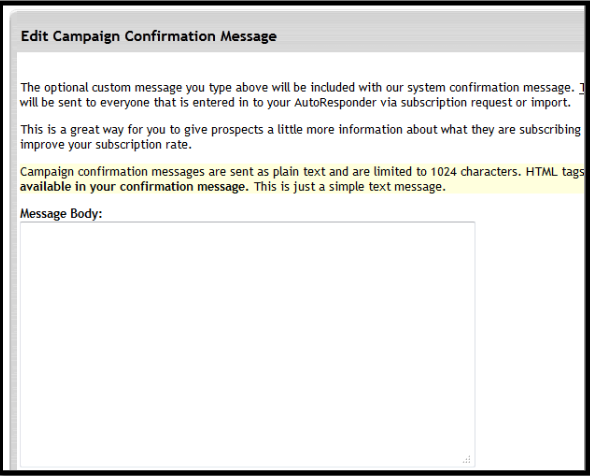
You could use this feature to add extra information to encourage the prospect to go ahead and confirm their email address. Here is an example.
Hi,
Thank you for requesting more information about my business opportunity. I am going to send you lots of free information on how you can make a five figure income working from home. But first I need you to confirm your email address so that I know it is you and no-one else using your email address. Please click on the long link below to confirm and I will send you the information straight away.
Dean
Note: you must not put any links to your website or autoresponder as this may get you a spam complaint.
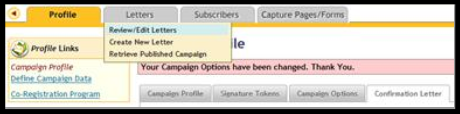
Finally we will take a look at the letters in this campaign. Notice the tabs at the top? Click on the button that says “Letters”. This will bring down a menu. On this menu click “Review/Edit Letters”.
FOLLOW UP LETTERS
This is where you will find all the letters that will be sent to your subscriber along with the “Day Delay” value. For a simple mailing list you will probably find just one letter which is the “Welcome Letter”.
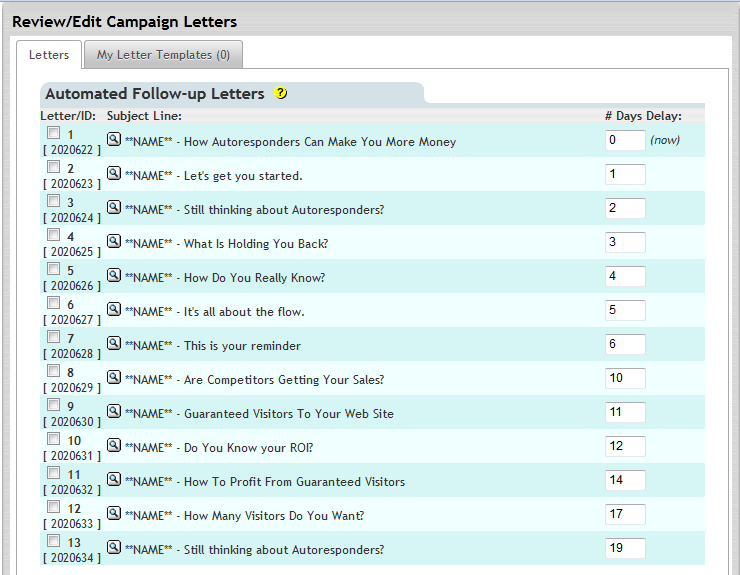
This campaign has 13 letters in all and each one is written with the purpose of convincing the subscriber to sign up for a Trafficwave Account. You can read the letters by clicking on the subject line for each one.
Notice where it says “**NAME**”? This is a token which will be replaced by the subscriber’s name which will be seen in the letter.
A Day Delay value tells Trafficwave when to send the next letter. How many days after the first one. The first letter has a Day Value of zero (0) which means “send the first letter as soon as the subscriber confirms their email address”. The second letter has a value of one so it is due to be sent one day after the first letter. The last letter (number 13) is sent 19 days after the first letter.
The Day Delay feature allows you to automatically send letters daily, weekly or monthly. So if you wanted to send a letter once a week you could set the values to 0,7,14,21 etc. You can even scatter the letters so one is sent a day later, the second three days letter, the third nine days later and so on.