My First Steps in Autocad by Murad Gulaliyev / Mgtuts.com - HTML preview
Download the book in PDF, ePub, Kindle for a complete version.
Little bit about Autocad
Autocad developed by Autodesk company in 1982 year. Autocad intended for technical design works in different sectors. Autocad leader between CAD software. Although AutoCAD has several versions for different sectors, it can be used for all types of works, from Architecture to engineering and design.
How to download and install Autocad Student version?
So let’s begin. I will show you step by step how you can easily and free download and install a free Student version of Autocad. So you can ask why free and is that legal? Yes, that is the real legal free license of Autocad. Autodesk company offer free student version for education. In student version no any functionality limitation from the standard version. Except student version can be used only for education and no any commercial use.
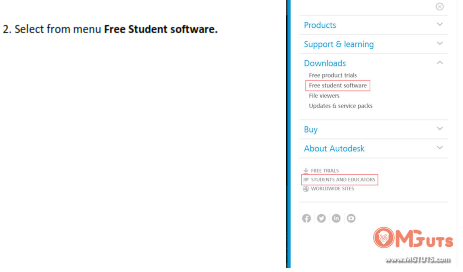
Free student version you can download from Autodesk website.
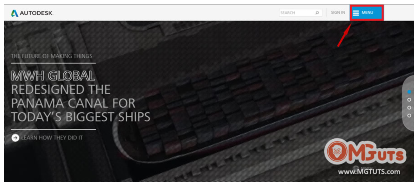
1. Go to Autodesk.com website and click on Menu on the right corner.
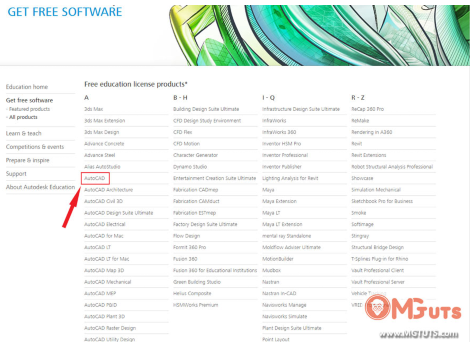
3. You will see list of software that you can download. Choose from list Autocad.
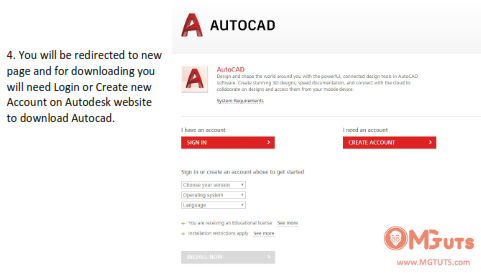
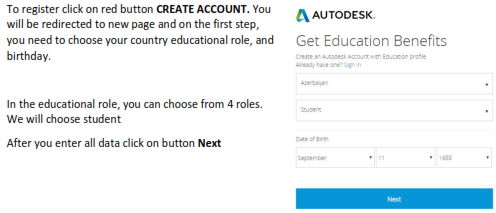
In registration on Autodesk website no big difference between registration on another website. But there are had some nuances that can be little difficult for new beginners. That’s why we will pass all step by step.

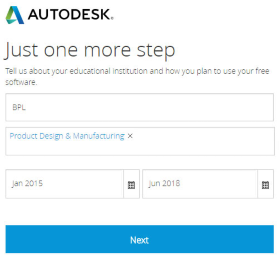
After clicking on Done button you will be redirected to another page. Where you must enter name of educational institute, area of study and education time.
Enter any educational institute in your city or country. If you will get error Please select your educational institution Then click on I Can’t find my educational institution.
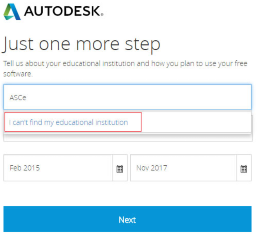
You will get another form. Enter any education institute name in your city and fulfill all another field.
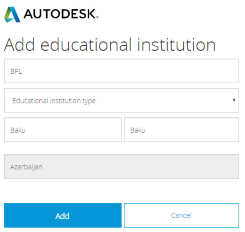
After that click button Add.
You will return back and now you can click on button Next.
You will get new message

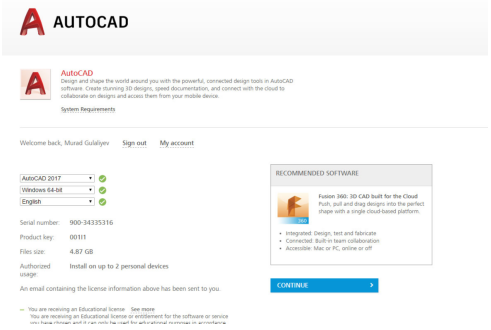
Click on Done button and agree with Term of Service on the next page and click on Continue button. You will get Email from Autodesk. Don’t delete that email because it contains important information for the installation process.
Сongratulation we are already done. Now we can download AutoCAD for free.
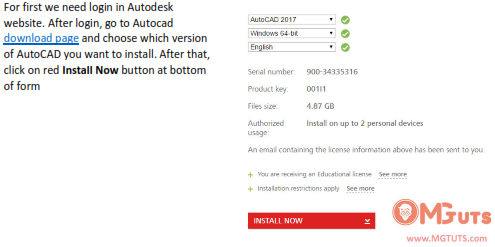
After clicking on Continue button you will redirect to AutoCAD download page or you can click here to go to AutoCAD download page.
Now you need to choose Autocad Version, Operation system, and language.
After all, you need just download and install Autocad.
How to Install Autocad Student version
Autocad installer will download to your computer. Installer size is very small. Just click on it and open.
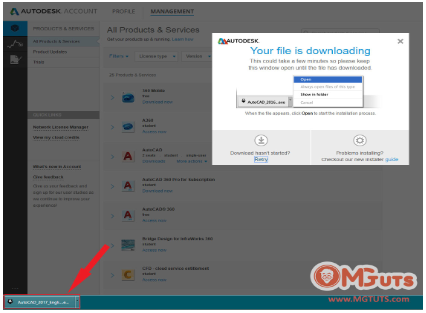
Downloading will begin. For the first installer will download special components that need install.
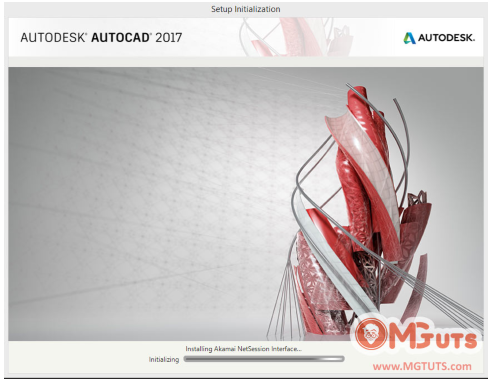
You need to wait until all files will download. It can take a time to download. Time will be based on your internet connection speed.
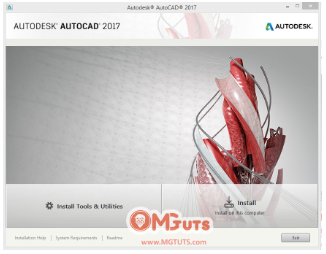
After first download will finish you will see a window like below. Here you can see installation window. You can directly install AutoCAD or install additional tools. Probably you will never need additional tools and utilities that why click on Install button.
Next, you will see a window where you can choose what you want to install and where you want. You can only install Autocad or you can install with Autodesk Recap 360 and A360 desktop.
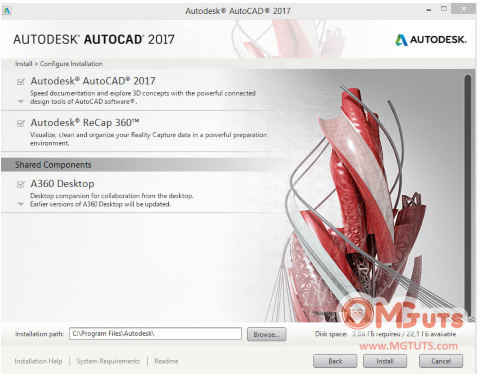
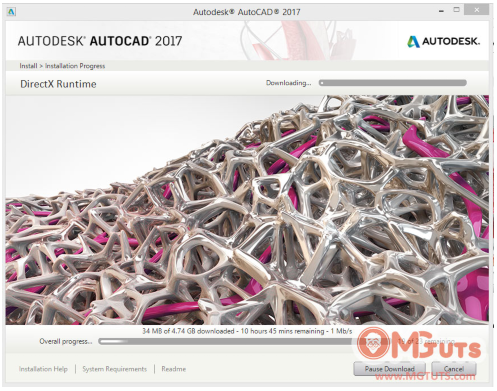
After you decided what you want just click on Install button. Software downloading will begin. The download can take a long time because whole software size is about 5 GB.
After download and install you will see notification window. Click on Finish button to end installation. Now we have installed Autocad.

The last thing we need to do is register our Autocad. To do that open your new installed Autocad. If you have already installed old version of Autocad you will see Migration Window. This feature is new and only available in Autocad 2017.
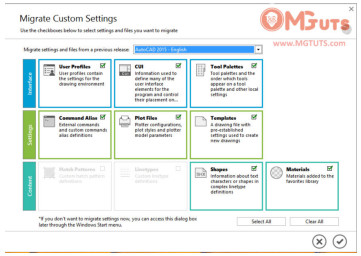
Select configurations that you want migrate and click on Check button.
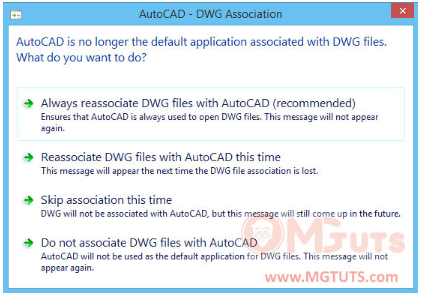
After you will see another notification window and from offered options click on first option Always reassociate DWG files with AUTOCAD (Recommended)
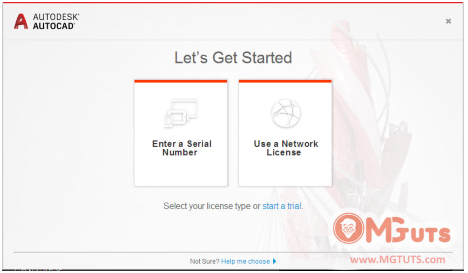
Now our Autocad will open and now we need to register the software. To do that click on Enter Serial Number.
At next window just click on Agree to agree with Autocad Privacy Statement.

In the next window we can just run Autocad or Activate it. We can run and use it for 30 days from today. But after 30 days left we will need register Autocad. That is why let's click on Activate button and register our Autocad

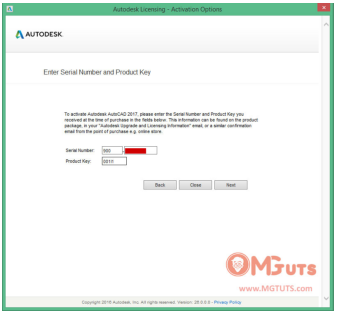
In the next window we need to enter Serial number and Product key that we get from Autodesk by email. If you haven’t serial number you need register at Autodesk website.
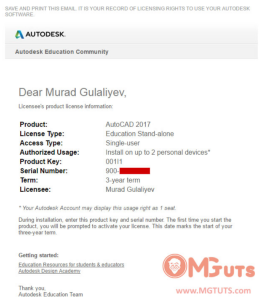
Let's copy activation information from email and enter to activation window’s fields. Click on Next button to activate your Autocad.
If everything right after few second you will get notification window that your Autocad 2017 successfully activated.
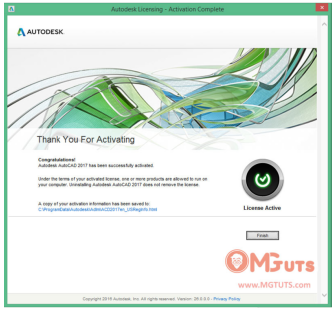
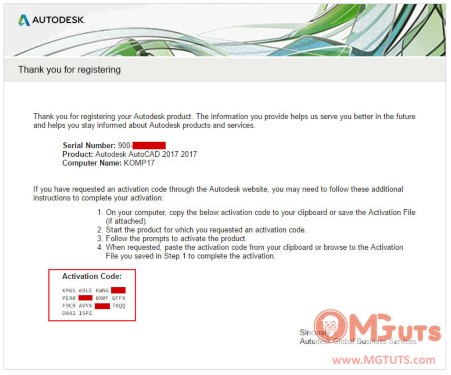
Now you can work on Autocad. If you have internet connection Autocad will check your license and you will get an email with Activation code. When AutoCAD will ask for activation code enter code that you get from Autodesk.
About Autocad Interface
Until 2009 year Autocad used classic interface and from 2009 year Autocad interface changed to new Ribbon style interface. That’s why there is no big difference between 2009 year and 2017 year versions of AutoCAD. You still can use classic interface just remember developers always working on Autocad and trying to make it more flexible and useable.
Which interface to choose Ribbon style or Classic interface?
If you are already using AutoCAD with the classic interface you shouldn’t install an older version of Autocad. Because you can choose which type of interface you want to use. Even you can customize the interface and change it as you wish. All interface features available on all (from 2009 version) versions of Autocad.
So if you are asking Which version I should use? I recommend you download and install the latest version of Autocad.
As we already install Autocad, then let’s begin to learn how to work with it. The first step needs to do is get familiar with Autocad 2017 interface.
There is no big difference in Autocad 2017 interface from previous AutoCAD versions. From 2009 year version of AutoCAD interface changed to new Ribbon style. But a user who wishes to use the classic interface can easily change workspace into a classic style.
Basic elements of AutoCAD interface.
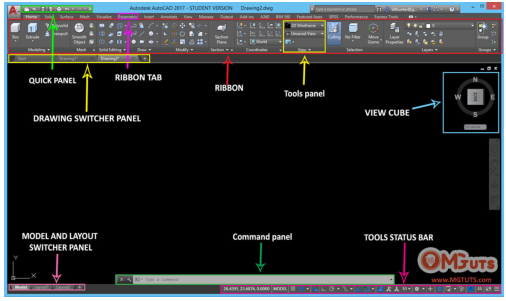
The first time when you will launch Autocad, it will load with workspace named Drafting & Annotation. Since 2009 year version this workspace is the default for Autocad. In this workspace, all tools collected for 2D drawing.
Also, Autocad provides several workspaces like
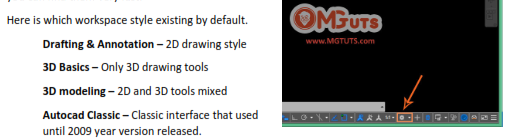
1. Drafting & Annotation
2. 3D Basics
3. 3D modeling
4. Autocad classic
The second and the third workspaces as you understand from their names configurated to work with 3D modeling. The fourth one is for old users who don’t want to switch to the new interface. The classic interface was defaulted until 2009 year version while Ribbon style comes out.
If you are new in AutoCAD and some old users recommend you use only Classic interface because it is easy to use, don’t listen to them. It is easy for them because they are a long time using classic interface. In reality new style Ribbon more useful and easy to use.
In this tutorial, we will learn how to change workspace and what workspace mean in AutoCAD.
A workspace is a place where you are working. If I would tell shot way – Interface of software. By default Autocad offering you 4 different workspace styles. The difference between them in how commands and tools sort in workspace and tools ribbon. For instance, if you are working only in 2D then you can choose Drafting & Annotation style because in this style all useful 2D tool placed where you can find them very fast.
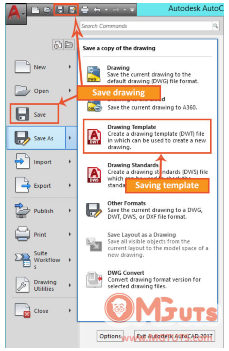
How to create new file and save it
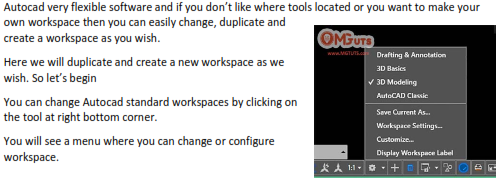
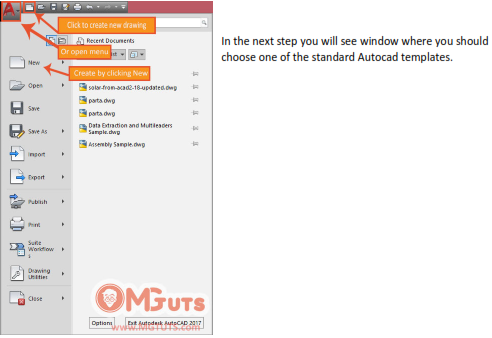
Now let’s create our first drawing document. You can create it on top left corner.
If you will click on Autocad logo icon you will see menu and from menu, you can click on New button to create a new document.
To save file, you can click on icons on Quick panel or open Autocad menu and save from menu.
Autocad Coordinate system
Let's little talk about Autocad coordinates system. Coordinate system one of the fundamental thing that you need to understand. The coordinate system is actual in every CAD software that’s why to try to understand it.
Of course, most of the time you will not use a coordinate system. But sometimes that is very useful.
Let’s begin to learn to coordinate system and we will begin from WCS (World coordinate system). The coordinate system inside Autocad similar to real World coordinates system.
WCS is a rectangular coordinate system that starts from the point with coordinates 0,0 that located in left bottom corner of Autocad. Every created object has character points with assigned coordinates. These points responsible for the position of the object in model space relative to the origin of WCS.
The defining point of primitives
Line – first point and last point
Polyline and polygons – Top
Circle, arc and spiral – center point.
There are three ways to enter coordinates
1. Absolute coordinates
2. Relative coordinates
3. Polar coordinates
How to draw object with Absolute coordinates
To draw line with absolute coordinates we need to
1. Call Line command
2. Autocad will ask Specify first point, Enter X (10) and Y (10) coordinates after hit Enter.
3. After first point is specified enter line length and angle.
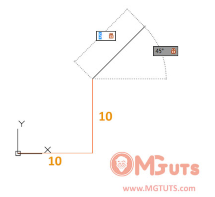
How relative coordinates works?
Relative coordinates take last drawn object endpoint as point 0. You need just enter @ before you will enter coordinates. Let me explain you how it works.
Above we draw line with absolute coordinates (10,10).
1. After we finish draw first line again call Line command.
2. Autocad again will ask you Specify first point.
3. Before you will enter coordinates enter @
4. Then again enter X – 15 and Y – 20 a
You may also like...
-

Facebook Domination: The Secret Strategy for Unlimited Free Traffic Tutorials by James FunicelloFacebook Domination: The Secret Strategy for Unlimited Free Traffic
Reads:
92Pages:
32Published:
Apr 2024Master Facebook marketing with this e-book, designed to teach you how to drive significant traffic without ads. Learn from actionable strategies and insights ...
Formats: PDF, Epub, Kindle, TXT
-

Autopilot+ - How to passively make $1000 a day with a 5 minutes setup Tutorials by Adribus TedAutopilot+ - How to passively make $1000 a day with a 5 minutes setup
Reads:
543Pages:
30Published:
Nov 2022With this eBook, you will learn how to make thousands of dollars daily with a very easy one-time setup. Enjoy!
Formats: PDF, Epub, Kindle, TXT
-

BILD 9 Tutorials by Kista GrundskolaBILD 9
Reads:
46Pages:
50Published:
Aug 2021Art tutorials grade 9. A step by step guide to drawing, painting, sculpting, analyzing within the curriculum of Art in Swedish public school.
Formats: PDF, Epub
-

BILD 8 Tutorials by Kista GrundskolaBILD 8
Reads:
28Pages:
48Published:
Aug 2021Art tutorials grade 8. A step by step guide to drawing, painting, sculpting, analyzing within the curriculum of Art in Swedish public school.
Formats: PDF, Epub