How to Convert Cassette to Audio CD by Calvin Ford - HTML preview
Download the book in PDF, ePub, Kindle for a complete version.
How to Burn the Tracks to Your CD
It is now time to burn all the tracks onto a blank cd. After going through the steps you will be able to test the quality and effort of your conversion.1. Re-open Ashampoo Music Studio 3.
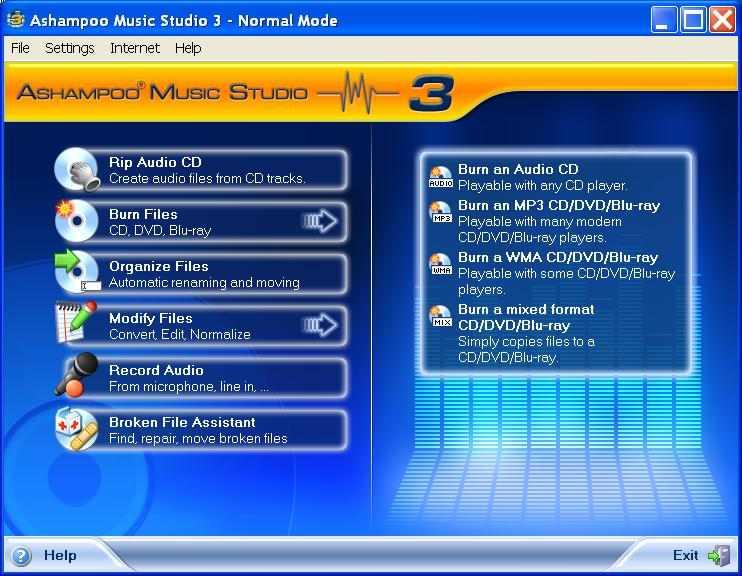
2. Click Burn Files (Fig 76).
3. Click Burn an Audio CD (Fig 76).
 3 2
3 2 You can try the other option in your spare time. But for now
choose
audio.
4. Place a blank cd into your drive compartment.
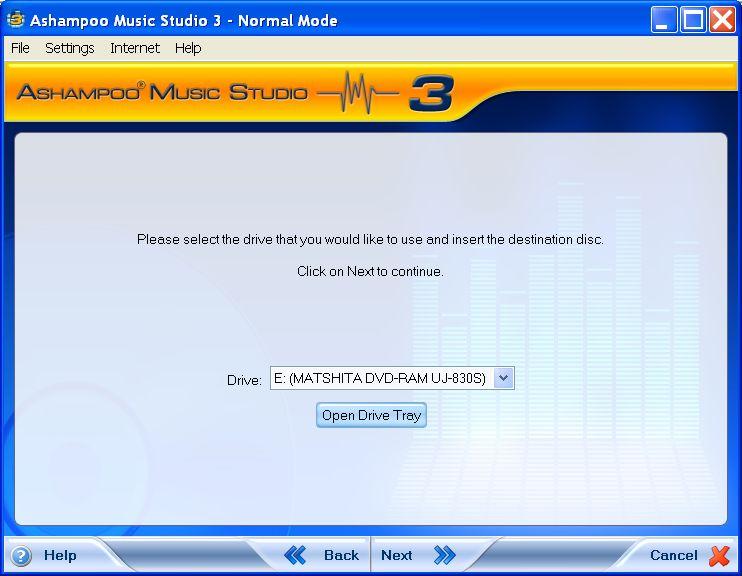
5. Click the arrow to select the drive compartment (Mine is drive letter E). Refer to Fig 77. 6. Click Open Drive Tray to open the drive that you selected in step 5 (Fig 77).
If you have a faster external drive than the built in one for your computer, select it instead. It should perform the burning quicker. A 16X external writer will perform the burn process twice as fast as an 8X writer.
6
 5
59
Figure 77
7. Close the drive compartment.
8. If windows prompt you with another window (do not close Music Studio), close it.
9. Click Next button (Fig 77).
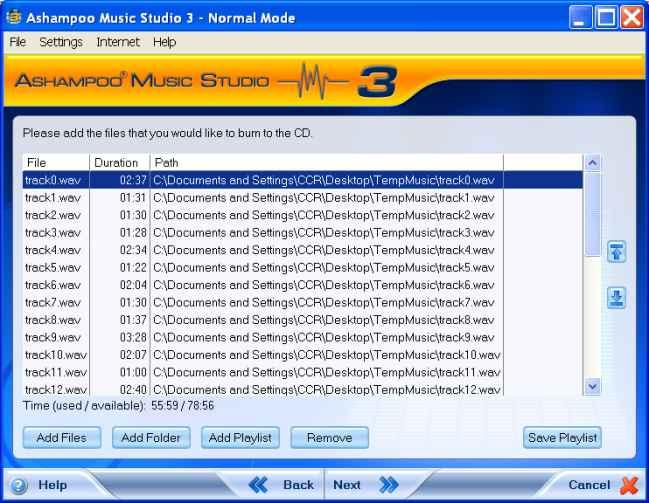
10. Notice the available time left before adding the files (Fig 78). The time shown is about right for an 80 minutes cd (79 minutes and 58 seconds)
11. When you add the files, the available time left will diminish (Fig 78) Time used will increase and time available will decrease. Keep your eye out for this, because you may have to remove tracks to allow the software to burn the tracks to your cd.
12. Click Add Files button to collect the files into this window for burning (Fig 78).
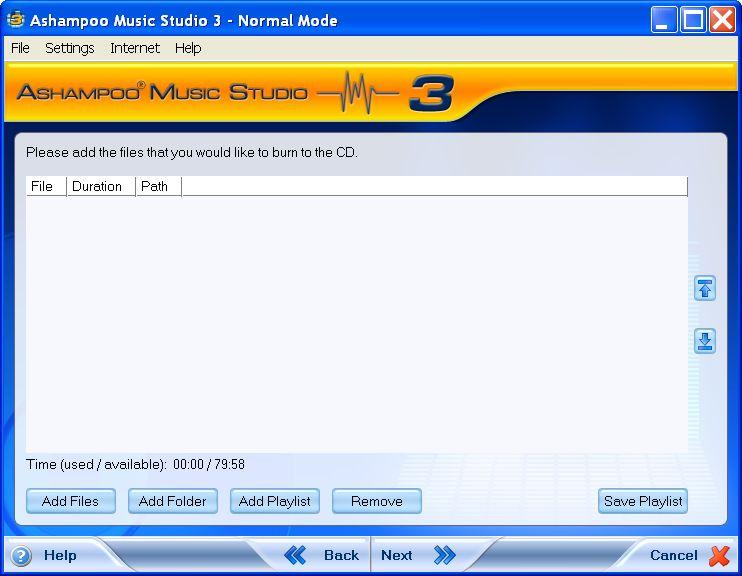 Figure 78
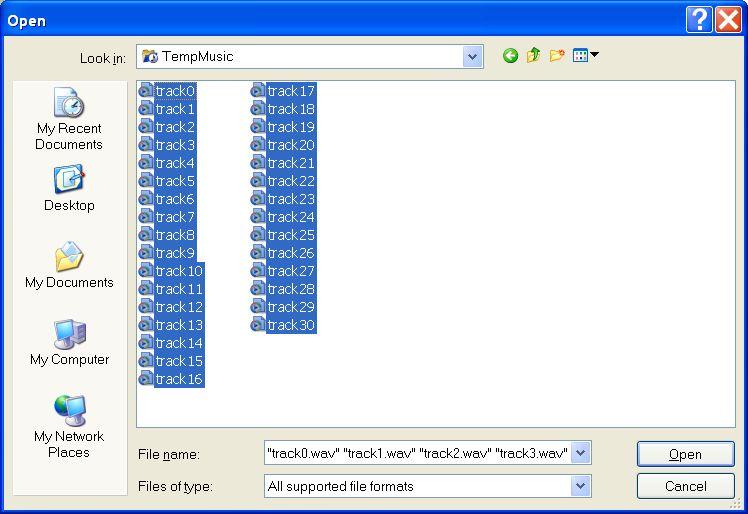
13. Use the pull down arrow to select the folder that you placed the tracks in. The folder name is TempMusic.
14. Your screen display should be similar to the one below (Fig 79) showing all the tracks created.
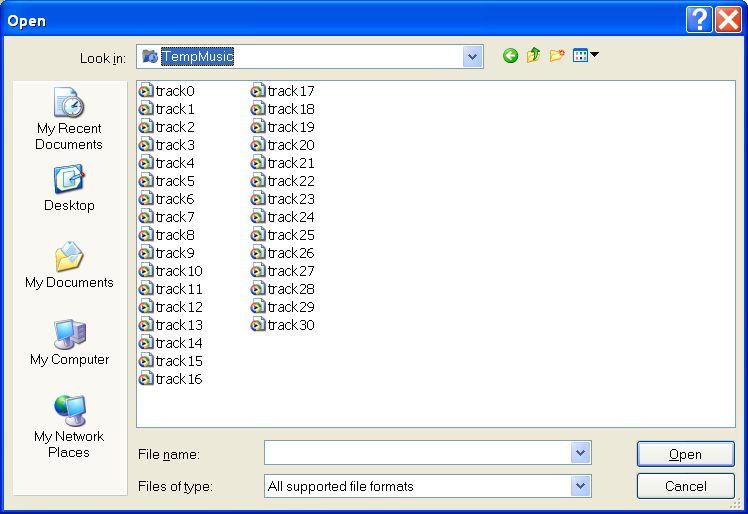 Figure 79
15. Click the first track to highlight it (Fig 79).
16. Press Control (Ctrl) key and the letter A to highlight all tracks.
17. Your screen display should be the same (Fig 80) showing all the tracks in blue highlight.
17
1718
Figure 80
18. Click Open button to place files into Music Studio 3 (Fig 80).
19. Your screen display should be similar to the one below (Fig 81).
 19
1921 20
2222
2323
Figure 81
20. If you need to move a file down, click to highlight it and click the Move Down arrow (Fig 81).
21. The same applies to moving a file up a position (Fig 81).
22. If you need to remove a file, select it and click Remove button (Fig 81).
23. Click the Next button (Fig 81).
24. Before you start the burning to disc process, notice the amount of files you are going to burn to your cd. You can click the Back button to make changes (Fig 82).
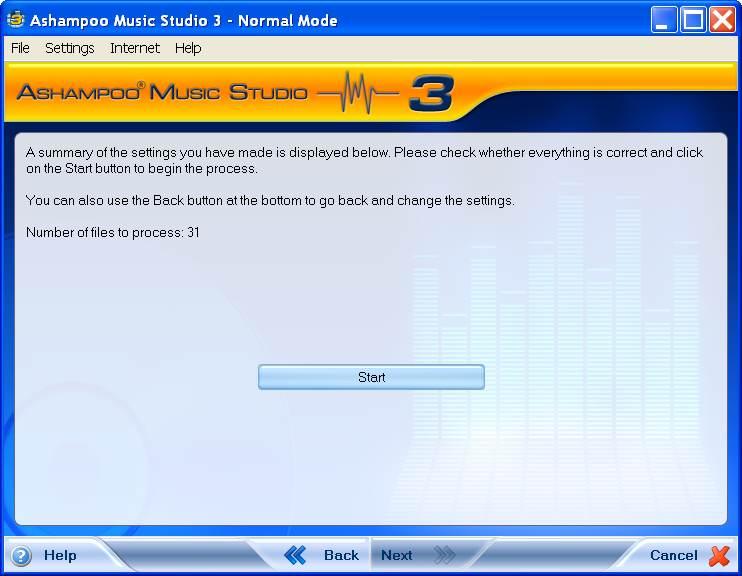 2525
2525Figure 82 25. Click the Start button to burn the tracks to your cd (Fig 82). 26. Burn process commences (Fig 83). Be patient.
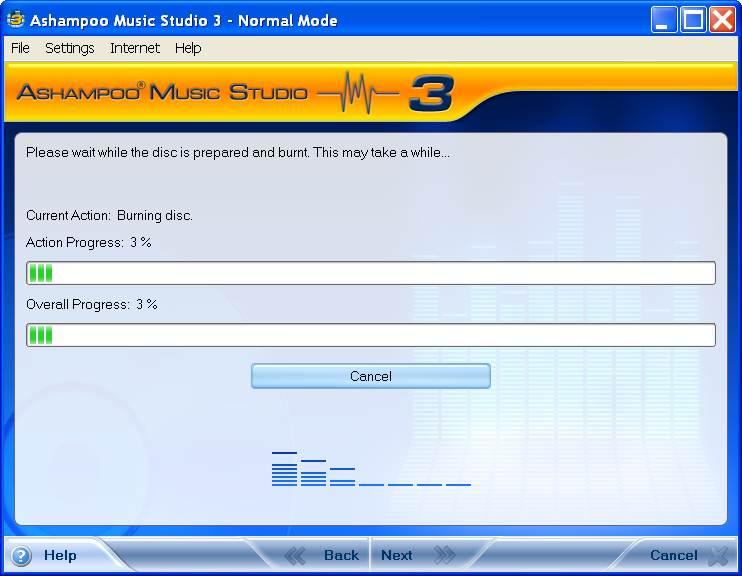 26
26Figure 83
27.If all goes well you should see the messages which say ‘No errors’ (Fig 84). An error usually means a faulty cd.
27 27
 28
2828. Click the Exit button to close down the application (Fig 28). 29. Last but by no means least, test your cd for quality.