How to Convert Cassette to Audio CD by Calvin Ford - HTML preview
PLEASE NOTE: This is an HTML preview only and some elements such as links or page numbers may be incorrect.
Download the book in PDF, ePub, Kindle for a complete version.
Download the book in PDF, ePub, Kindle for a complete version.
Rename the Tracks in Your File before Burning
In this section I will show you how to rename the tracks to a more meaningful name according to your selection from the original tape. I am only going to show you how to change one track name. You can change the rest according to your tape selection.
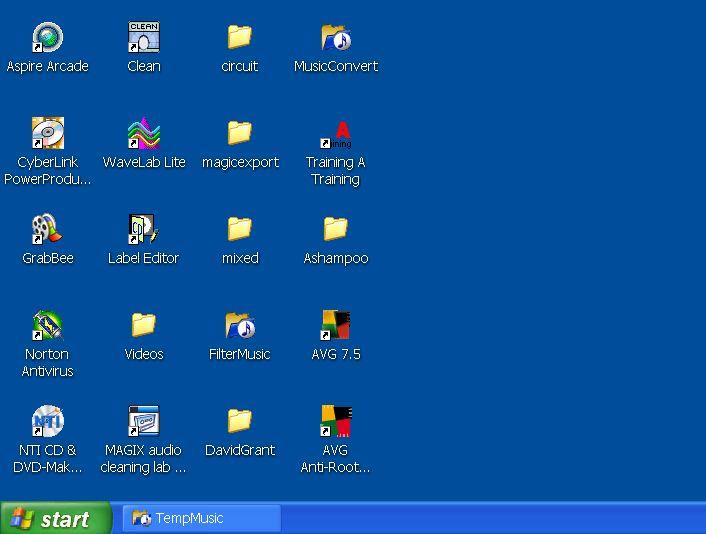
1. Maximize TempMusic folder (Fig 62).
 1
11
Figure 62
2. The music folder displays all the files (Fig 63) created.
3. Click the right mouse button on track0 icon (Fig 63).
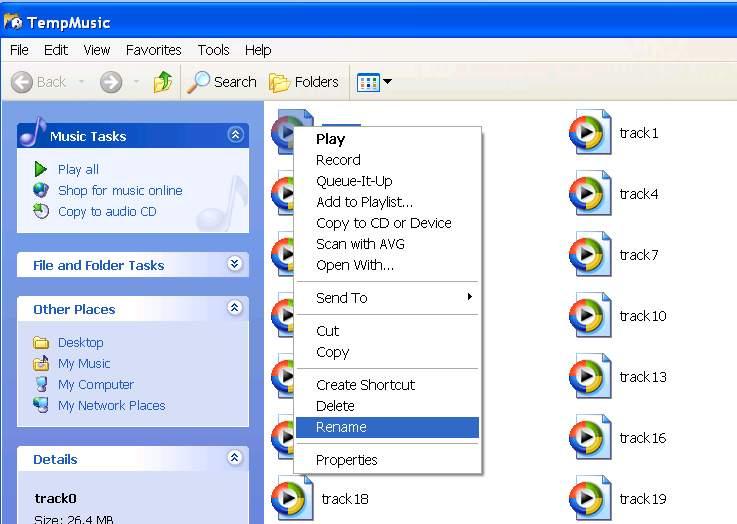
4. In the drop down window, click Rename (Fig 64).
32
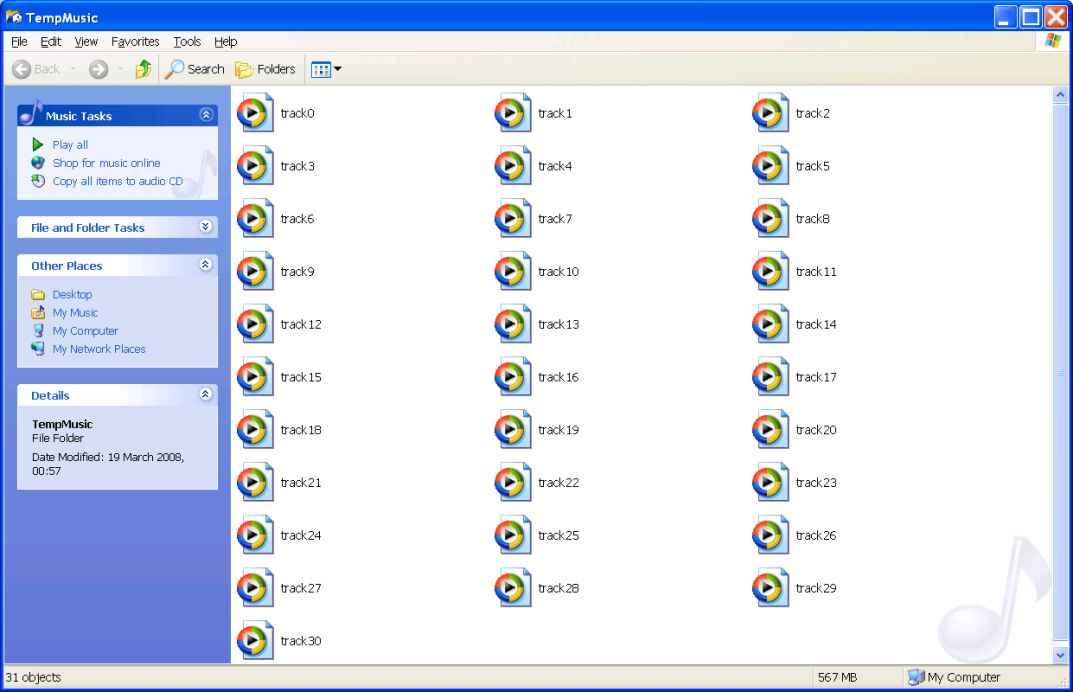 Figure 63
 4
44
Figure 64
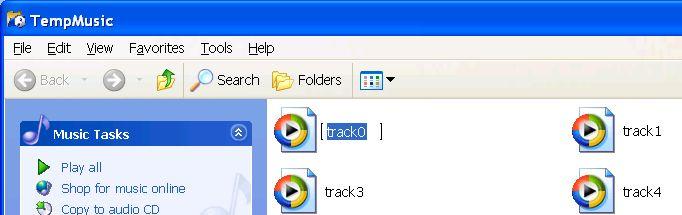
5. Type over track0 (blue highlight), followed by enter on your key pad (Fig 65). Remember, the first track is track0 followed by track1, track2 etc.
 5
55
Figure 65
6. Your first track should look similar to the one below (Fig 66) with just one change indicated. 7. Rename all you track according to your tape selection.
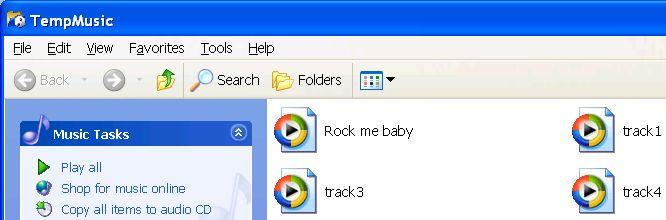 6
66
Figure 66
That is all there is to changing track names. If your file shows the file extension (Rock me baby.wav) after the name, do not type over the 3 character extension following the period, otherwise the file identity will not be recognise. You can always correct this though.