How to Convert Cassette to Audio CD by Calvin Ford - HTML preview
Download the book in PDF, ePub, Kindle for a complete version.
Inserting and Testing your Tracks
· In this section you will learn how to develop the following skills: · Change screen viewing in order to view gaps between songs · Identify tracks in your file
· Position and place track markers
· Select and test an area between the tracks
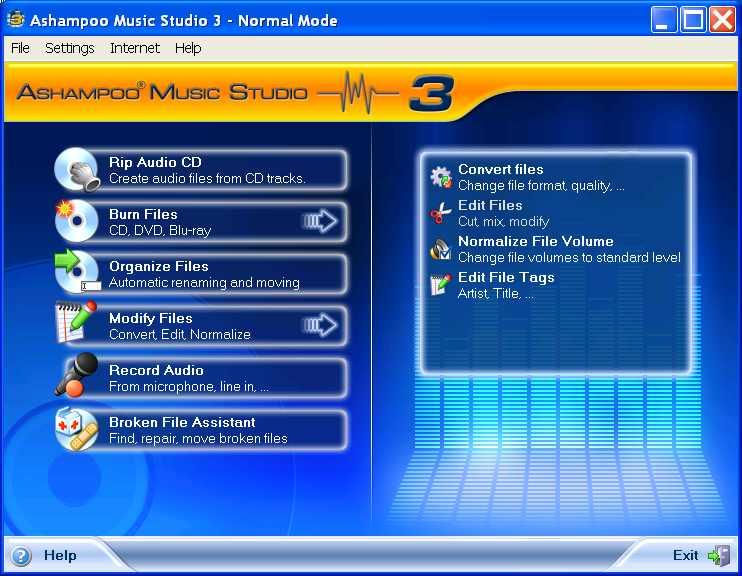
1. Re-open Ashampoo Music Studio
2. Click Modify Files (Fig 31)
3. Click Edit Files (Fig 31)
 22
22Figure 31
4. Click Action (Fig 32).
5. In the pull down window, click Insert File (Fig 32). 3
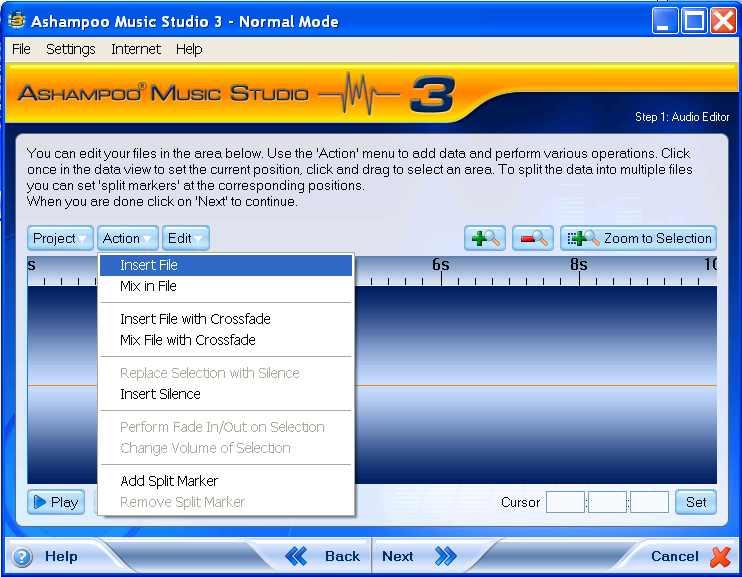 4
45
Figure 32
6. Re-open your file (Fig 33). Music Studio will remember the file you last opened.
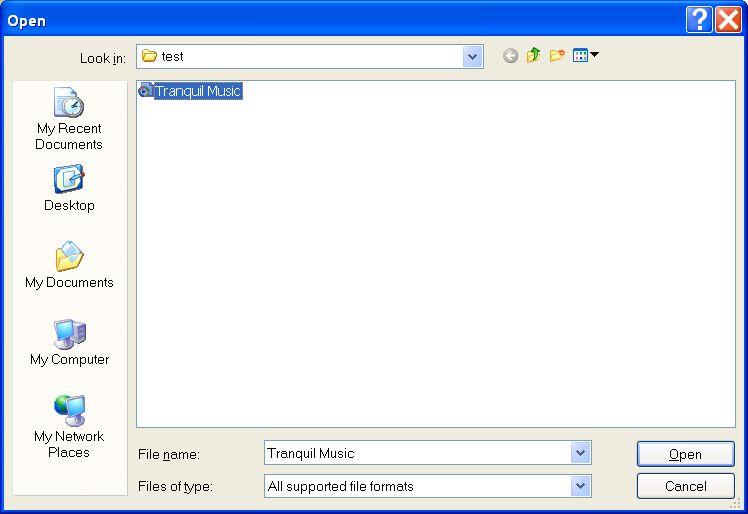 6
6Figure 33
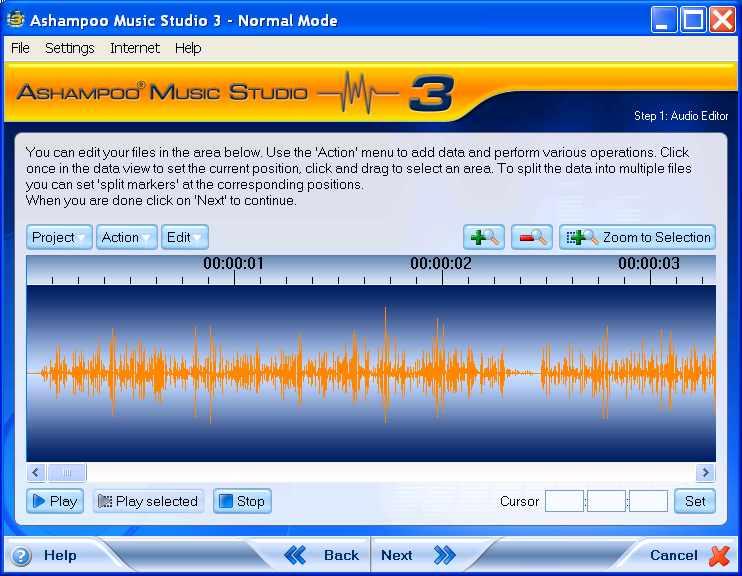
7. Your screen display should be similar to the one on next page (Fig 34).
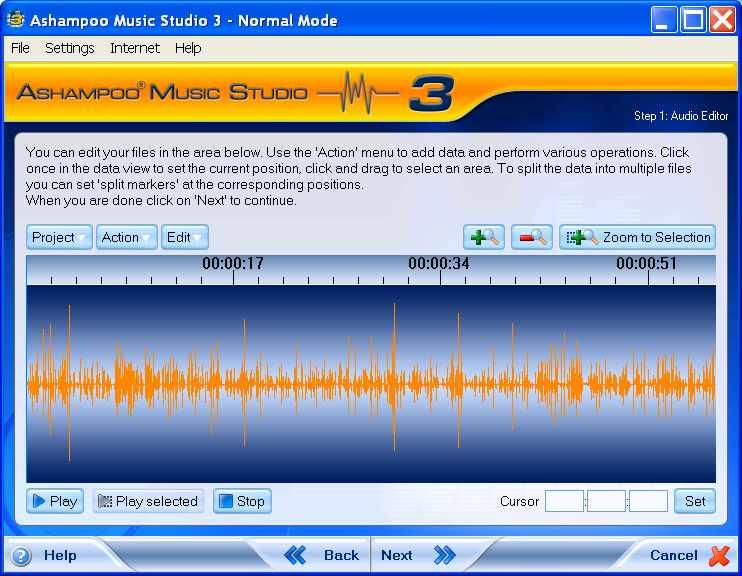 7
78
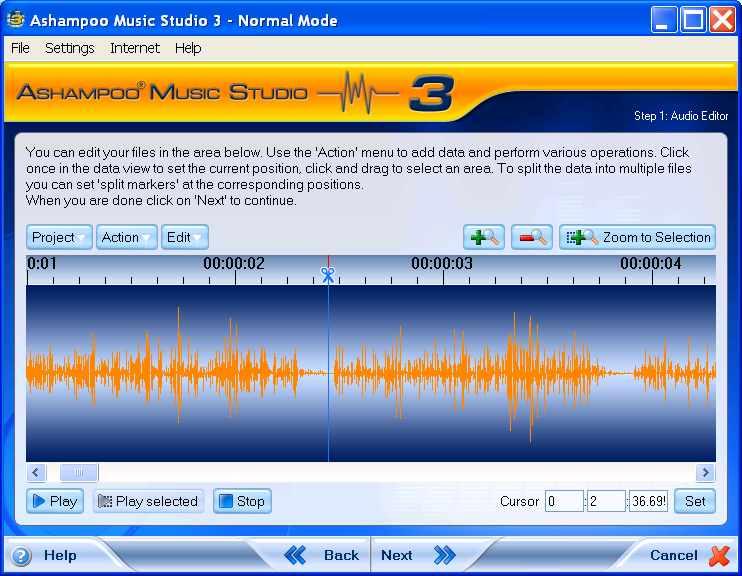
Figure 34
8. Click Zoom plus button (Fig 34) once and wait at least 10-12 second.
9. A large blue scroll bar will appear (Fig 35) below the wave area.
10. Secondly the file waves will also change from fig 34 to the one below (Fig 35) in that order.
 11
1110
9
Figure 35
11. Click the Zoom plus button a second time and wait as before, in step 8 (Fig 35).
12. The scroll bar will change to a smaller size than in the previous screen (Fig 36).
13. Screen waves will change again (Fig 36).
 14
1413
12
Figure 36
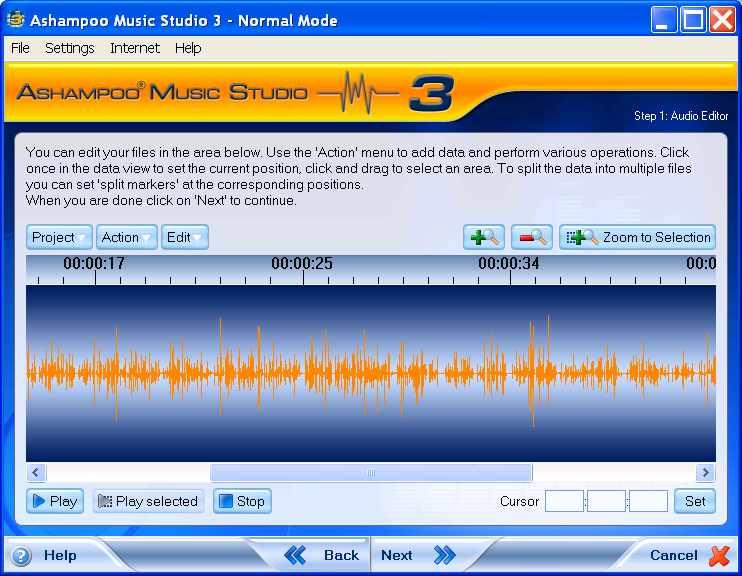
14. Click Zoom plus button a third time (Fig 36) and wait as before.
15. Wait for scroll bar to change in size (Fig 37).
16. Wait for the screen waves to change (Fig 37).
 17
1716
15 17. Click Zoom plus button a fourth and final time and wait again (Fig 37).
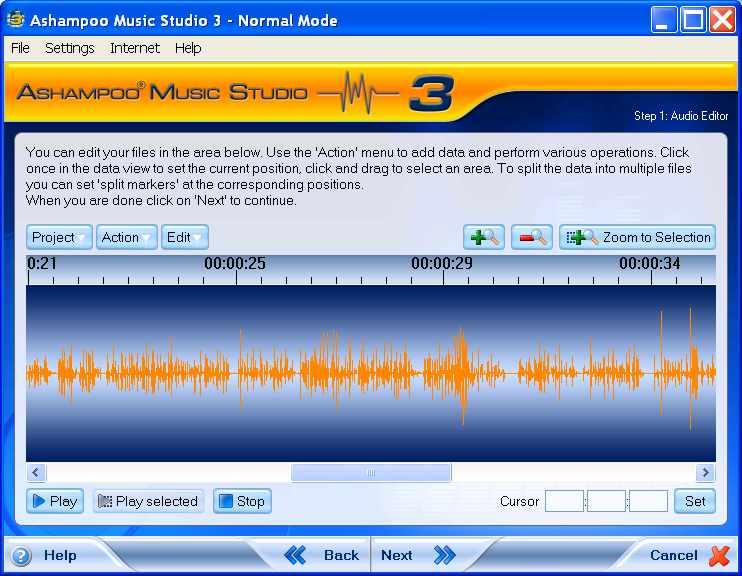
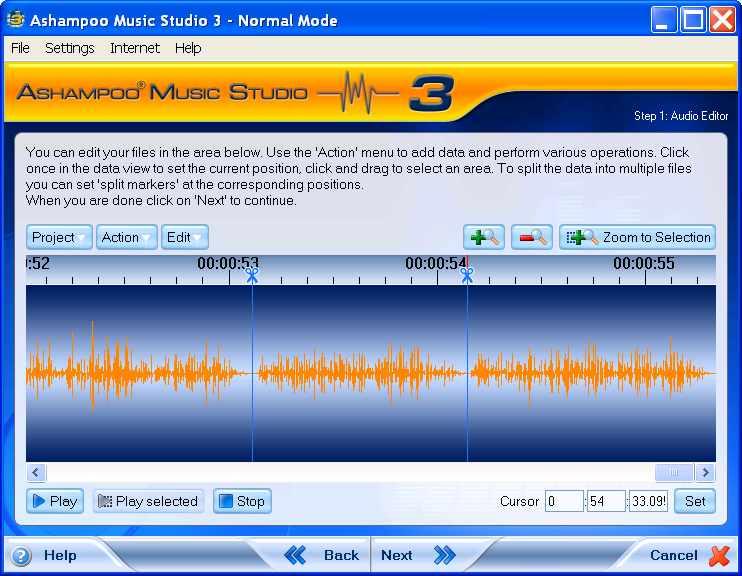
18. Scroll bar will change to an even smaller size (Fig 38).
19. Screen waves will change allowing you to see the gaps between tracks more clearly (Fig 38).
 1920
192020
18
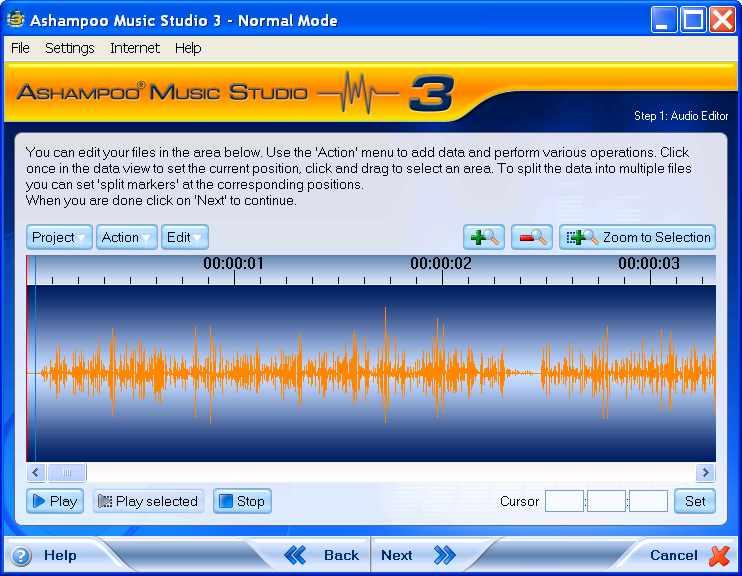
Figure 38 20. Click the left arrow (Fig 38) until the scroll bar meets up with the edge. 21. The scroll bar should be in the position indicated (Fig 39).
2221
 22
2221 22. Click Play button where indicated (Fig 39) to start at the beginning of the file. 23. The blue line appears while the file is playing (Fig 40)– start of first track wave.
 25
252323
25
2424
Figure 40
24. Click Stop button (Fig 40)– play line will disappear.
25. Click and hold down the left mouse button at the position indicated (Fig 40).
26. Drag the mouse pointer across to the approximate position shown (Fig 41).
27. Release the mouse button.
28. A yellow highlight should appear (Fig 41) where you selected if you followed the procedure correctly. Try again until you get it right.
26
Figure 41
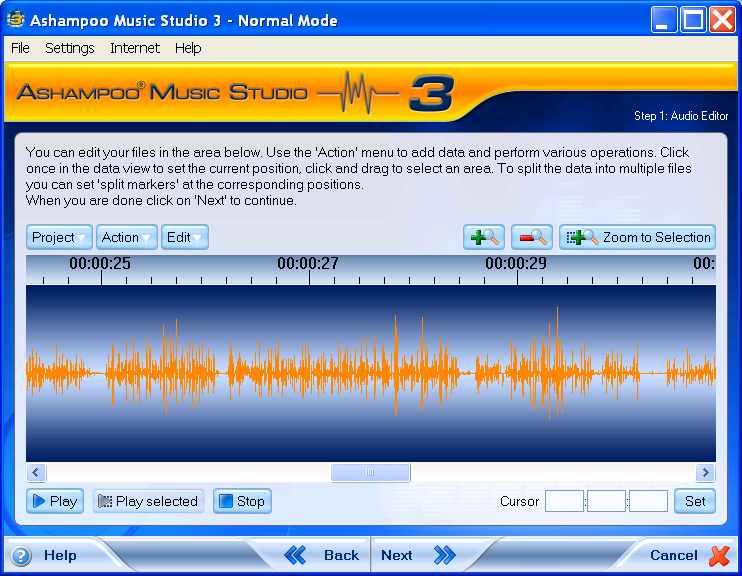
29. Click Play selected button where indicated.
30. The blue play line will appear and play within this select (highlight) area only (Fig 42), allowing you to check for errors in a song.
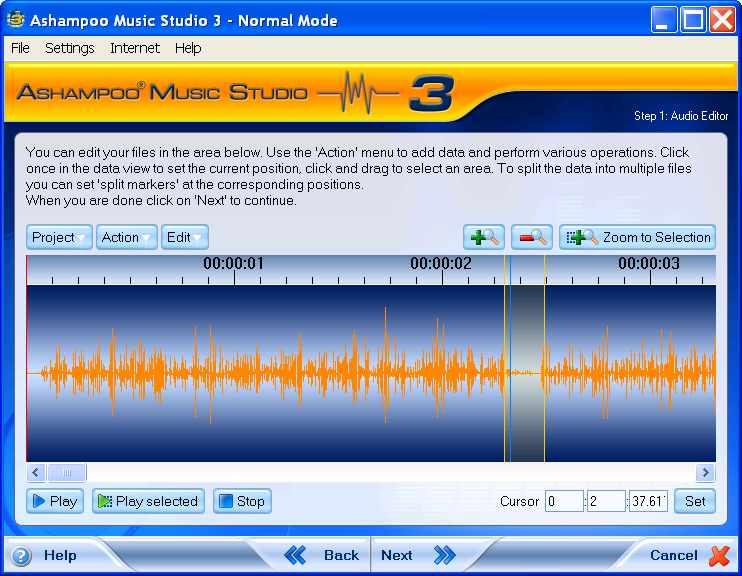
31. When the first song becomes silent, point the mouse pointer at that position and click (Fig 43). Notice that the wave line is flat at the position I have chosen.
 30 30
30 30Figure 43 32. A red position line should appear at the position chosen (Fig 44) in place of the blue line. The first track separation will occur at this spot.

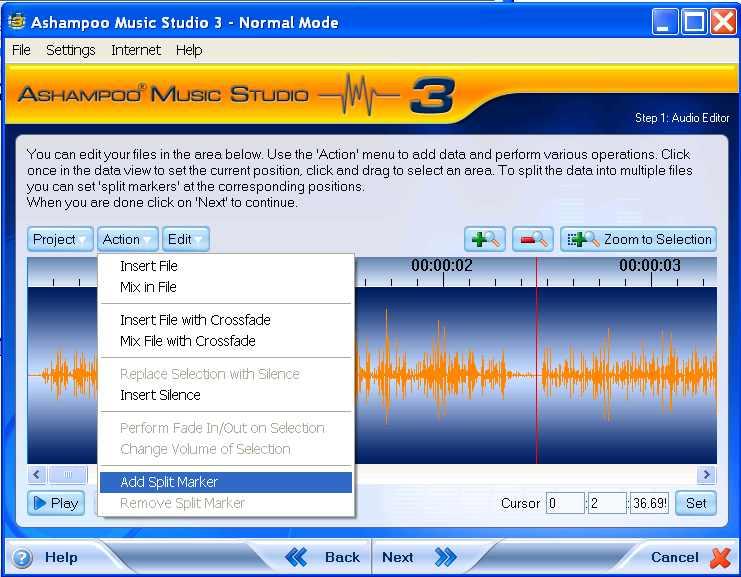
32 33. Click the Action button (Fig 45).
34. Click Add Split Marker in the drop down window (Fig 45).
 34 34
34 34Figure 45
35. The first track mark will appear looking similar to a scissors (Fig 46) in place of the red position line.
 35
3536
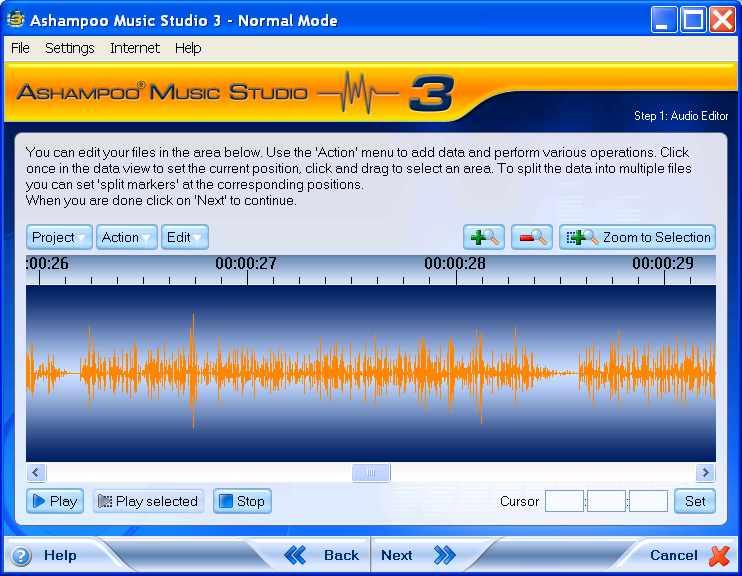
36. Continue clicking the right arrow (Fig 46) until it passes the second song wave, with the third slightly in view.
37. Your screen display should be similar to the one below (Fig 47), showing the entire second track and some of the third.
 37
37Figure 47
38. Use the same technique (repeat step 25 - 36) to select the second track and all the other tracks in your file. It will get easier with practice.
39. When you reach the last track position your screen display should be similar to the one shown on the following page (Fig 48).
40. No track marker is required at the end of the last track in the file (Fig 48).
41. The scroll bar is fully touching the right arrow shown (Fig 48).
 39
3940
41 Figure 48 You are about to convert your first lot of audio files. This should be the easy part – don’t rush.