Cubase vst-the MIDI Mixer and Mix Tracks by - HTML preview
Download the book in PDF, ePub, Kindle for a complete version.
Introduction
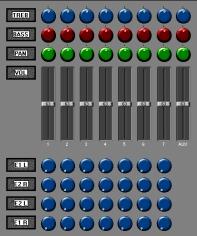
Example Mix Map.
Cubase VST's MIDI Mixer window allows you to control MIDI devices for other functions than the regular “sequencing” ones. It works as a regular mixer for MIDI instruments (controlling volume, mute, pan etc), but it can also work as an editor panel for various instruments, effect devices etc.
The basic steps for using the Mixer are these:
1. Create a Mixer Track.
P If you load a Mixer Map that was created in an older version of Cubase, you will be prompted to convert the map to the new format or leave it as it is. The difference between the two formats is purely graphical.
3. Set up the Mixer Track to use the Mixer Map you loaded.Each Mixer Track is "assigned to" a Mixer Map.
4. Create a Part for the Mixer Track.
5. Open the Mixer window by double clicking the Part.
7. "Play" the Objects and – if you so wish – record your actions.
P This chapter discusses various types of MIDI Events. You won’t need to know that much about MIDI to use the MIDI Mixer, but if you want to create your own MIDI Mixer Objects, you have to have at least a basic knowledge.
About Mixer Tracks and MIDI Thruput
The Mixer Tracks are only for recording Mixer data, created by the program itself. You should not try to record MIDI data with a Mixer Track selected.If you select a Mixer Track and play your MIDI keyboard, you will note that Cubase VST behaves as if you had selected a MIDI Track that was set to thru-put with MIDI Channel “Any”.