How to Build the Coolest 1970’s Style go Cart Your Kids Will Love in Under 2 Hours by Robert Evans - HTML preview
Download the book in PDF, ePub, Kindle for a complete version.
So let’s build one in a day.
What do you need:
1. 4 x wheels and 2 x axles2. Wood
3. Nails or screws
4. 1 x locking nut, washer and bolt
5. Rope
6. Paint
7. Stickers
8. Foam
Wheels
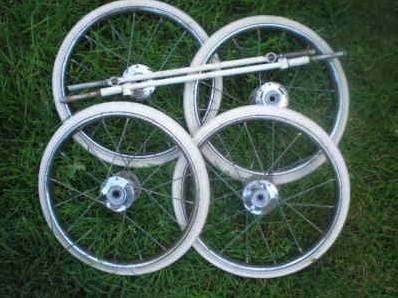
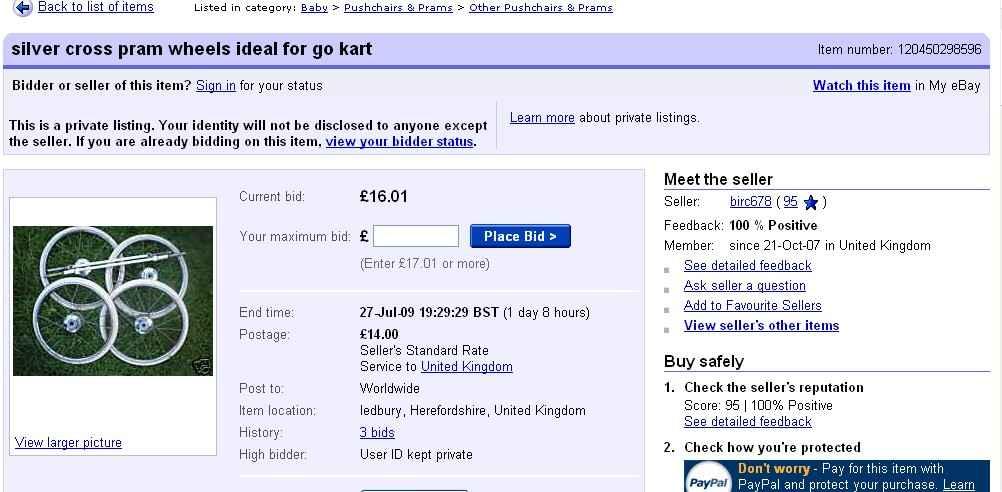
First thing you need to get your hands on are 4 wheels. Ideally you need to big wheels from the back and two smaller wheels for the front.
Back in the 60’s and 70’s you would have used pram or trolley wheels, and this is what you’ll be using today.
Go to your local tip and you should see an old pram, trolley or buggy. Ask the workers if it is okay to take what you want.
They should say yes, if not, then a local car boot sale or even looking at supermarket notice boards will be the next best place to get them from. Ebay is another good source for wheels and axles.

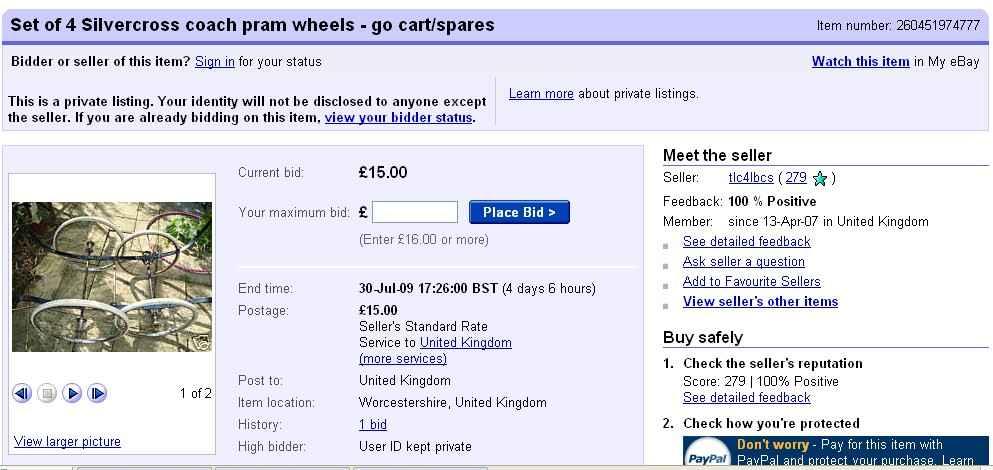
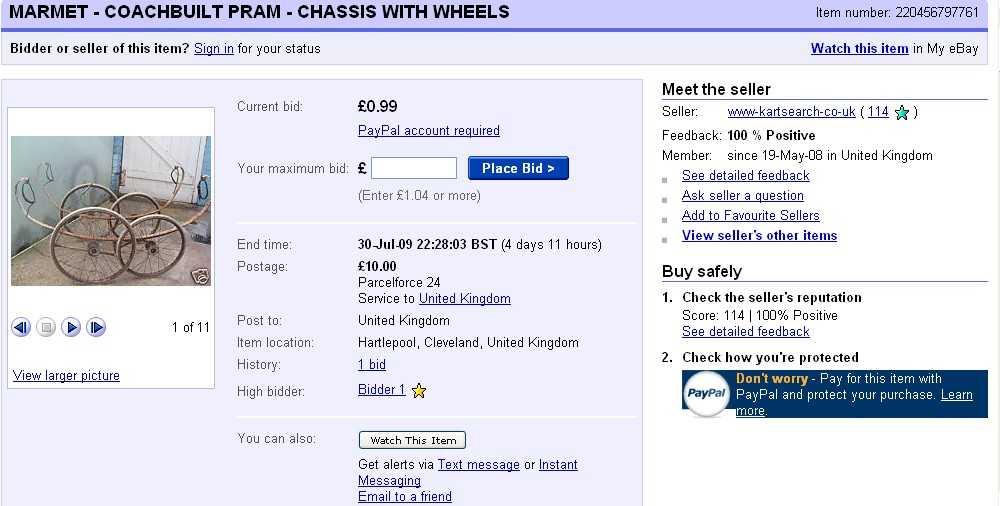
The wheels need to be on their axles and turn freely.
You might need a hacksaw to remove them from the pram or push chair.Remember if you can get two big wheels for the rear, and two smaller wheels for the front all the better.
The Body Frame
Next you need 3 pieces of wood / timber – the main body frame and support for the axles.If you haven’t any spare wood at home then either a local DIY or wood merchants is the best place to get some.
You might be able to find some wood/timber on ebay.
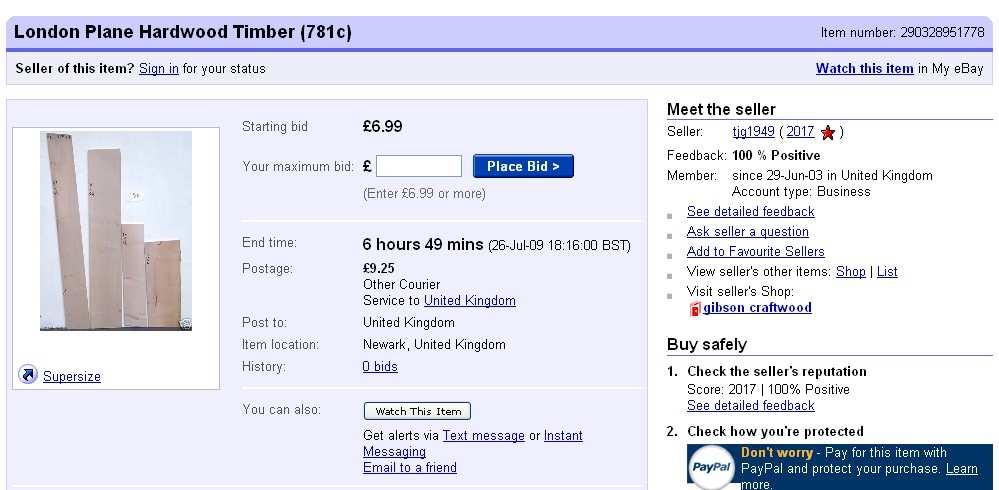 Or a visit to your local tip might prove
 worthwhile.
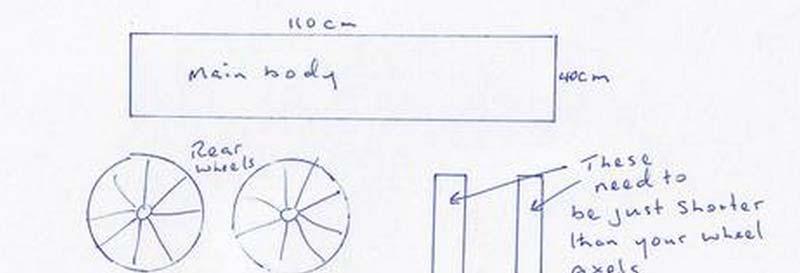
You need a piece of wood 110cm x 40cm
And 2 x pieces of wood that are cut just short of the length of your wheels axles.
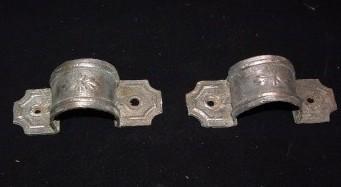
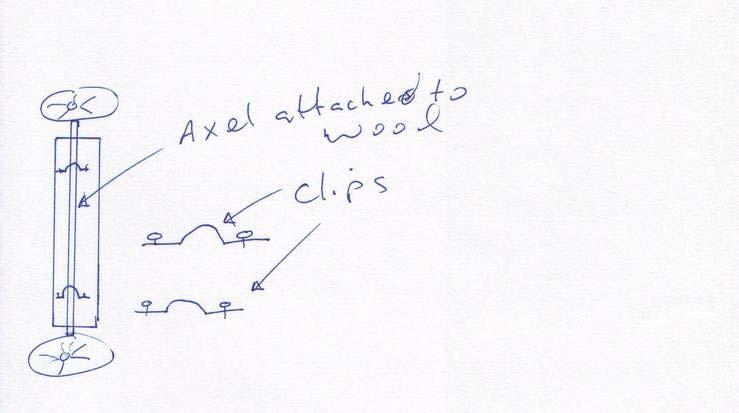
Attaching The Wheel Axles
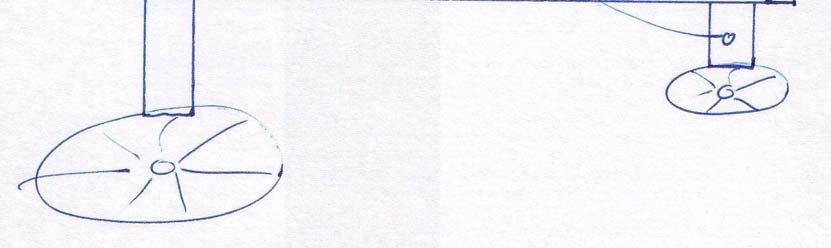
Next you need to attach the wheels axles to the smaller pieces of wood.To do this you need brackets like these:
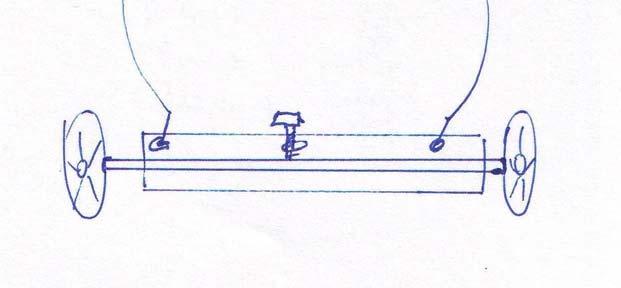
Connecting The Front Wheels To The Body
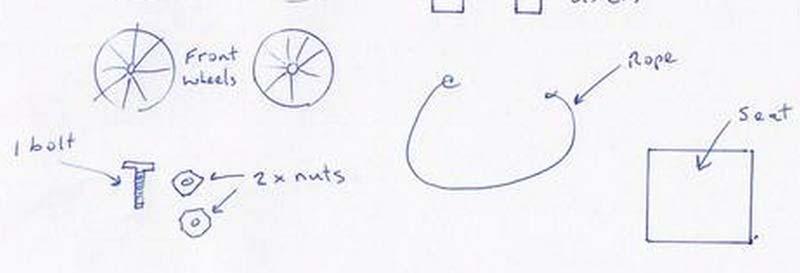
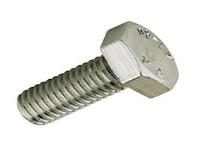
Next you need to drill a hole big enough for the nut and bolt at the front of the go cart.I used a 70mm long bolt – you might need a longer or shorter one depending on the thickness of your wood.
 You also need a washer and a self locking nut.

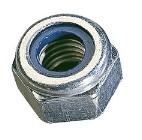
A self locking nut enables you to only tighten so far down allowing movement for the front wheel axle that is also your steering.
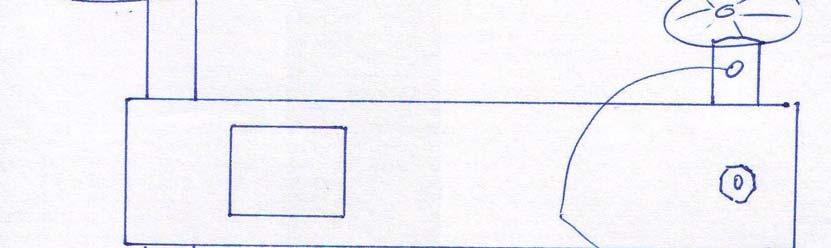
Securing The Back Wheels And Seat
To secure the back wheels to the body of the go cart you can use nails or screws.Next you need to attach a seat to the body of the go cart.
I used a square piece of wood and covered it with some foam and material that I then nailed in place underneath.
Steering The Go Cart
To do this you need to drill two holes in the front axle wood.This is where your rope will go that will steer the go cart.
Thread each end through the holes and tie a knot in each end.

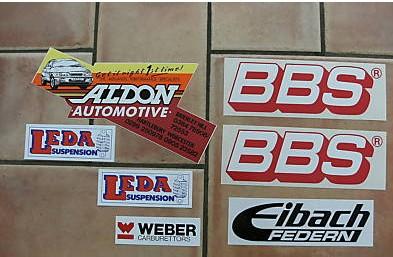
Customising Your Go Cart
You can paint your go cart or add some stickers to go on the go cart to your choice.I bought mine from ebay.
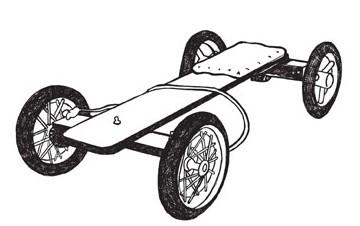
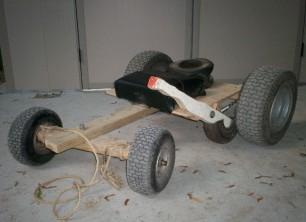
The Finished Go Cart
And this is how it should look: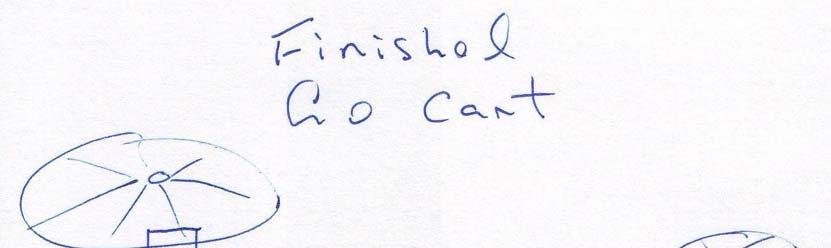
The Road Test
Finally road test the go cart before you allow children to use it.Make sure everything is tight, the wheels move around freely, it steers okay and is safe to ride.