Fun Craft Projects by Tabula Rasa - HTML preview
Download the book in PDF, ePub, Kindle for a complete version.
4. Sunny Day Window Shelf

Materials:
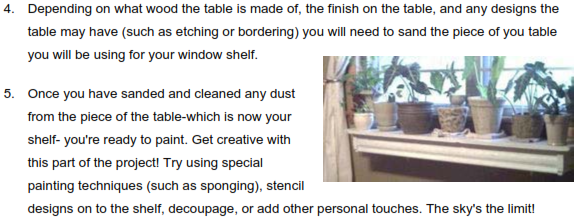
- A used coffee or side table of any size. For this, project I found a coffee table at a yard sale for $4.00! (The table used in this project measures 54"x11"x6".)
- Paint in your choice of color. I used "latex semi-gloss wall and trim" paint left over from when I painted the bathroom and saved money!
- 2 to 4 wall brackets. The size and the number of the brackets will depend on the size and weight of the window shelf you will be mounting. You can purchase wall brackets at any of you local hardware stores or discount retailers.
- Sheet rock anchors. You may or may not need to use sheet rock anchors depending on the weight of your shelf combined with the weight of the item(s) you plan to display. To be on the safe side I would recommend using anchors in any instance just to prevent disasters! The anchors can also be purchased at a local hardware or discount store.
Tools you will need:
- Hand saw (or, if you have access, a circular saw or table saw will cut down on time and labor.)
- Sand Paper
- Hammer
- Level
- Screw driver
- Tape measure
Let's start!
1. Using your saw, cut the legs off of the table. Be sure to take the necessary safety precautions during the sawing portion of the project (ie: protective eyewear, etc. And, Watch Your Fingers!)
2. Continue by dividing the table down the middle, using the level to ensure you are sectioning it into equal halves. Draw a guide of where you will be sawing with a pencil after you have sectioned off the table.
3. Saw the table into halves.
6. (Note: Once your shelf has dried you may want to add a clear protective coating. This is optional.)
Mounting instructions:
4. Place you window shelf on the brackets and Voila! You now are the proud owner -- and creator -- of a Sunny Day Window Shelf.