
Local Citations Workbook by Dennis Yu - HTML preview
Download the book in PDF, ePub, Kindle for a complete version.
Steps to Create a Local Citation on Any
Directory
Step 1
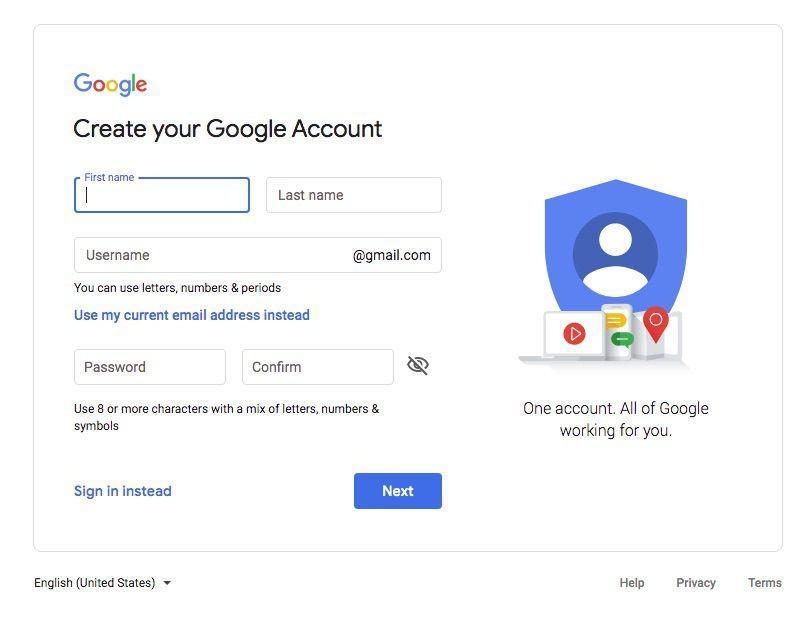
Create a dedicated Google Account for the business specifically to make citations and verify the local directory listings.
This account will only be used for these tasks.
OR
● You can use your business' official Google Account.

24
Step 2
Obtain access to the GBP (Google Business Profile) to gather all the information
needed for citations. Refer to our Access Checklist for guidance.
Watch Video on Access Checklist
● Read the business details carefully and gather all the basic and important
information.
Important things to keep in mind while creating citations:
● The business name must be used exactly as it appears officially, without any
spelling errors or additional spaces.
● The business address must be accurate, including the street name and
number, and the postal or zip code should be correct.
● You should use the official phone number of your business to ensure that
the country code is correct.
● It's also essential to select the correct profile category that accurately
represents the type of business.
● If available, other information, such as the business website, should be
included in the citation. Ensure that the information used to form a short description is accurate.
● The description should include an introduction to the business owner, the
services provided, the service areas covered, and a brief overview of the business.
● Finally, the official business logo and images should be utilized, and the
opening and closing hours should be specified.

25
Step 3
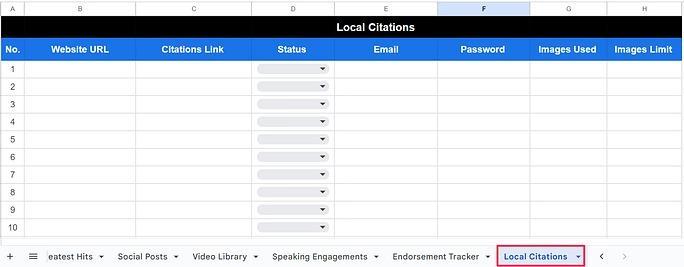
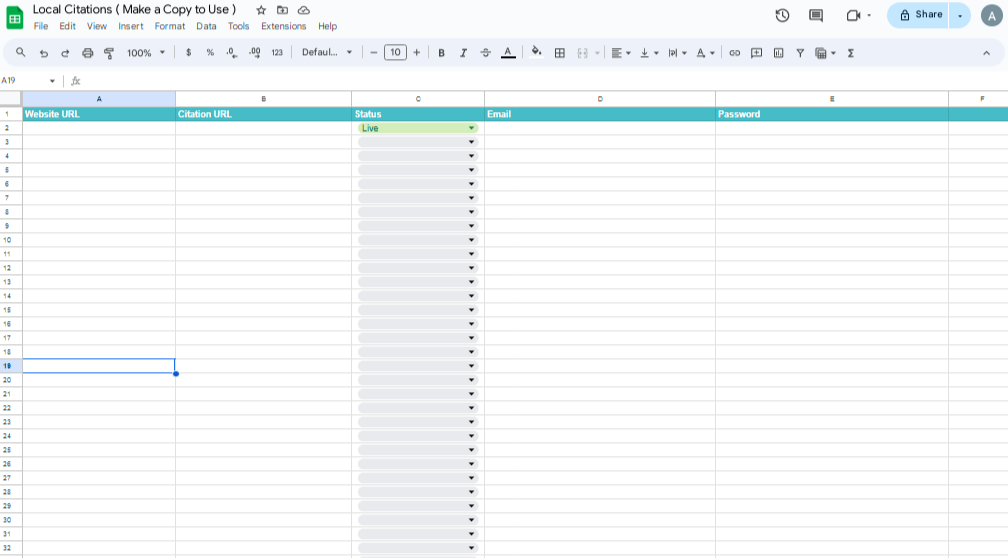
Before you start building local citations, create a spreadsheet in Google Sheets to track your progress.
This spreadsheet will help you organize all the information related to your citations.
Here's what you can include in your spreadsheet:
● Website URLs: Include the URLs of the websites where you create citations.
● Citation URLs: After creating the citation, capture the specific URL that links
back to your business listing on that website.
● Citation status: Track the status of each citation (e.g., "Submitted,"
"Verified," "Needs Review").
● Login information: You may need to store login credentials (email and
password) to access and manage your citation in the future.
● Images: You need to mention the number of images used in your local
citations in your sheet and specify the number of photos allowed.
Here's a helpful Google Sheets template: Link to Google Sheet Template. You can
make a copy for your use. VAs can also find a template in our Content Library at the end of the sheet.

26
● After gathering all the essential information about your business, you are ready
to start building citations.
● Sign up on the website using the Google Account you've created or already
have, which you intend to use for building citations.
For example, I am using Hotfrog to create a business listing for Ecocare Pest

27
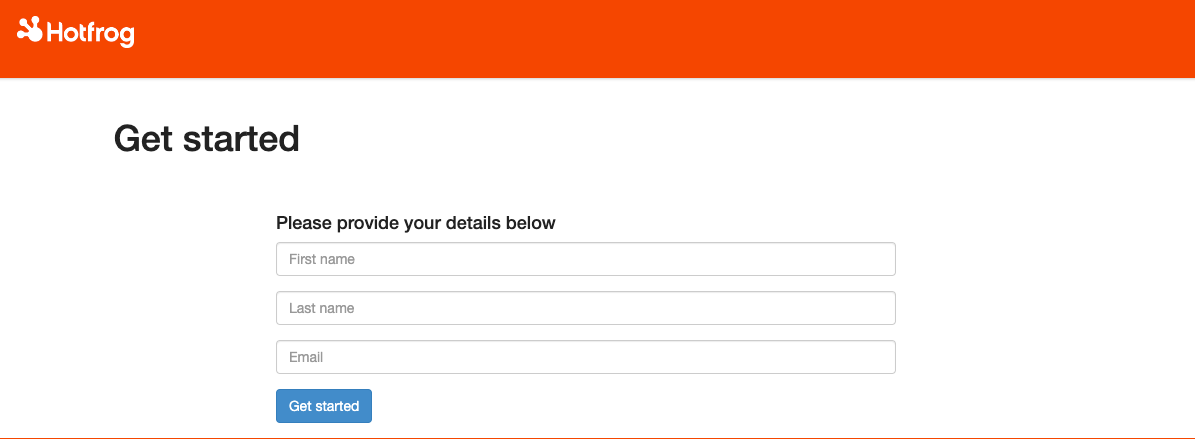
Step 4
● After signing up on the website, you will receive a verification link in your
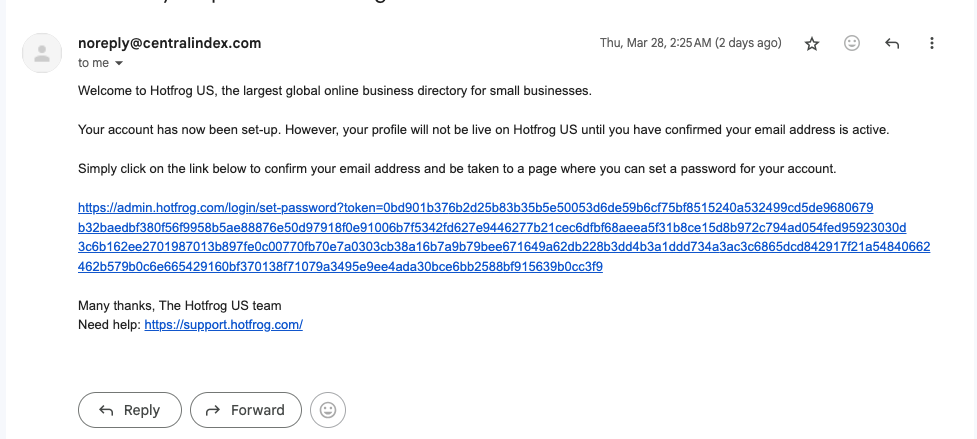
Gmail account, which you need to click on to verify and proceed further.
Step 5
● After verifying, you can create the business profile using all the information
you've collected about the business.

28
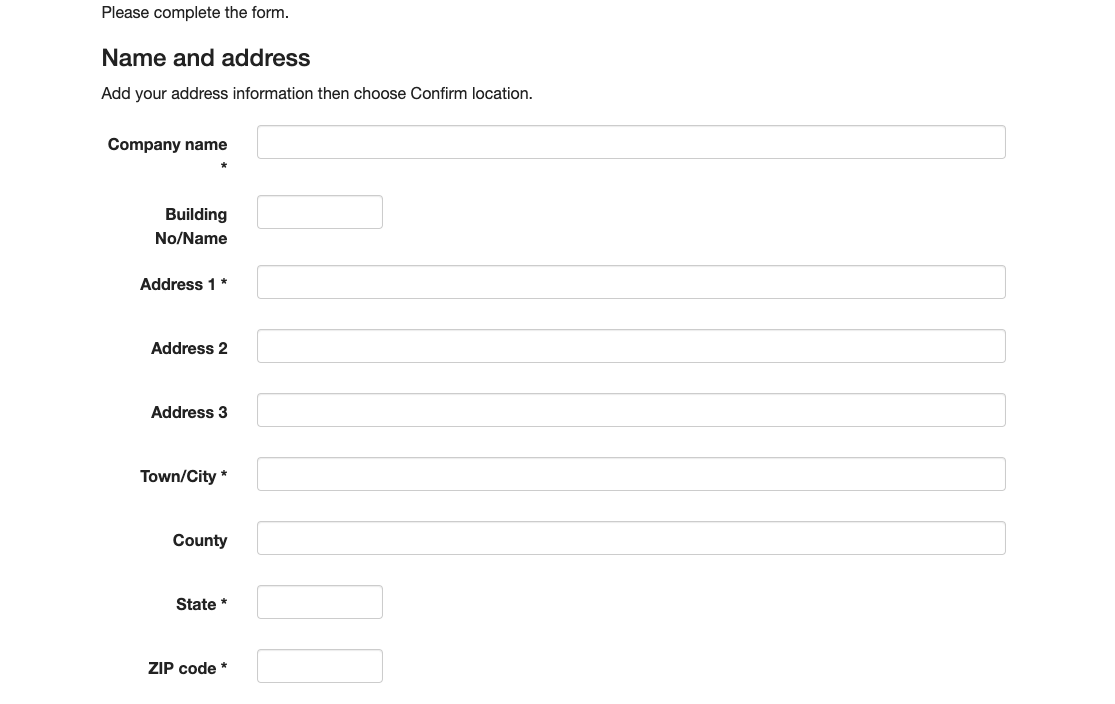
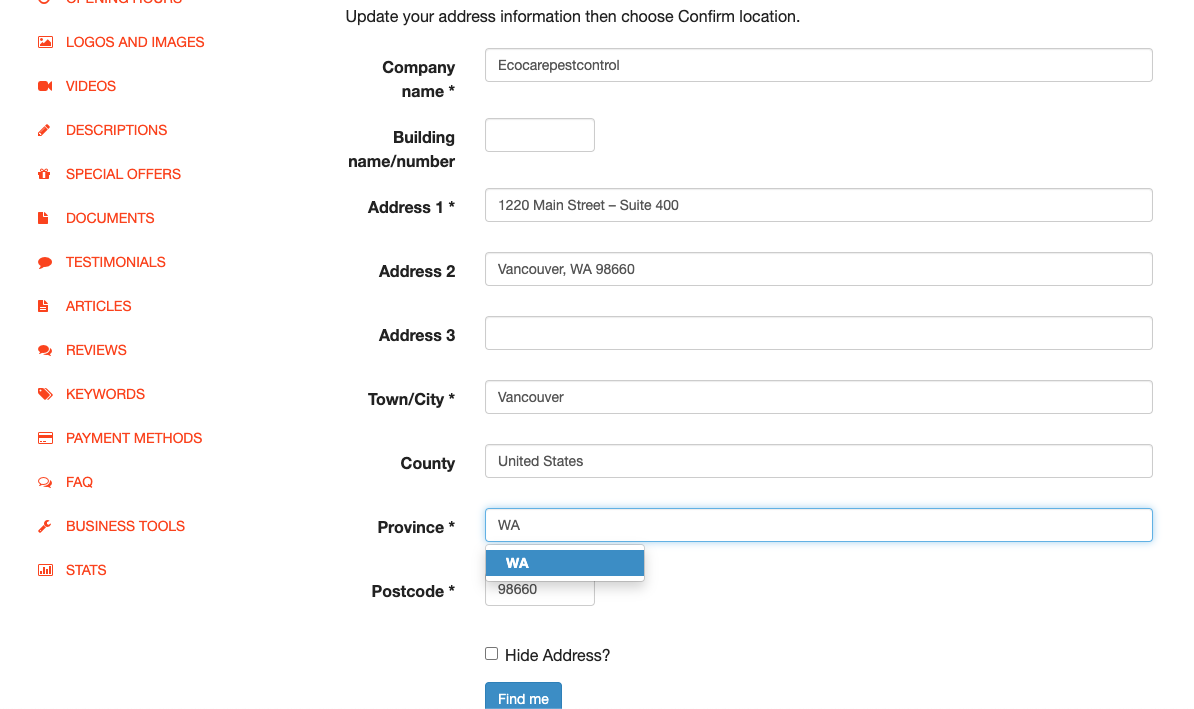
Start filling out the form using the correct business information.
● Complete the NAP (Name, Address, Phone) fields accurately. ● Enter your business's full address, including zip code and country. ● Double-check for any spelling or formatting errors.

29
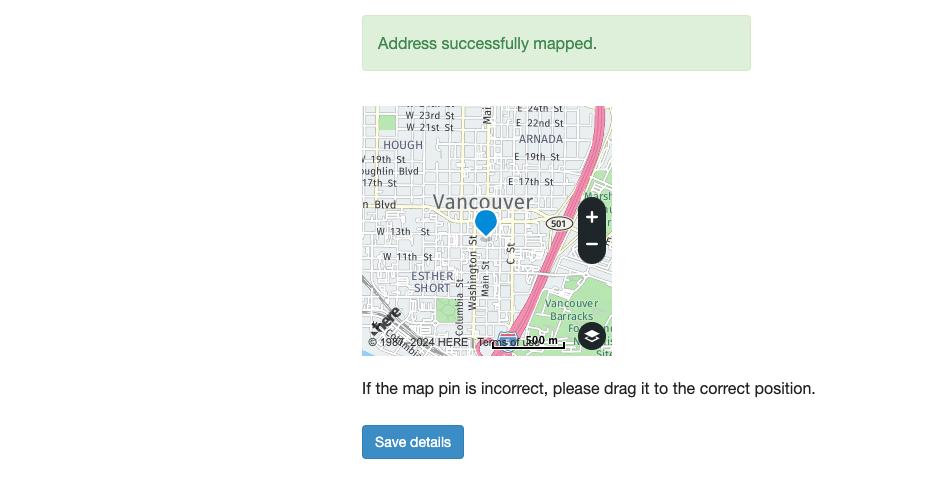
You can also pin your business address on the map.
● Locate the map section on the citation platform.
● Enter your business address accurately.
● Verify the location pinned on the map.
● Adjust the pin if necessary for precise placement.
● Pinning your business address accurately enhances local visibility and
ensures customers can find your physical location easily.

30
Now, it's time to add a category to your business.
● Add categories that best describe your business.
● Choose categories aligned with your services for better visibility.
● Ensure accurate category selection to attract relevant customers.
● Selecting the right category is crucial for effective Goals Content Targeting
(GCT).
Now it's time to add the business phone number and website.
● Input your business's phone number and website URL.
● Ensure the information is accurate and up-to-date.
● Provide a direct contact method for customers.

31

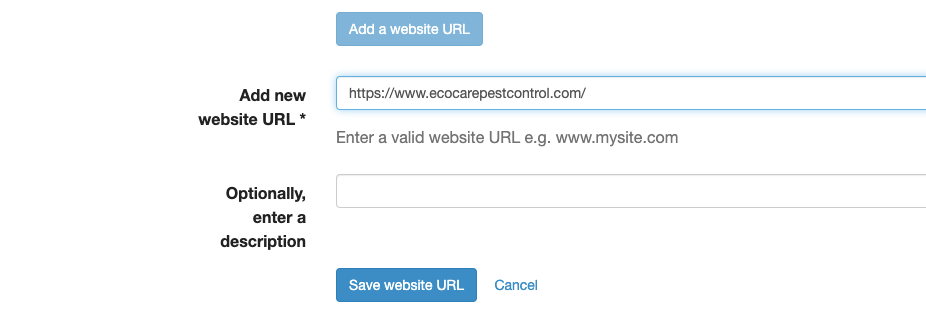
● Include your website for additional information.
● Accuracy in phone numbers and website details is vital for customer
engagement.
● Now that you have added the correct information about the business, such as
the name, address, phone number, and website, you need to submit the profile.
● After submitting your profile, the website will ask you to verify your listing to
confirm that it accurately represents your business.

32
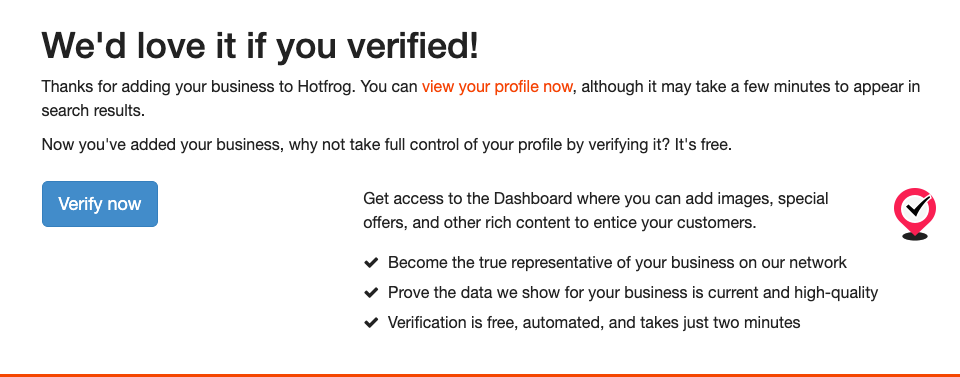
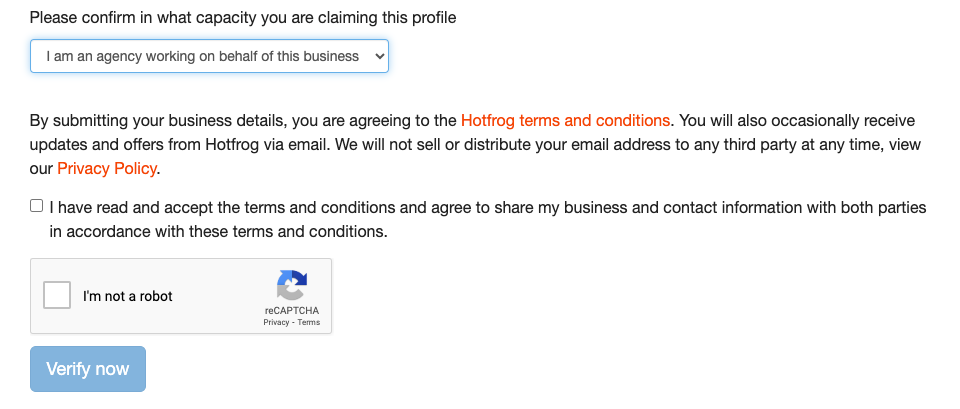
● Now, it's time to verify your profile to confirm whether you are the business
owner or an agency managing the citations.

33

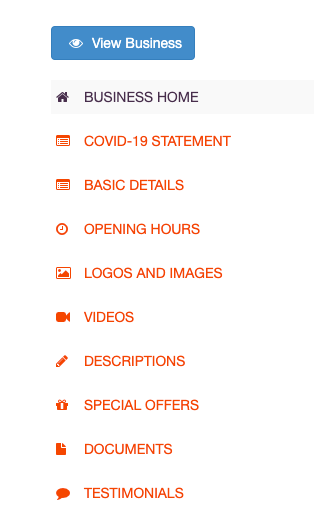
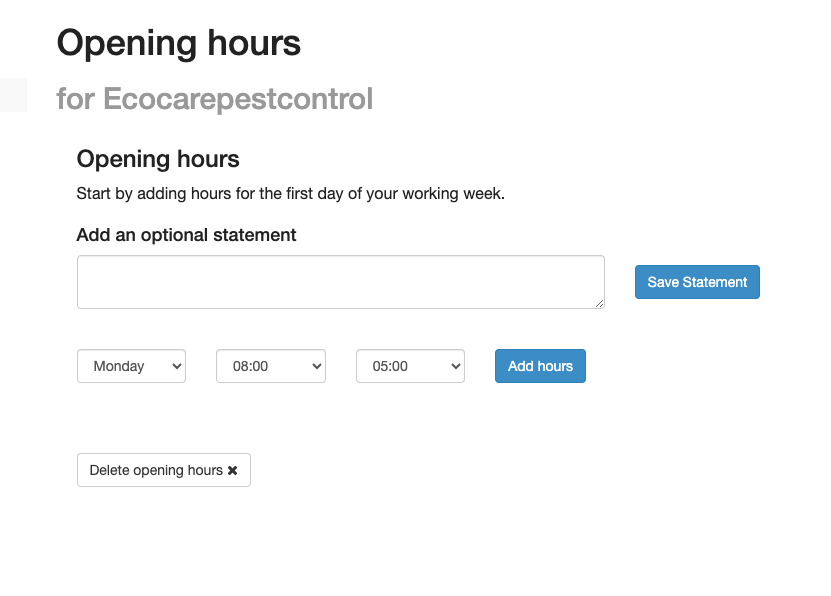
● After verifying the profile, you will get more options to add and upgrade your
business profile.
● Find the "Opening Hours" and "Logo and
Images Upload" sections on the platform.
● Enter your business hours, such as "Monday
to Friday: 9:00 AM - 5:00 PM."
Ensure that the hours reflect your business hours.
For instance, if your business closes at 6:00 PM on Saturdays, include this information in the hours
section.
● Upload your business logo by clicking the
"Upload Logo" button and selecting the image file from your computer.
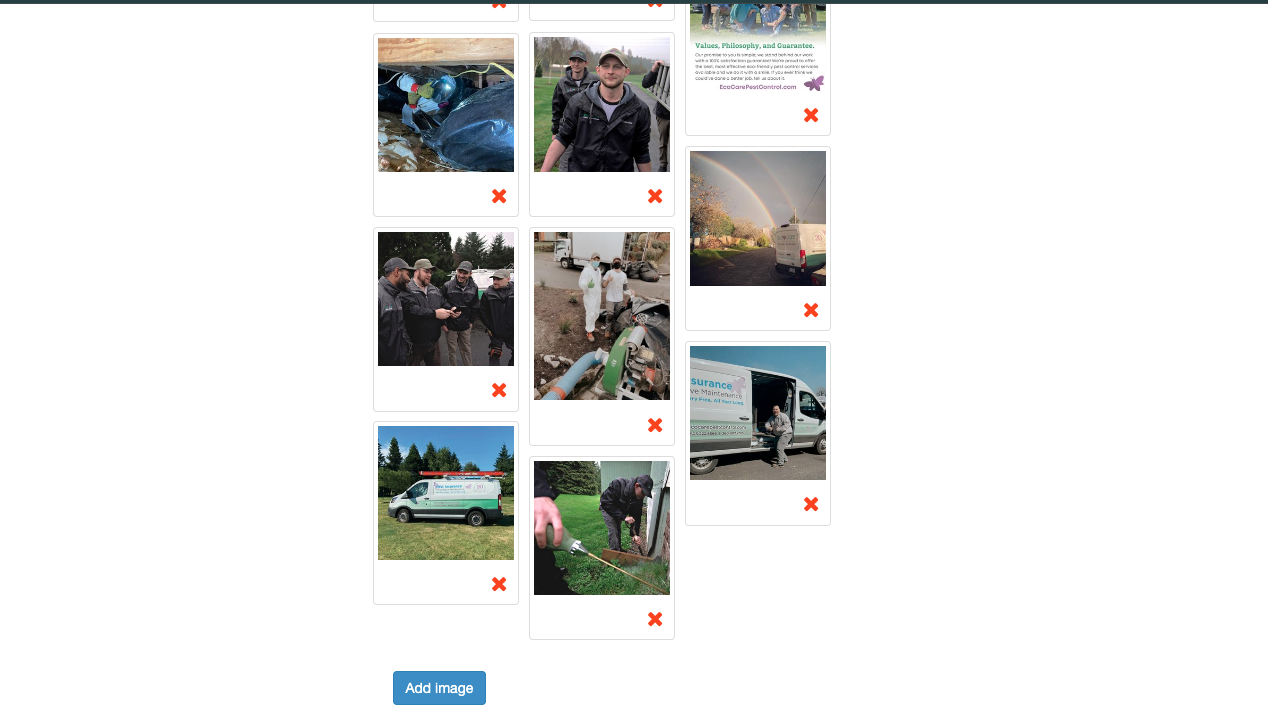
● Upload your business images by clicking the "Add Image" button and
selecting the image file from your computer.

34
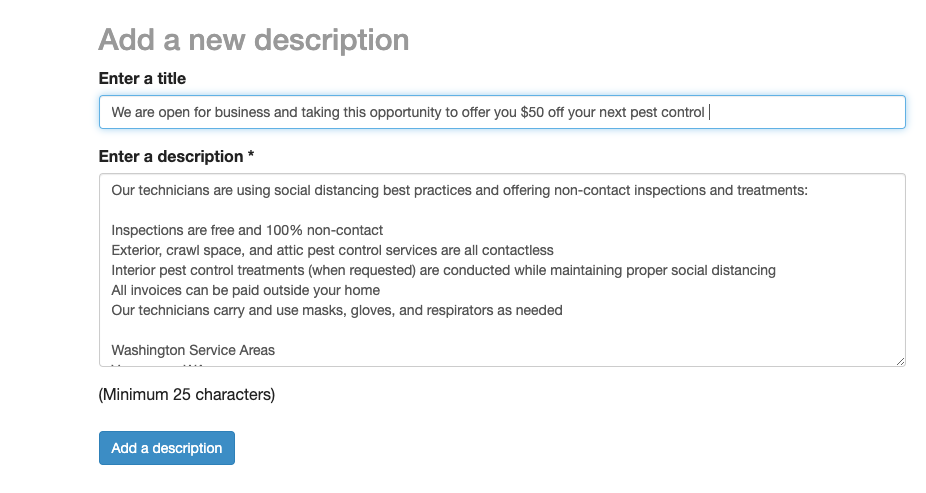
To attract customers, you need to add a description of your business that will help visitors learn more about your business.
● Write a clear and engaging summary of your business.
● Showcase your services and what sets you apart.
● Keep it concise and focused on informing customers.
● A compelling business description helps customers understand your
offerings and build trust.

35
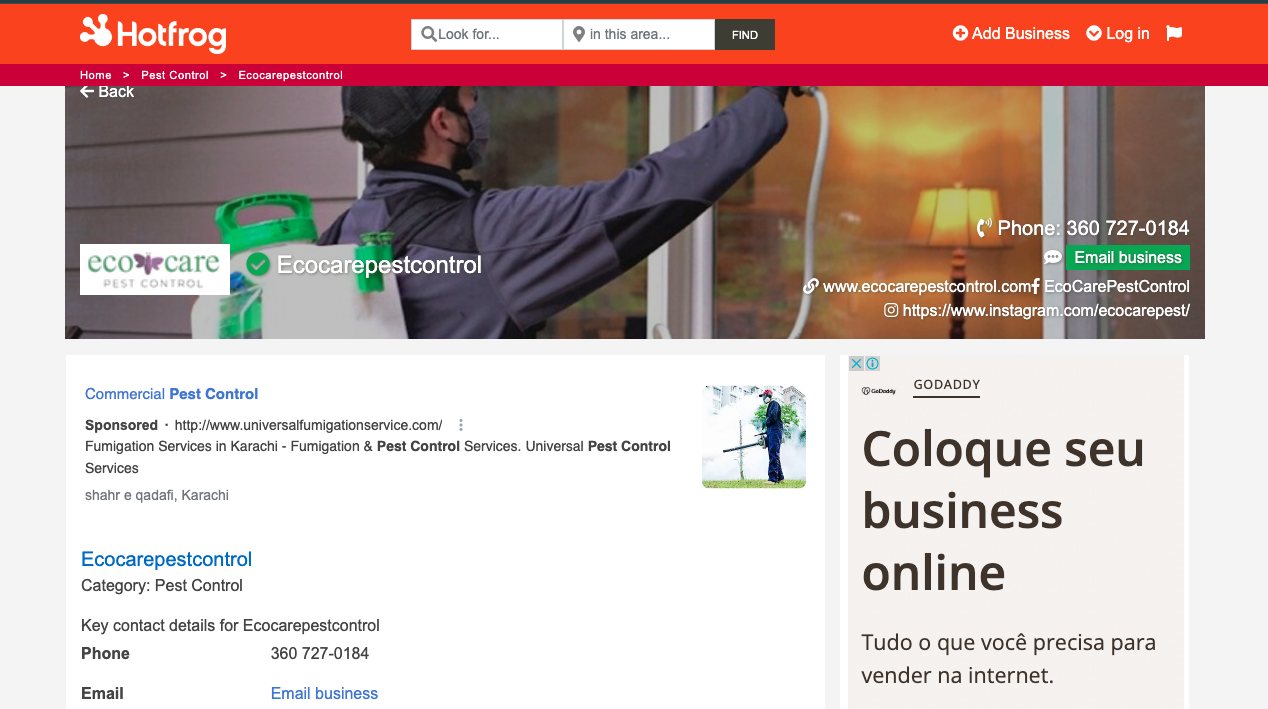
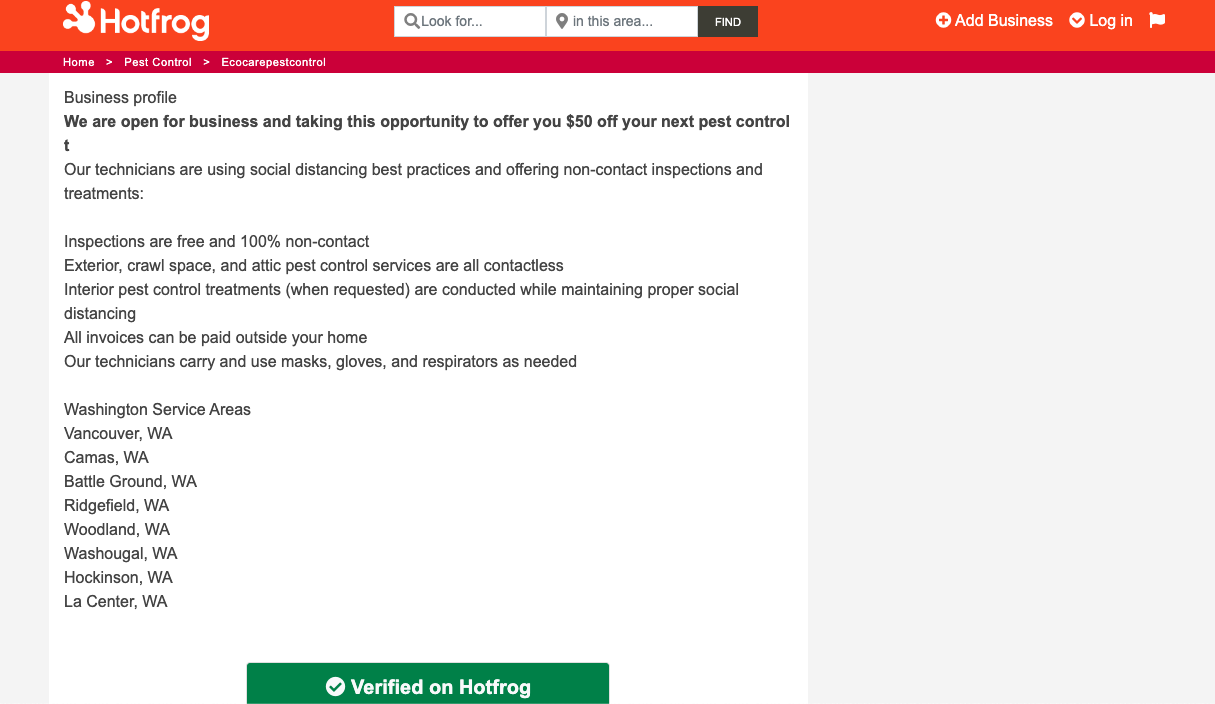
● After adding all the information mentioned above, your business's local
citation will look like this.

36
Step 1
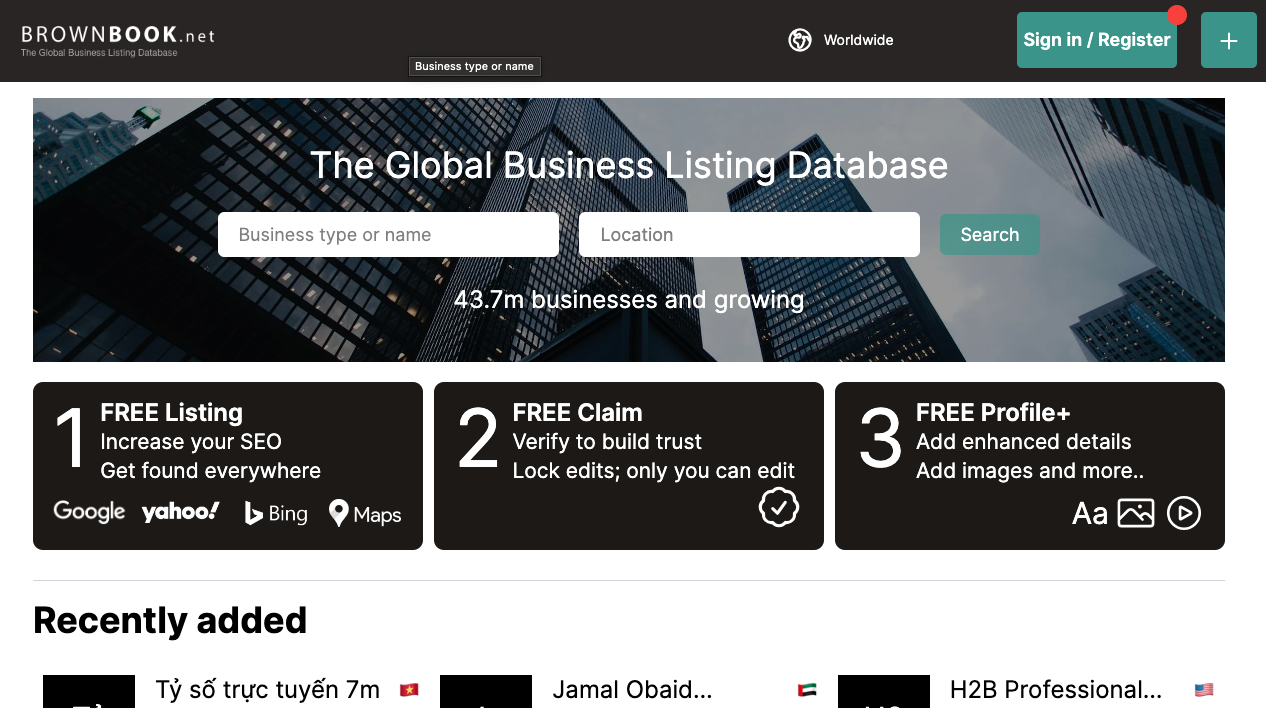
First, search for Brownbook or any business directory and click on it. Then, you will have an interface like this.

37
After that, you must click "Sign in / Register" to create an account.
Remember, you should use the official Google Account to make your profile on the website.
Step 2
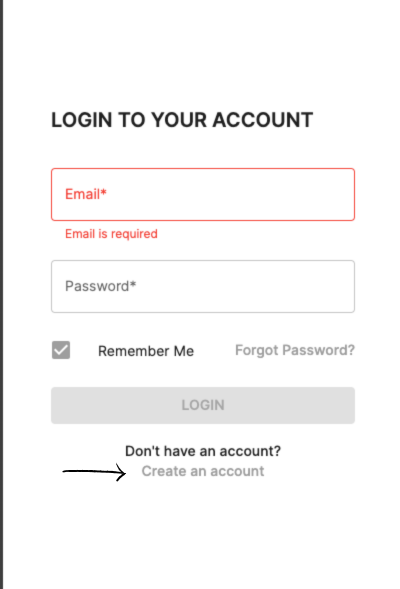
After clicking "Sign in / Register," you must click
"Create an account" to proceed.

38
Step 3
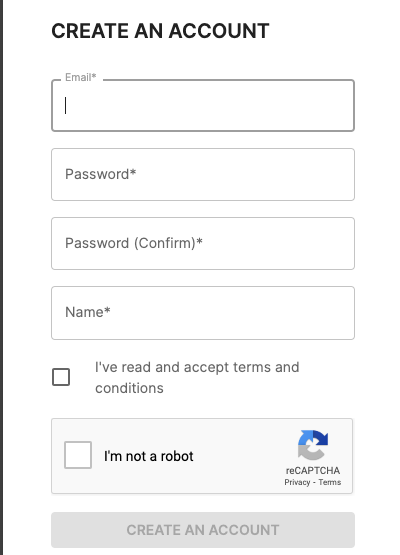
After clicking Create an account, you must fill this out to proceed.
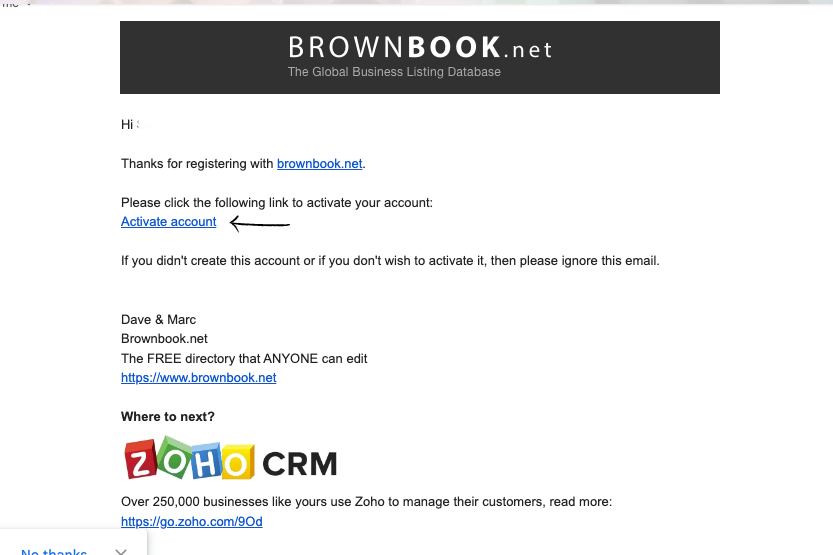
You will receive an activation code in your Gmail inbox after creating an account and filling in all the required information. From there, you need to activate your account to proceed further.
After activating your account, you must click the + button to proceed.
Step 4
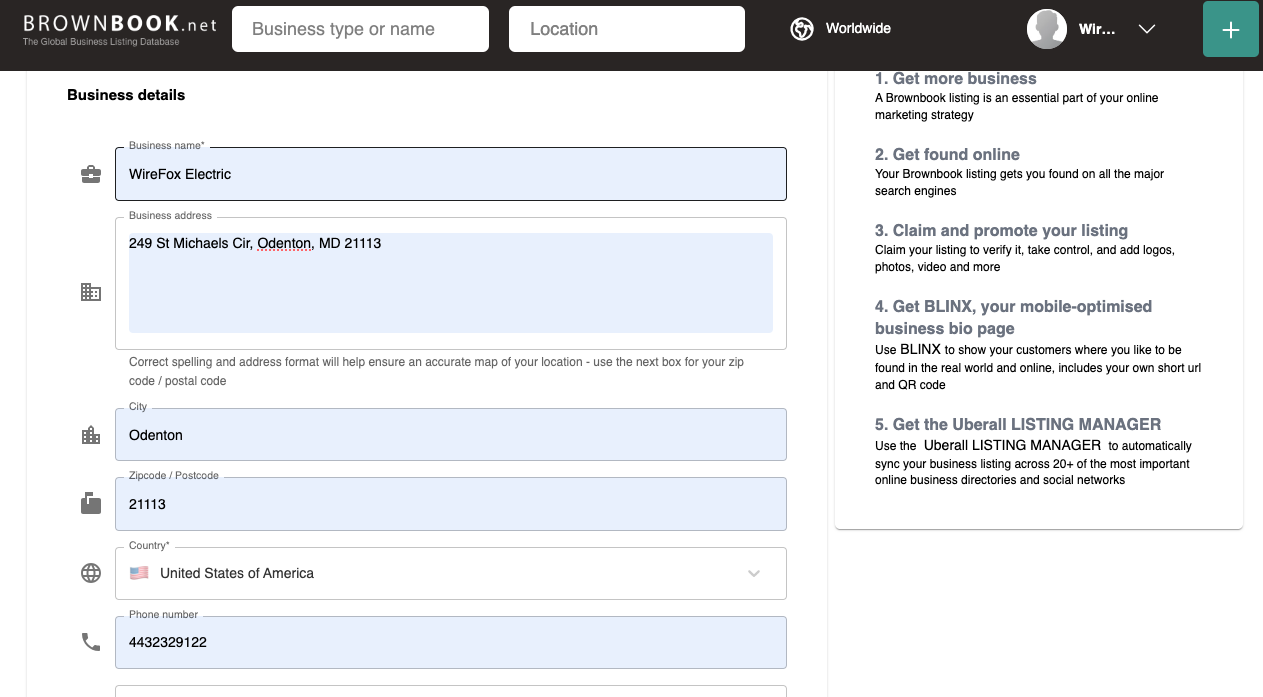
After clicking on "+," you will have this interface where you must fill in all your business information.

39
You will add all the information according to your business, and remember to use the correct NAP (Name, Address, Phone number) and other details.
After adding all the essential information, you must claim your business listing by clicking "claim."
Step 6
After clicking on "Edit listing," you will be able to edit your listing further. To add your business logo to the listing, click on the camera icon and select the logo image from your computer.
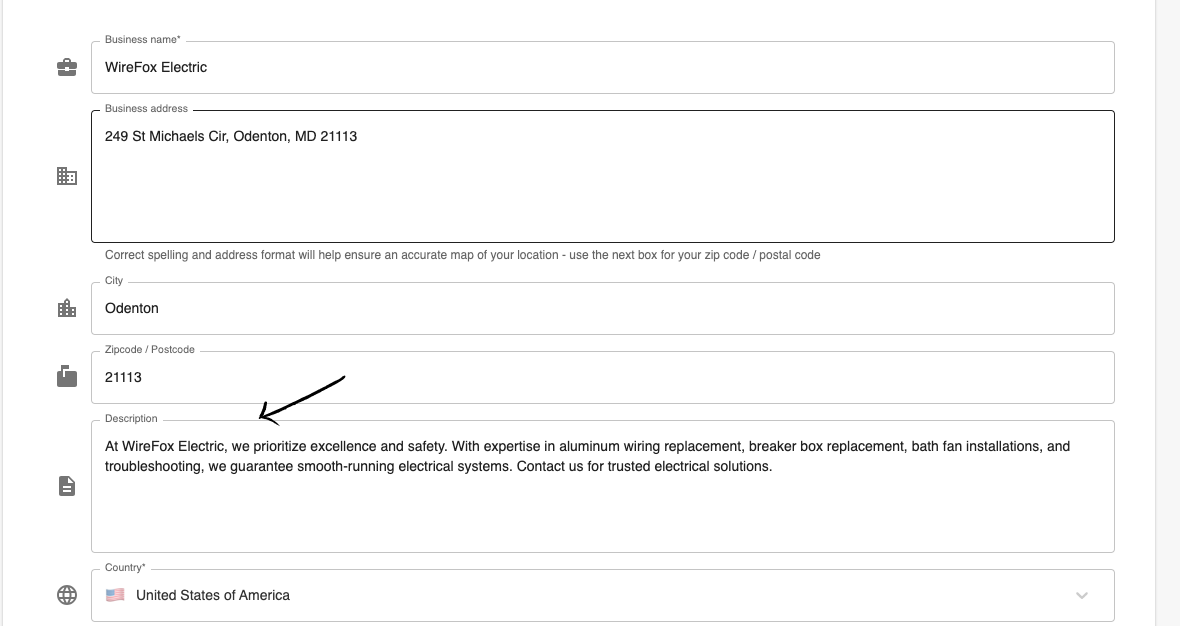
After adding the logo to your business, it's time to add a detailed business description of up to 1000 characters. Here's where you can add your business description:

40
Now, when you have added a detailed description to your business listing, it's time to add business hours. You need to click on "Additional info" and scroll down.
There, you can find the option to add business hours. Remember, you must add the correct business hours to your listing and avoid making mistakes.
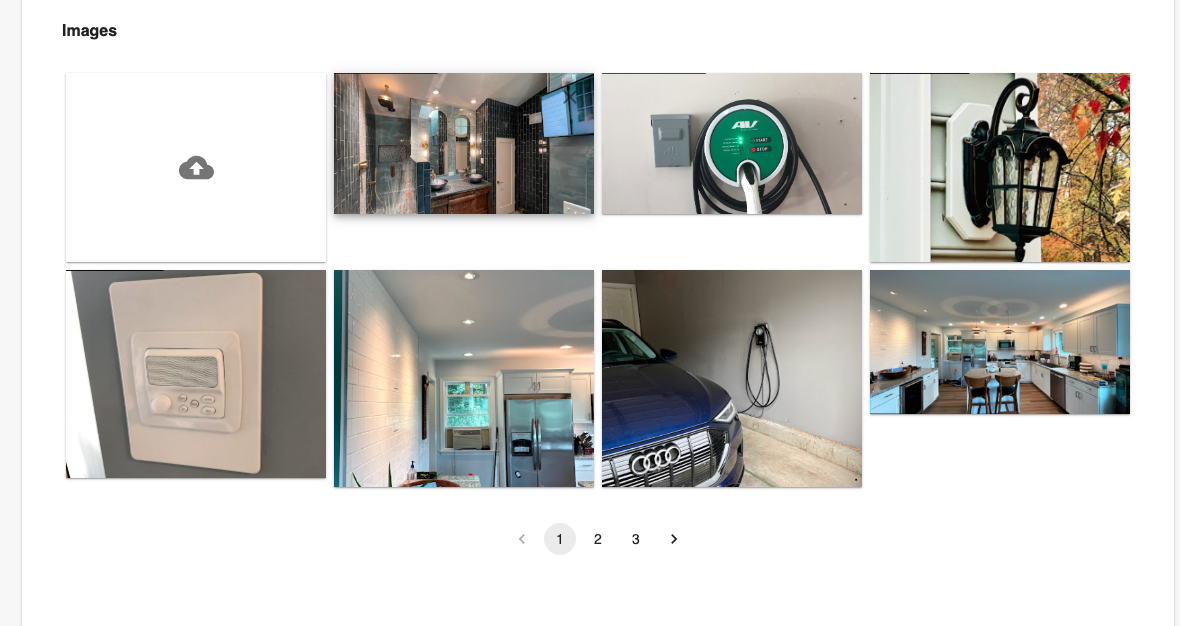
To make your business look more appealing and professional, it's essential to showcase images that highlight what you do best. Here's how you can do it: Go to the "Media" section and click the upload icon. You can add up to 20 images from your computer to give potential customers a visual glimpse of your business.

41
Once you've added your business images, take a moment to double-check your listing. Ensure all the necessary details are filled in correctly to ensure your listing looks polished and complete.

42
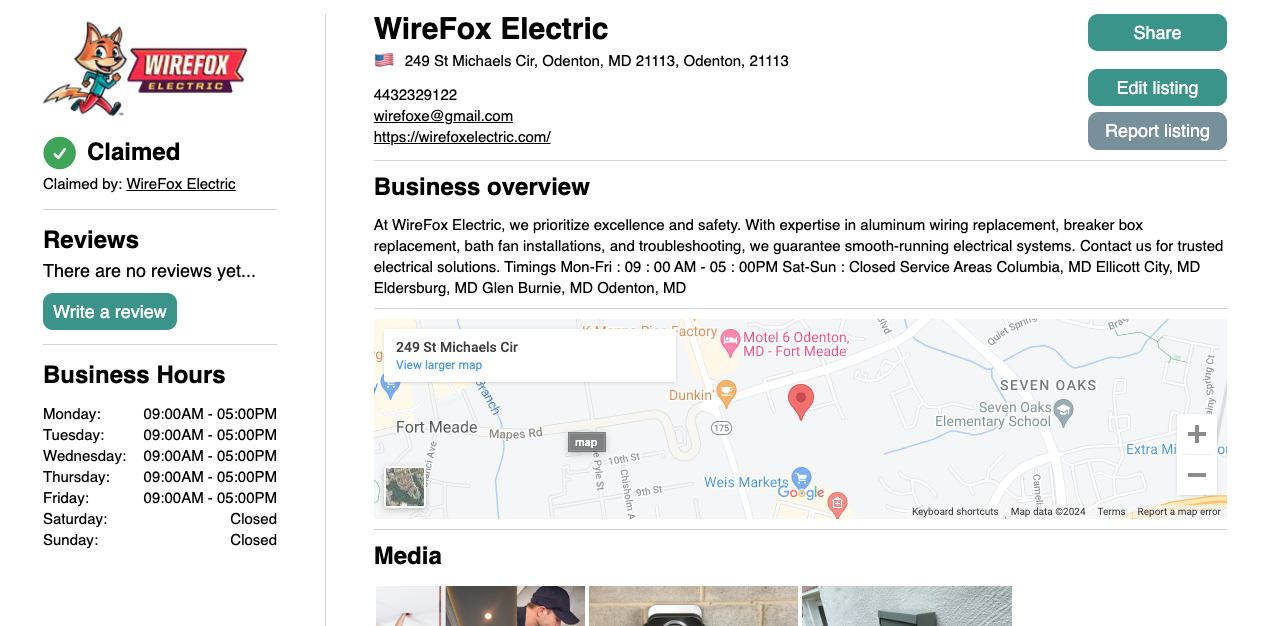
After that, your local business citation will look like this:

43
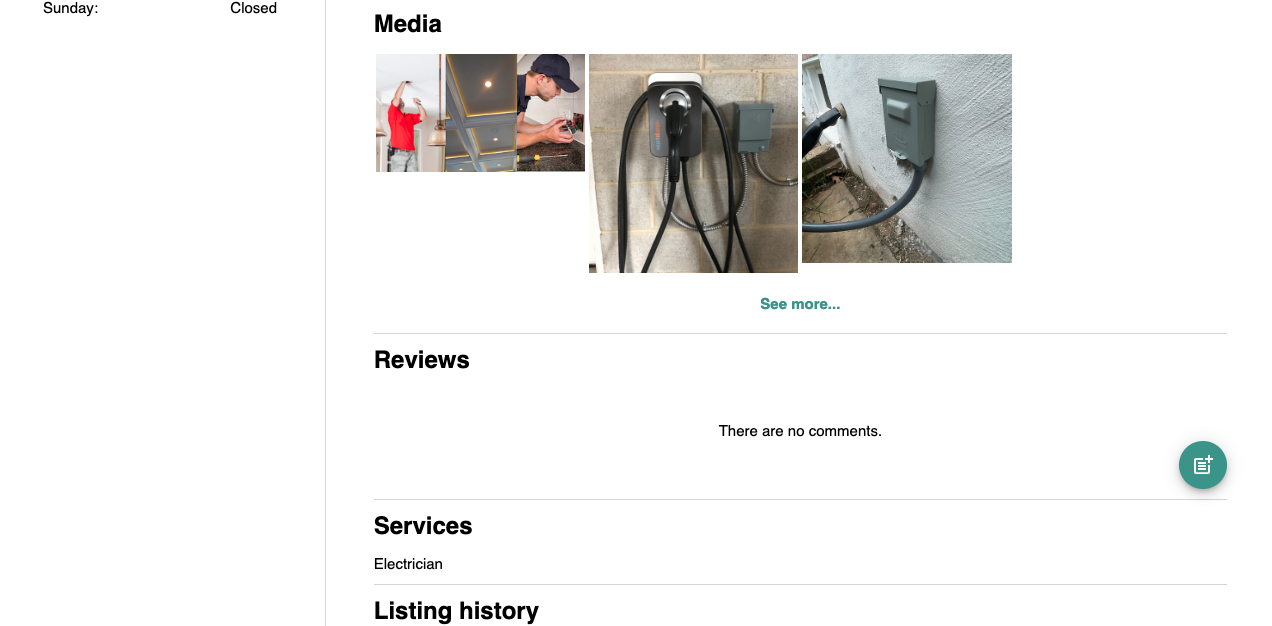
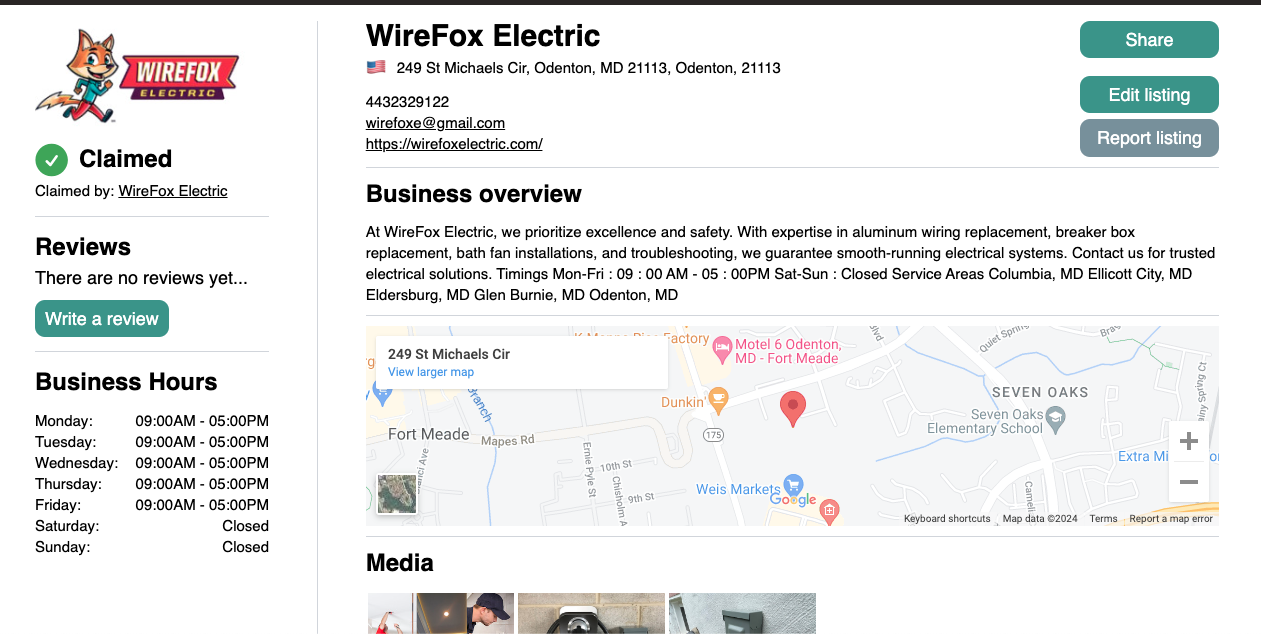
Here's how you will add your business images and other information:
Step 5
After confirming your claim, you need to click on "My Businesses" to proceed further and make your listing look more detailed.

44
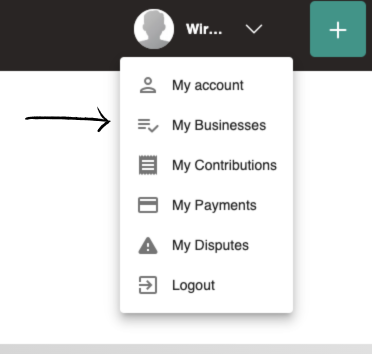
After clicking "My Businesses," you must click on the business you just created. After that, you must click "Edit listing" to edit your business listing and make it look professional.
Example 3
We've discussed two examples of home service businesses. Now, let's dive into one more example and learn how to create local citations.
I am creating a citation for My One Day Bathroom as an example to illustrate how you can quickly generate a citation.
Step 1
Start by searching for Manta in your web browser and click on the website link. This will take you to the platform's interface, where you can set up your business profile.

45
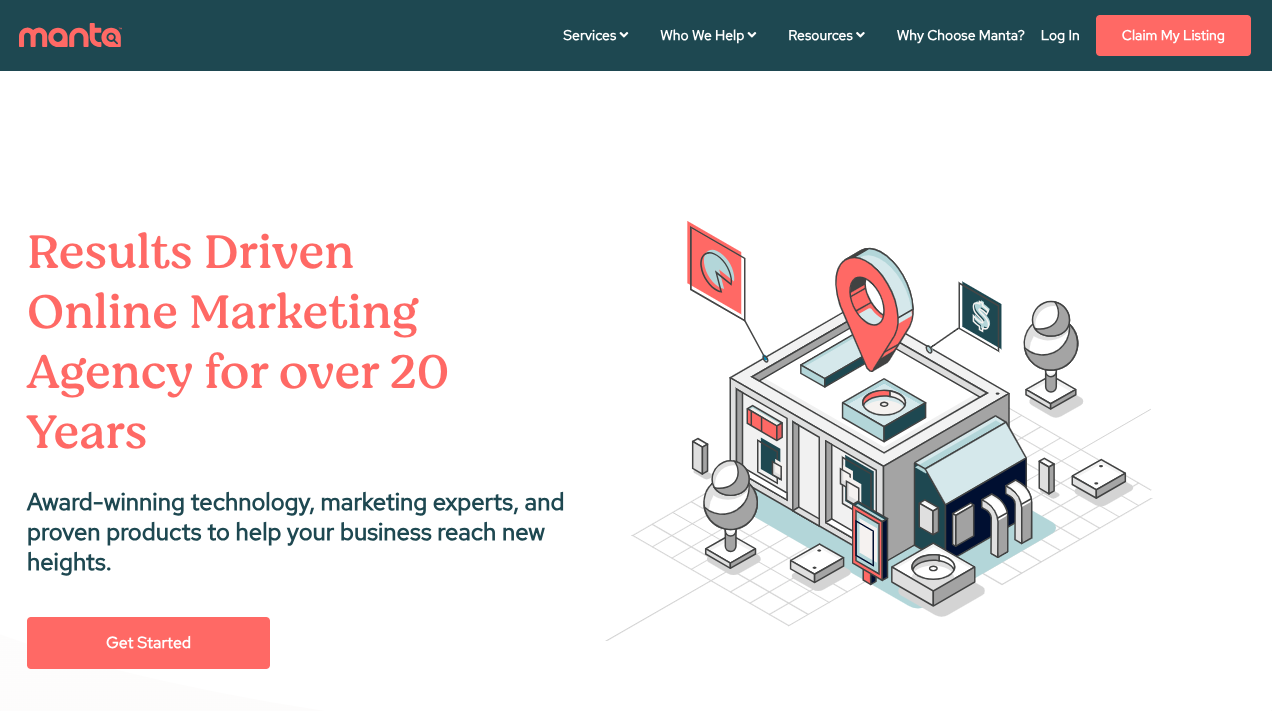
Next, click on "Log in" to create an account. Use your official Google account to make your profile.
After clicking "Log in," you will see options to create an account. You can sign in with Google, or you can sign up manually.
Step 2
After signing up, you will see this page. Now, you can add all the essential information about your business.
Fill in the information and click "Add my company" to go to the next step. Now, add your business phone number and website.
Enter your business phone number and website URL.
After adding the phone number and website, it's time to pick the business category that best matches your business.
Step 3

46
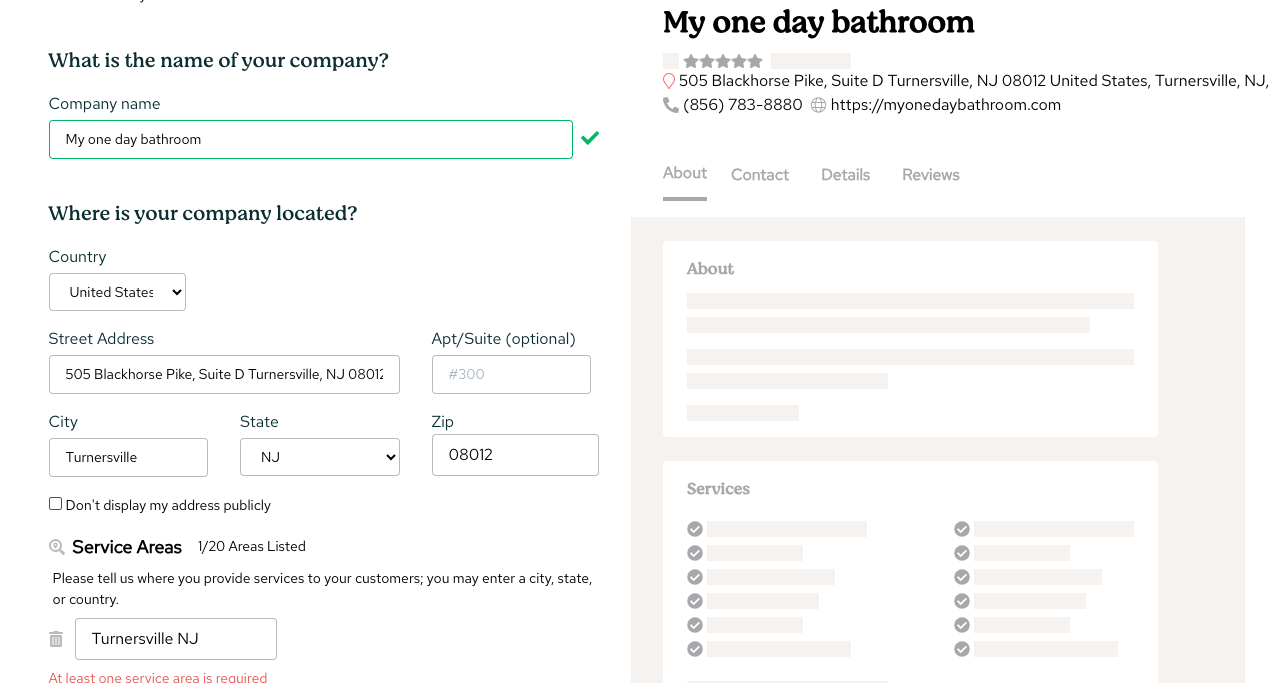
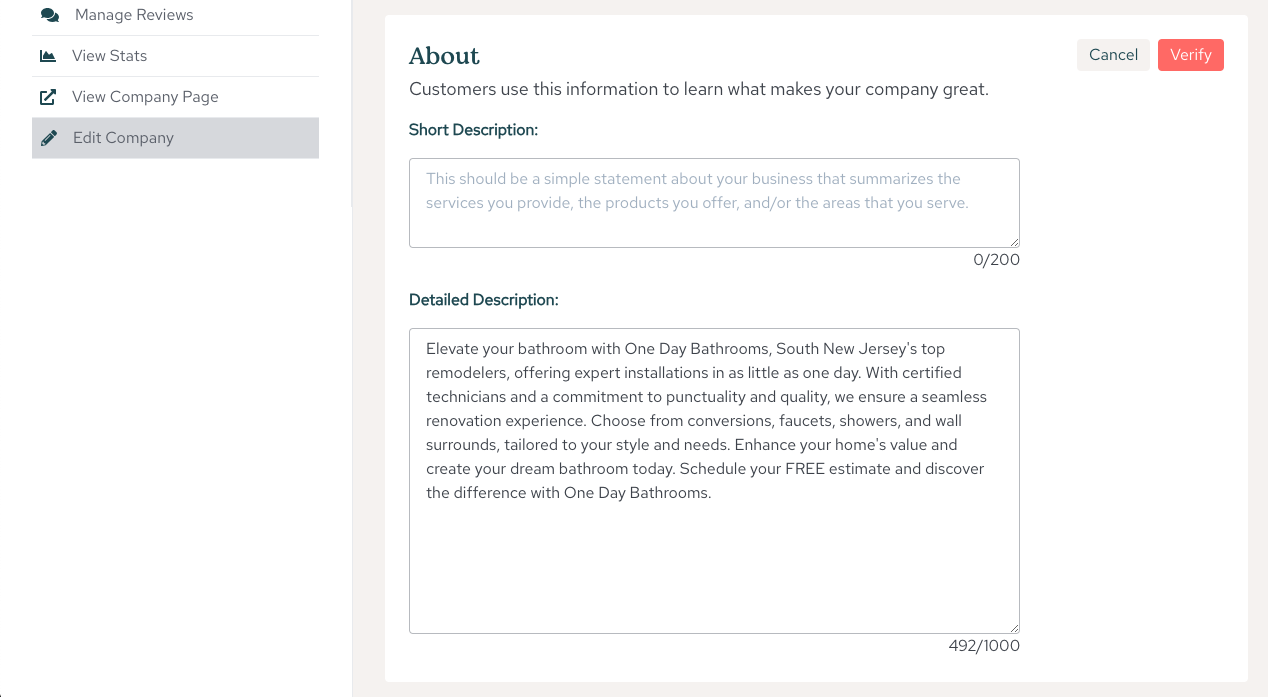
Once you've selected the right category, click "Continue" to move forward. This will take you to the dashboard where you can make your business listing look more professional. Click on "Edit Company" to add more details.
In the "Edit Company" section, you can add your business logo by clicking "Change" and uploading it from your computer.
Next, you can add a short description of your business (up to 200 characters) and a long description (up to 1000 characters). This will help people understand what your business is all about.
After adding your descriptions, list your services and products by clicking "Add a product."
Don't forget to add photos of your business. You can upload up to 20 images by clicking on "Add a photo."
To make your listing even better, add your business's social media profiles by clicking on "Edit."
Finally, make sure to add your business hours by clicking on "Edit." This step is crucial to complete your local business listing.
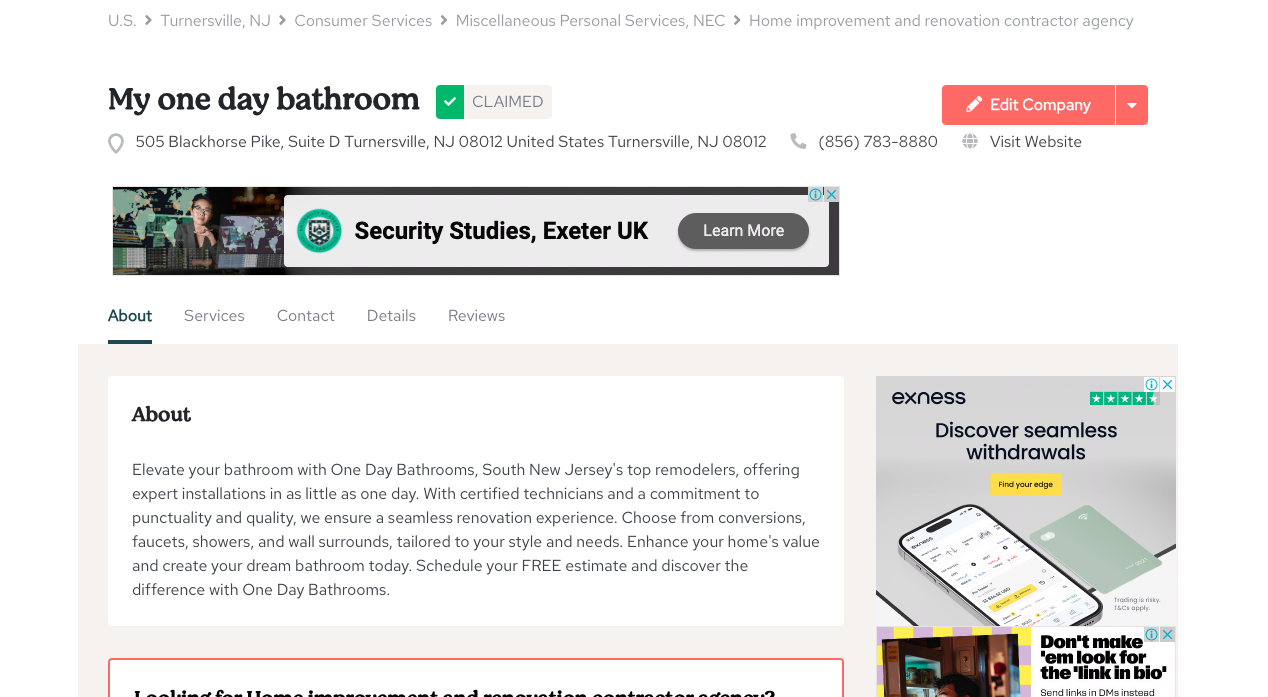
Following these steps will make your local business listing look detailed and professional, just like this example.

47

48
Images and description character limits in citations
Image Limits : Most citation sites allow up to 20 images. Check each site's guidelines.
Description Limits: Each site has a character limit for business descriptions, usually up to 1000 characters. Make sure your description is concise and informative.
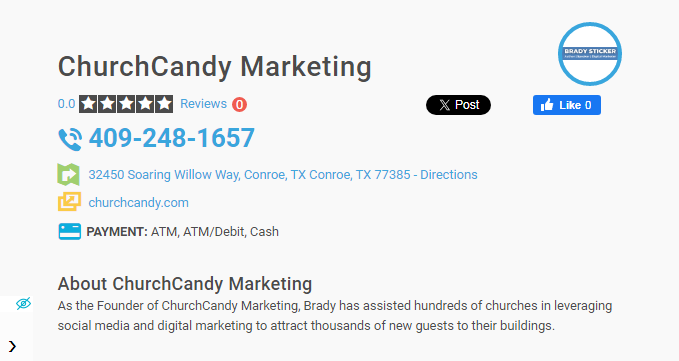
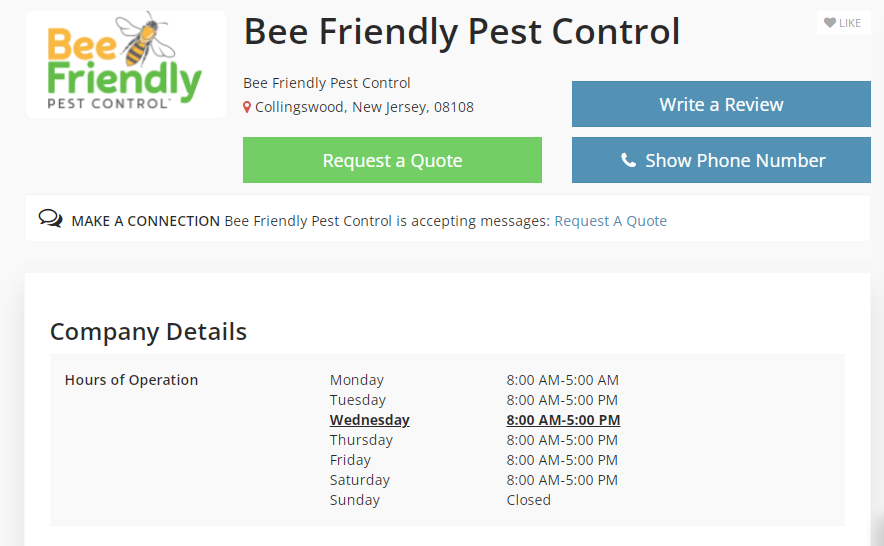
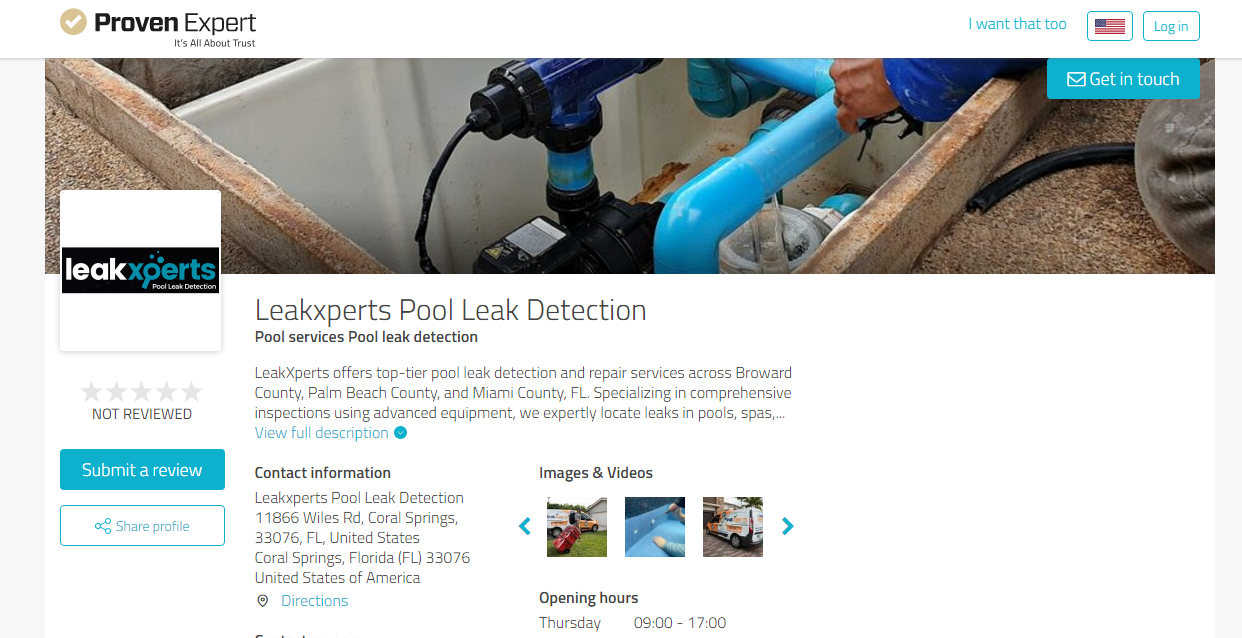
Here are some real examples of local citation

49


50

51
Creating more citations: Things to check
before creating citations on any website
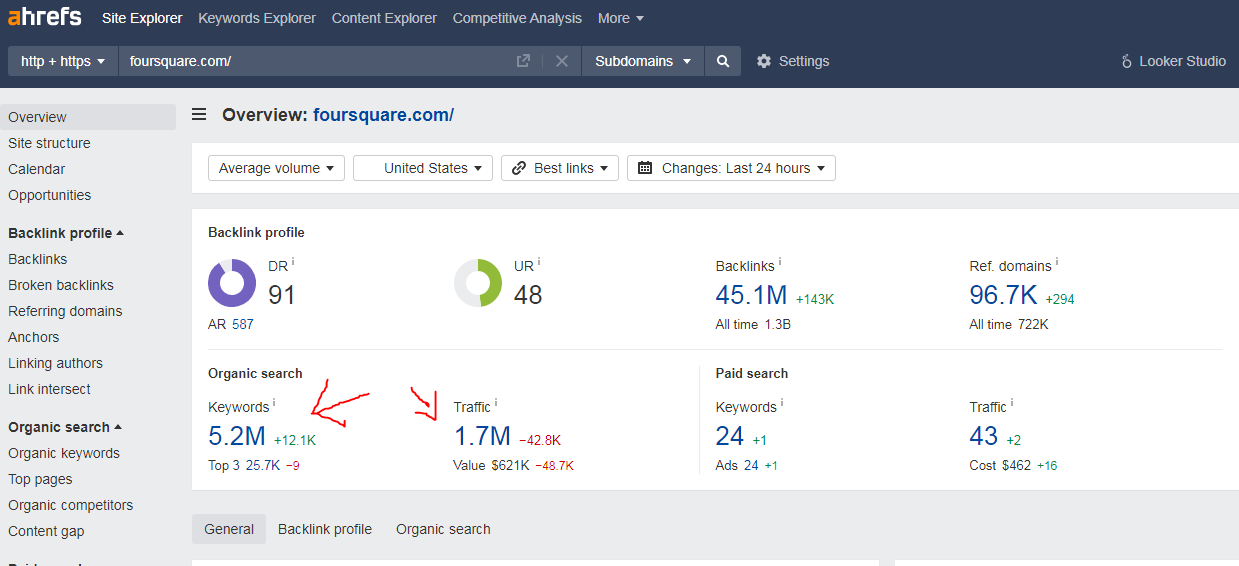
Before creating citations on additional directories, ensure they are reputable. Check their:
● Traffic
● Authority
● Ranking Keywords
How to check this?
To check this, you can use Ahrefs to evaluate the site's or directory's ranking keywords. The site should have ranking keywords and good traffic.
Do not create your citation solely based on metrics like Domain Authority (DA) or Domain Rating (DR). Many people manipulate these metrics by building spam links, and many Fiverr sellers offer these services. You must verify the site by checking its ranking keywords and traffic.
If a site is legitimate, it will have ranking keywords and organic traffic.
Remember, one good citation is better than a 1,000 spammy citations.

52
I've already provided step-by-step instructions for creating citations in our local citation guide.
Now, let's see how we can use Crunchbase, a high-authority website, to create a business profile for a personal entity.
Crunchbase: Process Checklist for Getting
Started
1. Register for a Crunchbase account.
Collect the requirements you will need to create the profile or company page from the client.
2. Create a Crunchbase profile.
Keep track of progress related to the content, including media requests, articles, news, events, company pages, uploaded content, and Content Factory progress. Submit daily updates.
Collect the necessary documentation from the client
To create a company profile on Crunchbase, have the following items ready:
● Company logo.
● Date of establishment (founded date).
● Links to the company's website and social media accounts.
● Concise and comprehensive company description, both short and long
versions.
● Location of headquarters.
● The industries the company operates in (3-5 industries are
recommended).
● Diversity Spotlight (relevant for US-based companies only).
● Details about the founders.

53
Create a Crunchbase profile
Step 1
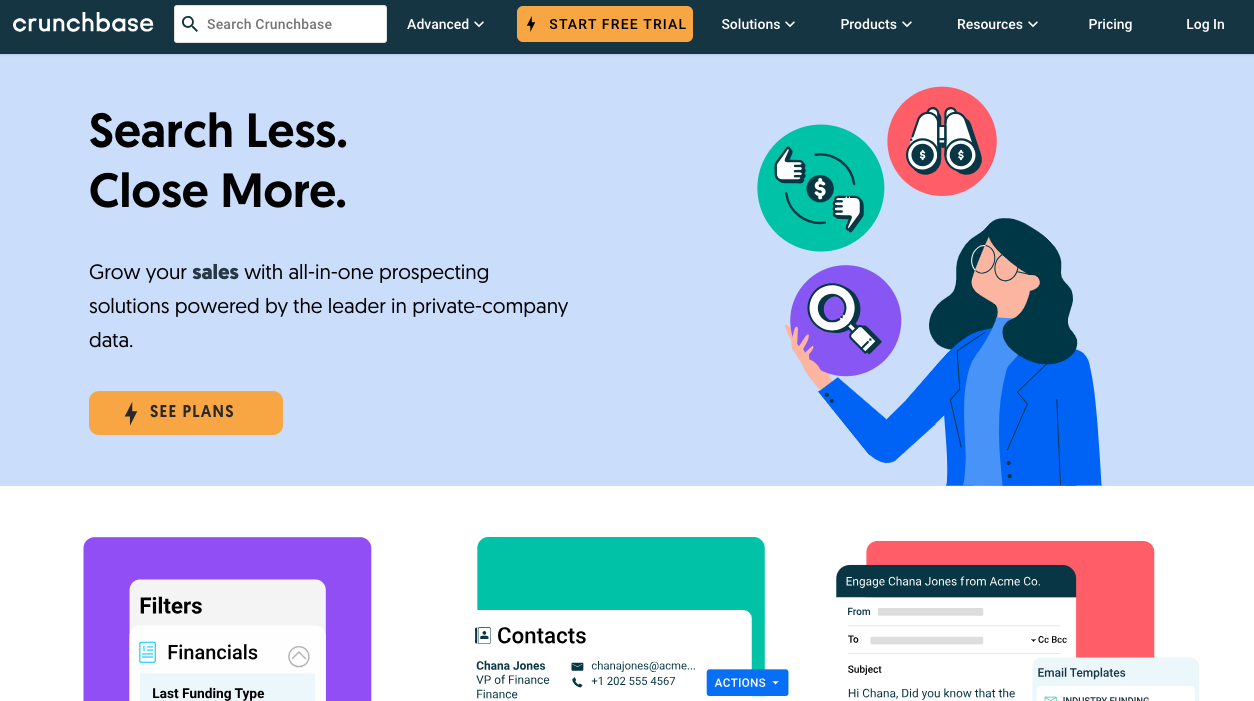
● Open the Crunchbase website in your browser.
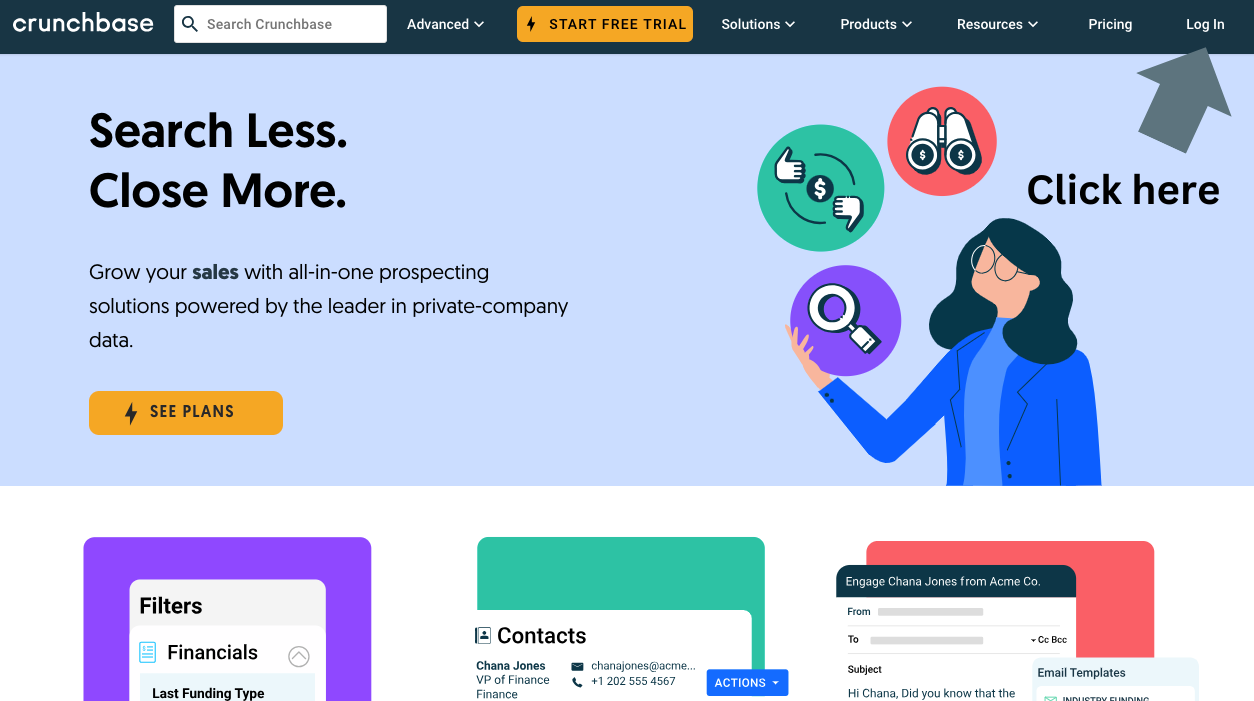
● You'll see an interface like this. Click on "Log in" to register your account.

54
Step 2
● After clicking on "Log in," you'll see this interface. Now, input all the essential
information to create an account.

55
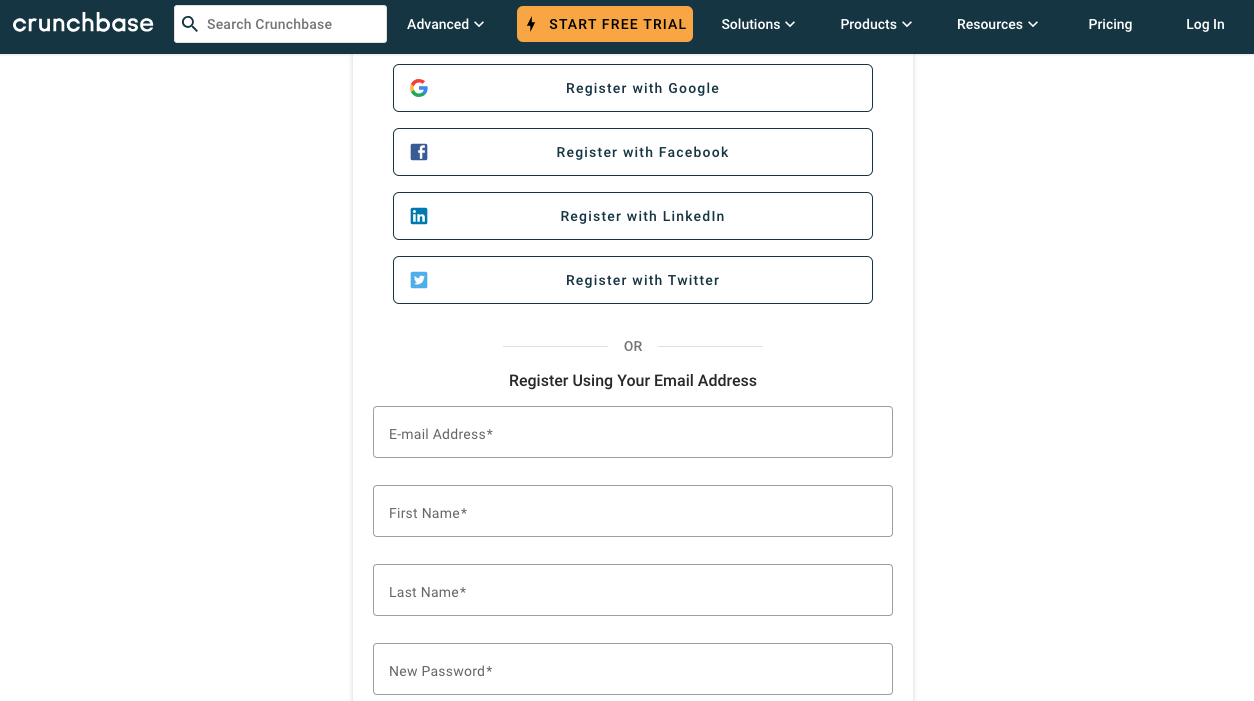
● You have two options to create the account: register with your Google account or
manually input all the information yourself.
Step 3
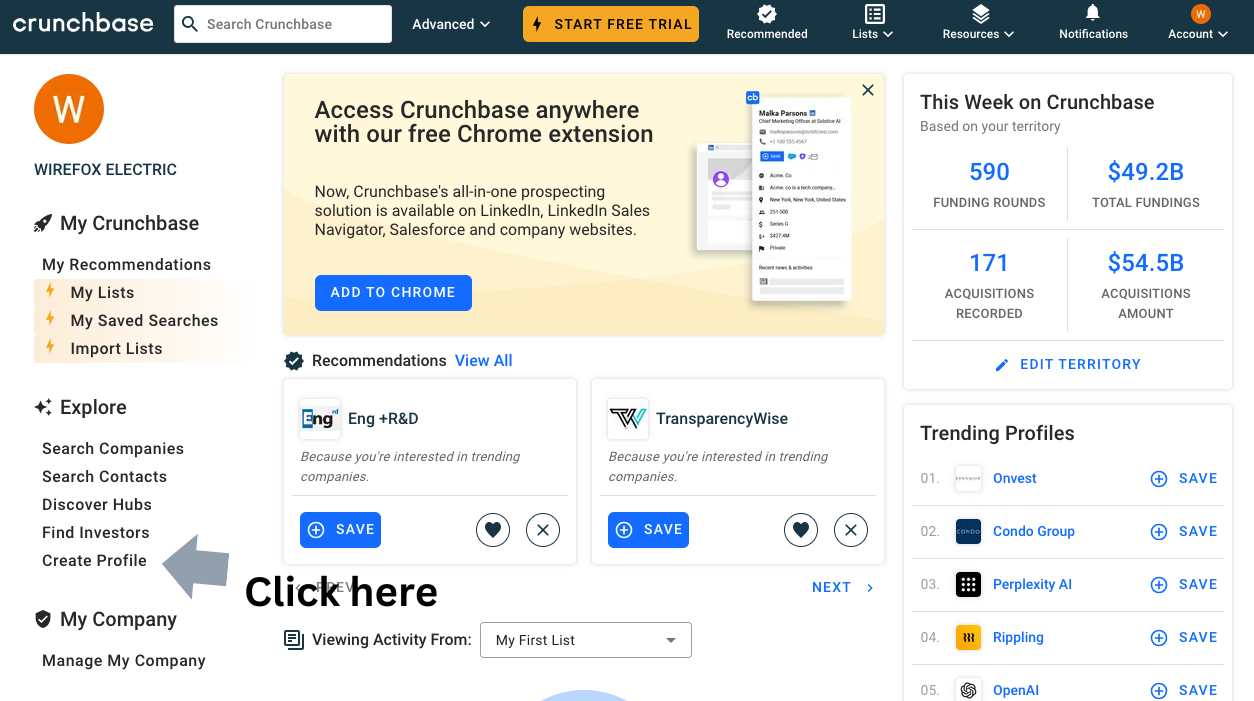
● After registering, you will be able to enter this interface. Now, you must click "Create
Profile" to proceed further.
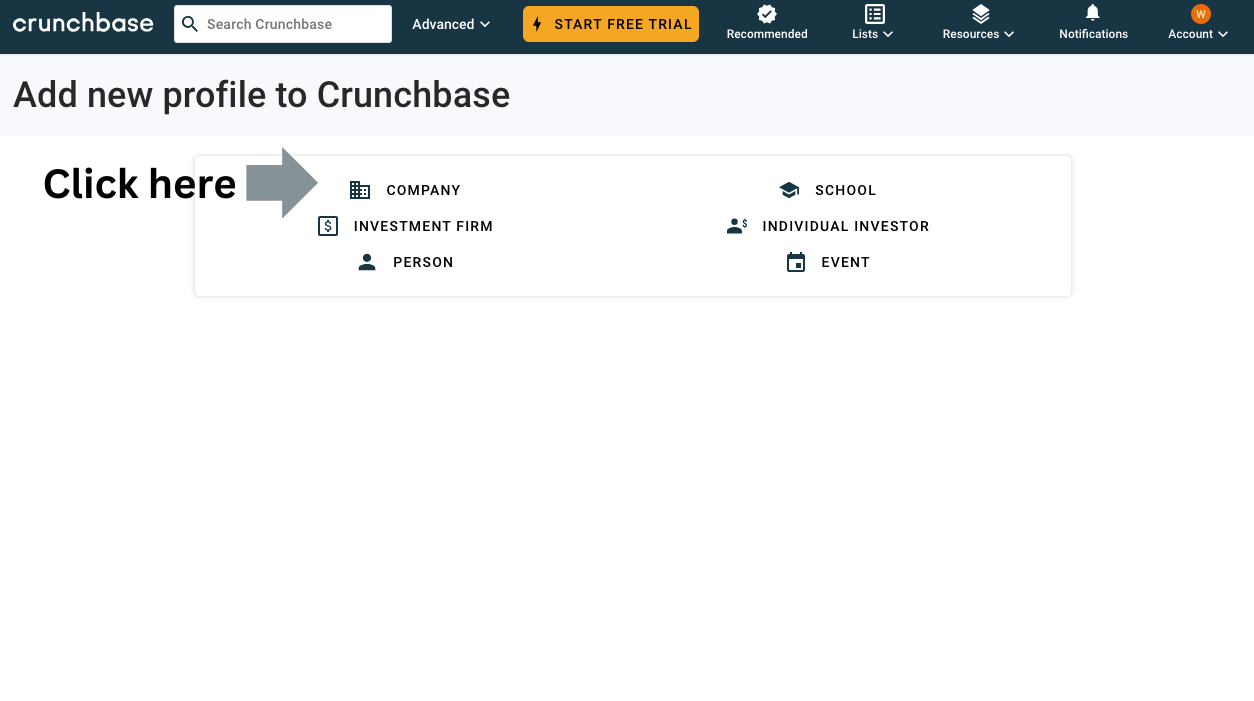
● After clicking on "Create Profile," you need to click on "Company" to create a
company profile.

56
Step 4
● After clicking "Company," you will see a company page where you must fill in and
input all the information related to your company.

57
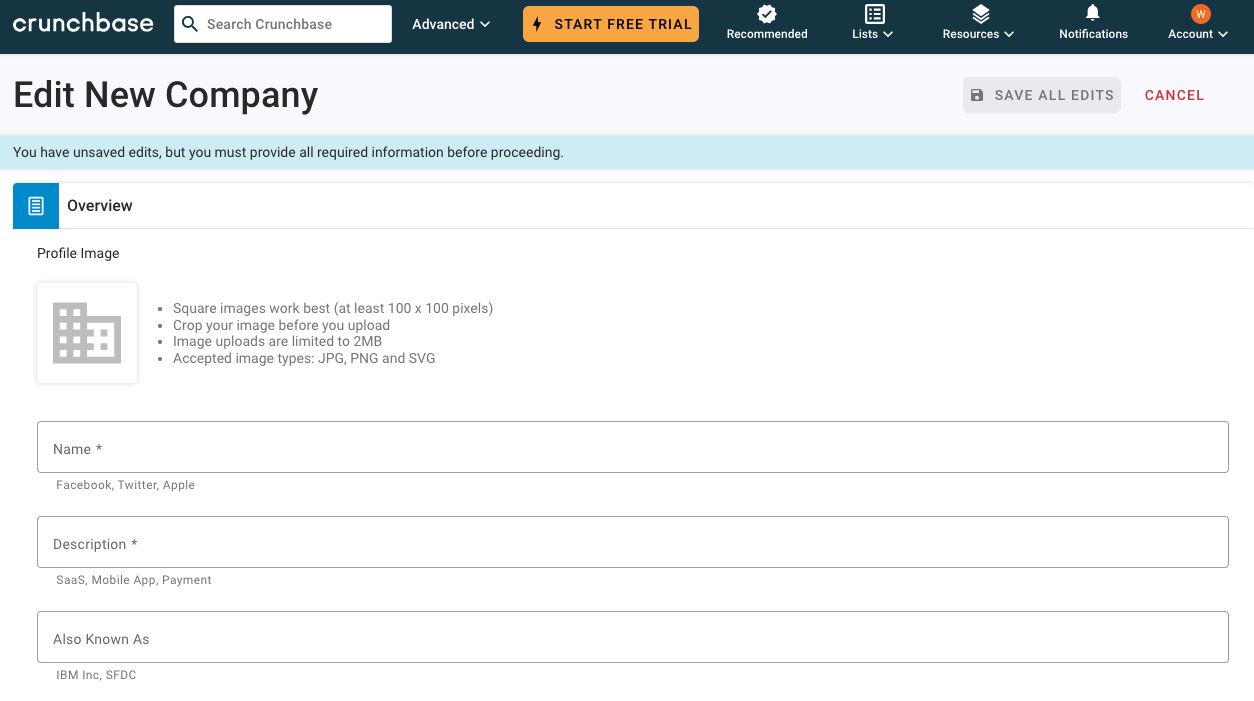
● After correctly filling in the information, you can see your company page on
Crunchbase and edit it.
Here is how you can easily make a personal branding entity. Just follow the steps below.
● We are using the About me website as an example to learn how to make a
personal branding entity.
Step 1
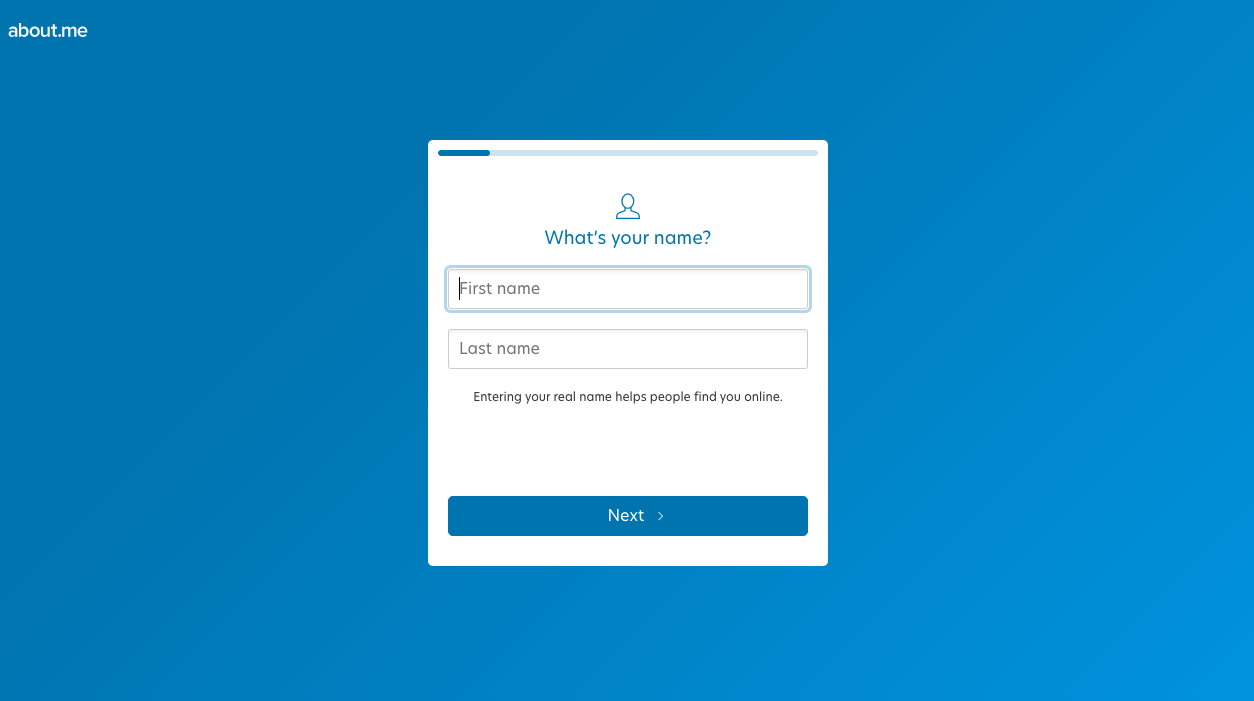
● After opening the about. me, you will be able to see this interface. To create
an account on about. me, you need to click on "Get your free page."
Step 2
● After following that step, you will be able to sign up for the website.
● Now, sign up using your email.
Step 3
● Now, fill in all the essential information with your full name, location, profile
picture, interests, and occupation.

58
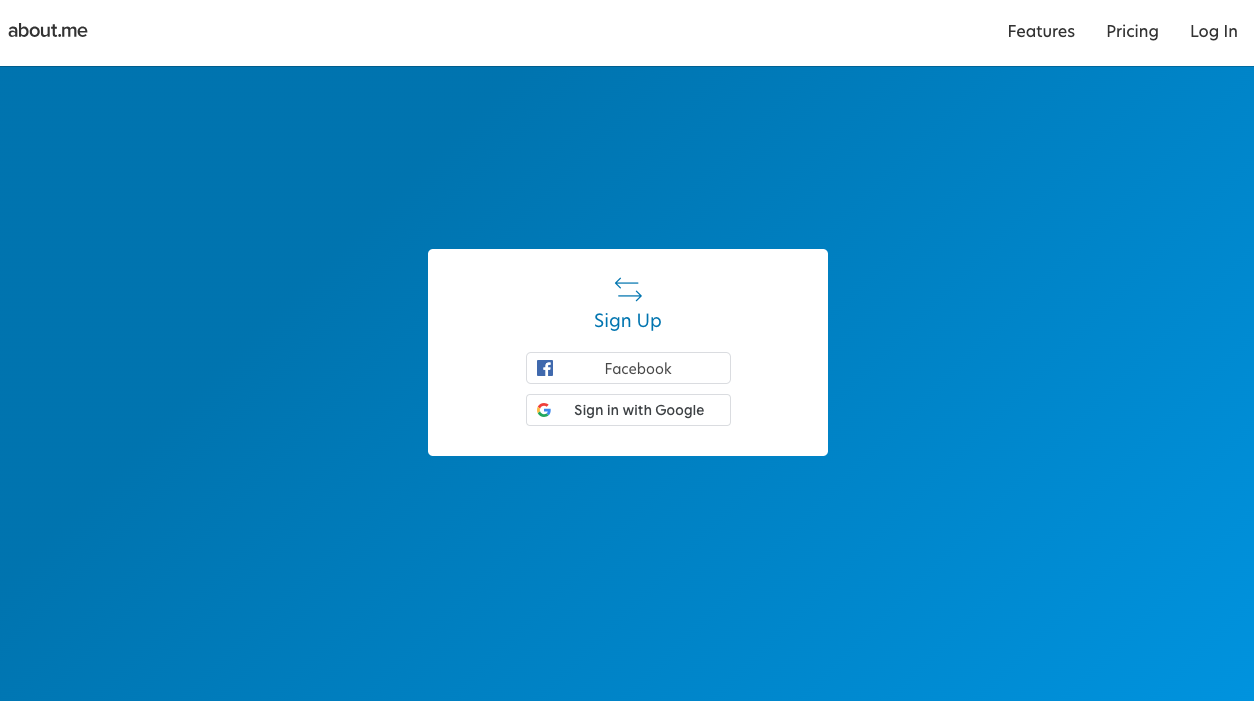
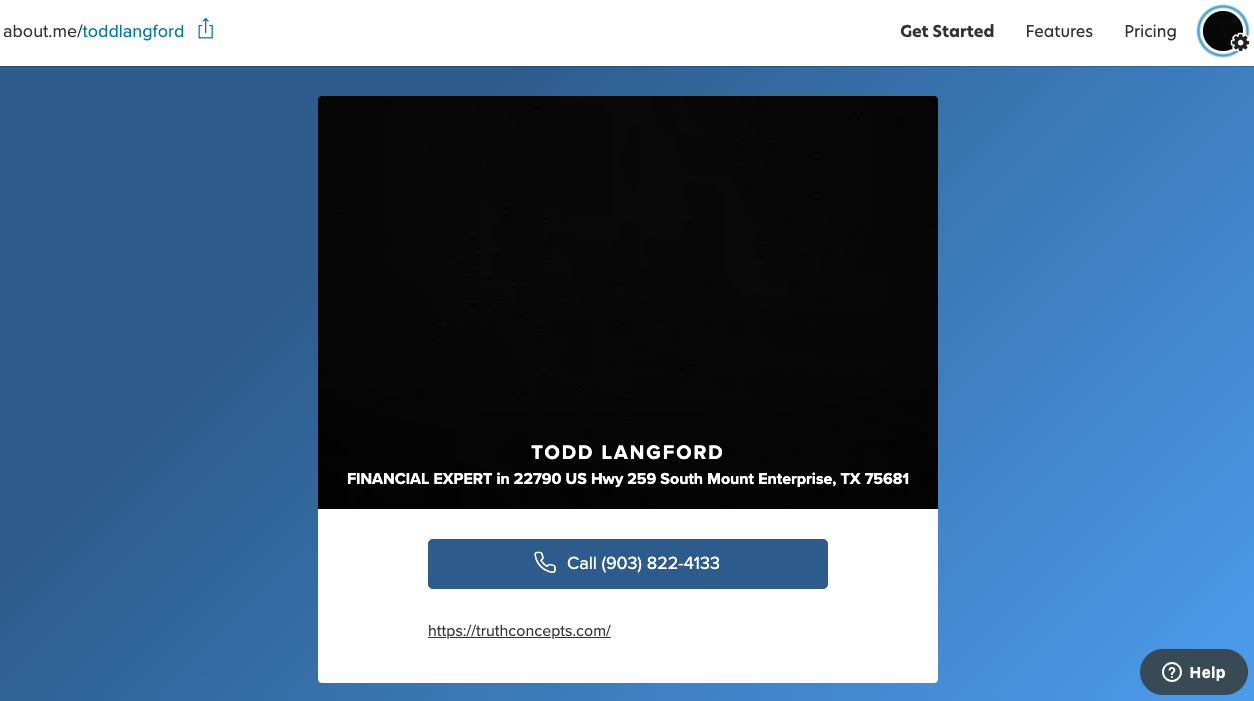
● Now, you will be able to see your brand entity page.

59