How-To-DIY Maintenance & Mods - A Guide to Maintaining and Modifying Your Honda Integra by Randolph Do - HTML preview
Download the book in PDF, ePub, Kindle for a complete version.
Step 1:
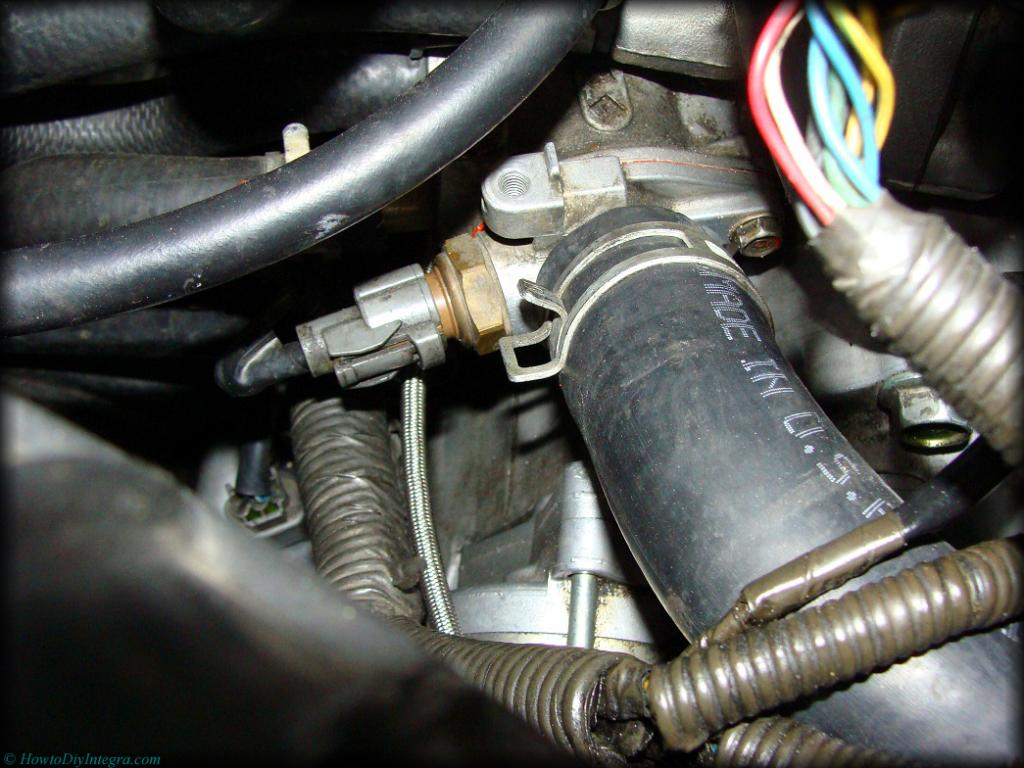
Locate the thermostat housing & unplug the ECT/fan switch plug. It is usually located beneath the intake arm and distributor. Unbolt the 10mm bolt holding the ground terminal.
Step 2:
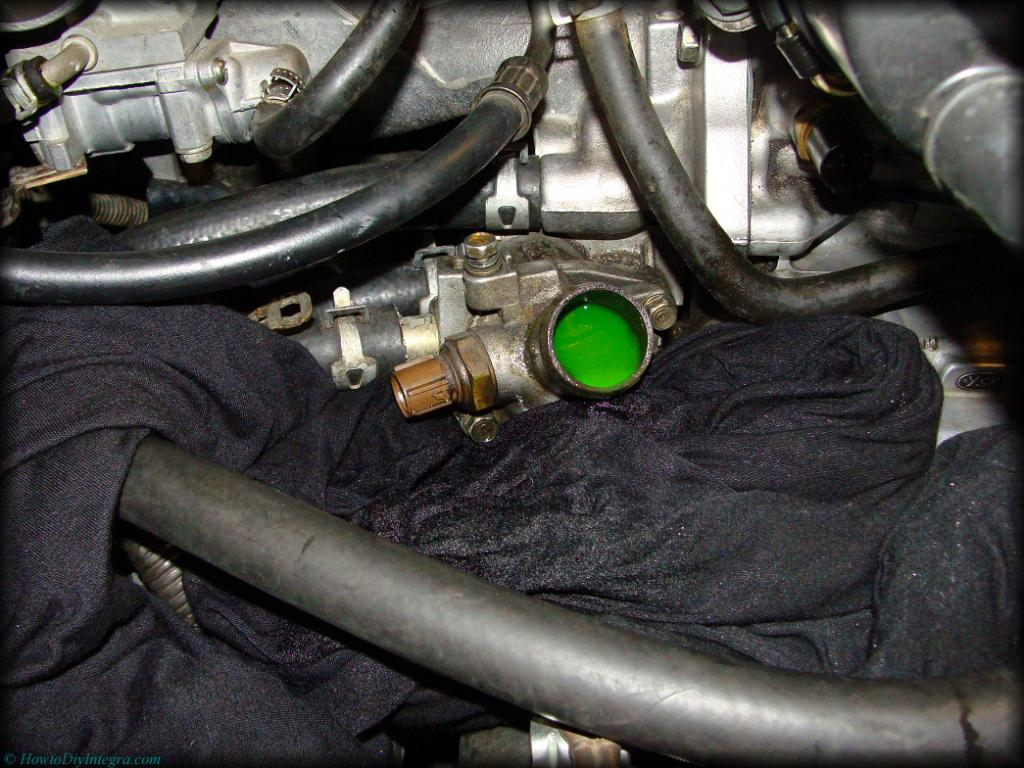
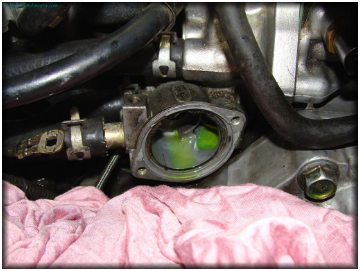
Remove the upper radiator hose from the thermostat housing. I recommend placing a towel underneath as a small amount of coolant will spill out.
Step 3:
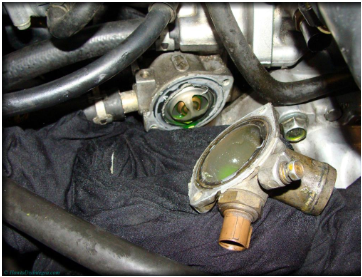
Remove the 2 x 10mm bolts and remove the thermostat cover. I recommend placing a towel underneath as a small amount of coolant will spill out.
Step 4:
Remove the old thermostat. Prepare the new thermostat with its proper rubber gasket. Here you can see the OEM thermostat on the left and a AutoZone generic brand on the right.
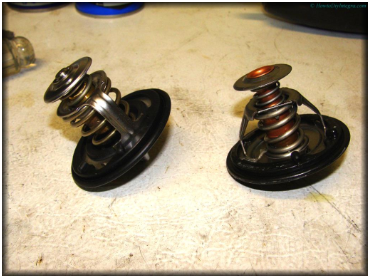
REMEMBER:
Install with pin up.
Step 4:
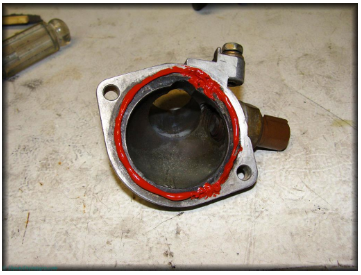
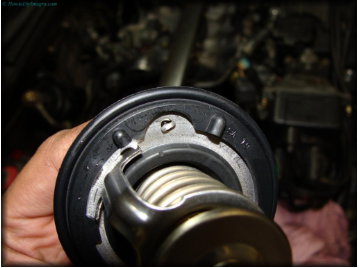
Clean the surface area & scuff off the leftover liquid gasket.
Step 5:
Place the new thermostat (pin up) inside the thermostat housing.
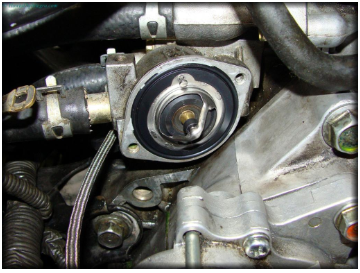
Step 6:
As a precaution, I recommend applying liquid gasket maker on the outer thermostat housing for a better seal to avoid leaking. Reinstall the two 10mm bolts with 12nm/8.7lb. Plug the ECT/fan switch & mount ground terminal.