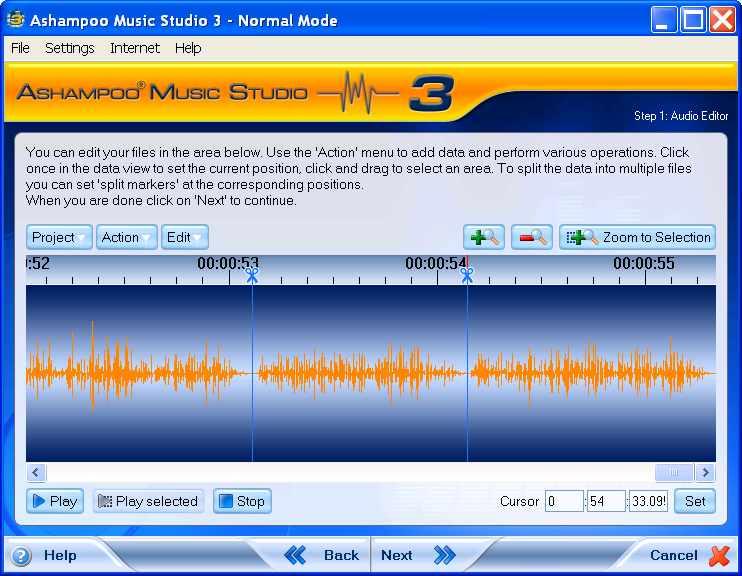
1. Click Next button (Fig 49) to start up the process.
2. In the overdrive dialog window, click Yes (Fig 50) to check for overdrive in your file (read what it says before clicking yes – if you think the sound is ok, then select no. It won’t hurt to click yes).
 1
11
2
2
 Figure 50
3. Overdrive check will commence (Fig 51).
 3
3Figure 51
4. If everything is ok you should receive a window prompt asking you to click OK (Fig 52). 5. Click OK (Fig 52).
 5
5Figure 52
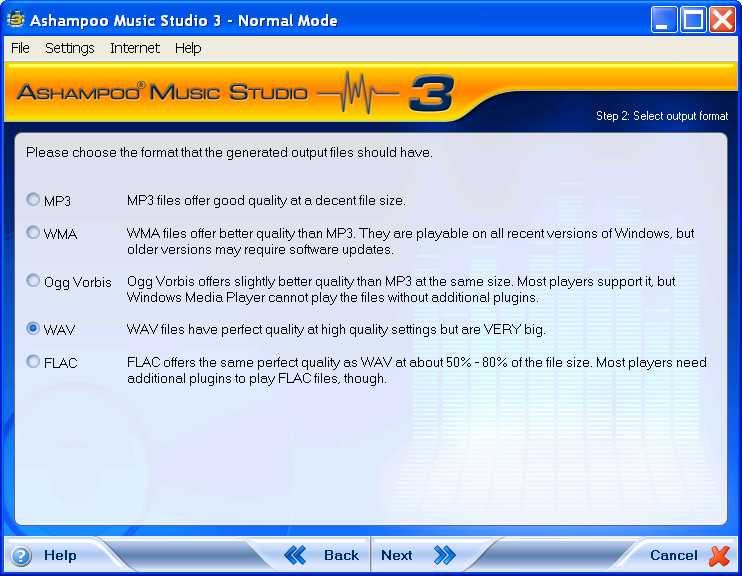
6. Select Wav in the next screen option dialog window (Fig 53).
6
 7
7 Figure 53
7. Click Next button (Fig 53).
8 8
 99
99Figure 54
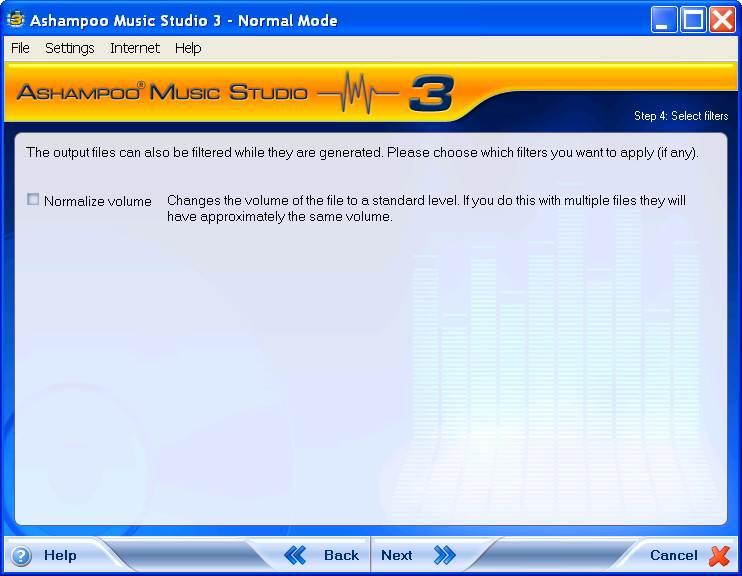
10. In the next screen you can choose to normalize all track volumes to be the same level. I have not selected this option (Fig 55). You can if you prefer and test the effect afterward.
10 10
 11
1111
Figure 55
11. Click Next (Fig 55).
12. In the next screen type track in the output file name box (Fig 56). Track names can be altered anytime.
13. Click desktop option where indicated (Fig 56).
14. In the desktop area box, type TempMusic (Fig 56) to store the tracks.
15. Click Next (Fig 56).
12
14 14
13
13
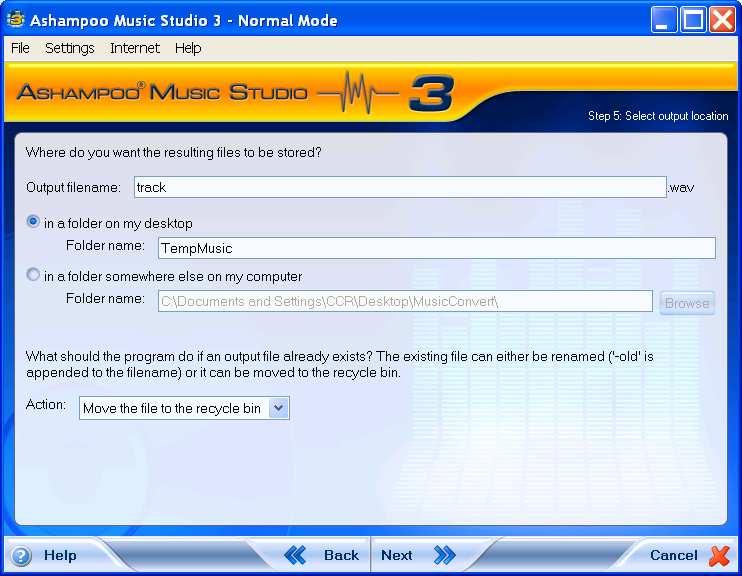 15
1515
Figure 56
16. Before clicking Start in the final screen, check the files created, format and output quality, where indicated (Fig 57).
16
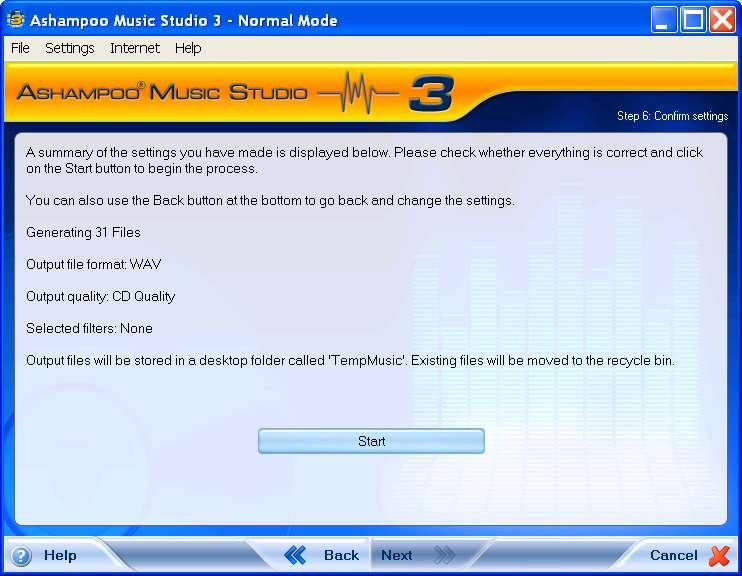
17
17. If you are happy with the settings, then click Start (Fig 57) to begin and wait patiently. 18. The process should look like the following screen (Fig 58).
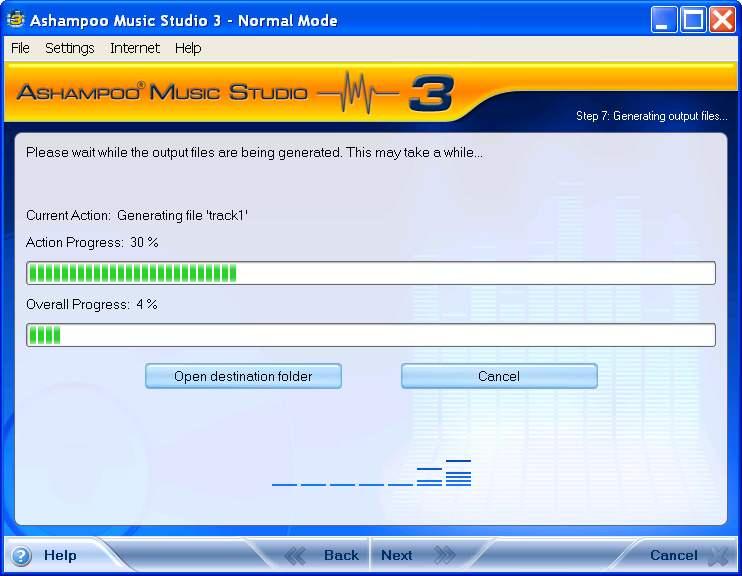 18
18Figure 58
19.If all goes well, you should get a ‘No errors’ message where indicated (Fig 59) in the summary box.
Figure 60
19 20
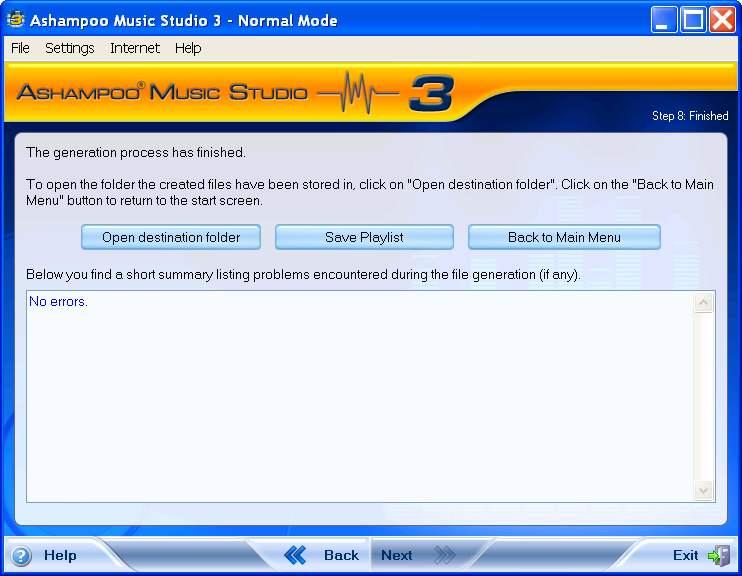 20. Click Open destination folder button to view the tracks created (Fig 59). 21.The name ‘track’ is appended with the number 0 to 30 (31 files/tracks). See figure 60.
22.
22 21
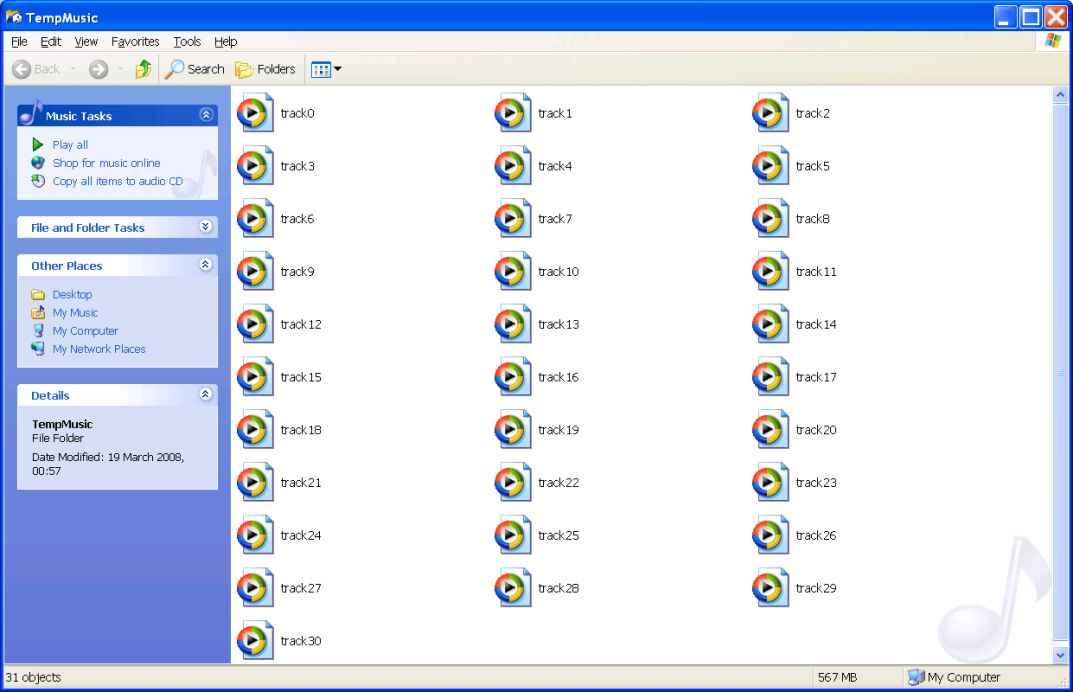 Figure 60
22 Minimize the window for now (Fig 60).
23. Conversion is complete. Click the Exit button to close the application altogether (Fig 61).
 23 Figure 61