Editing allows you to remove unwanted bits from a file such as an incomplete track. In this section you will
· create a temporary folder to store a file copy
· re-open Music Studio 3 application
· examine the track area for the file editing
· insert the file created from your tape music
1. Create a folder on your desktop call TempMusic.
2. Make a copy of the music file.
3. Place the copy into TempMusic folder (just in case anything happen to the original).
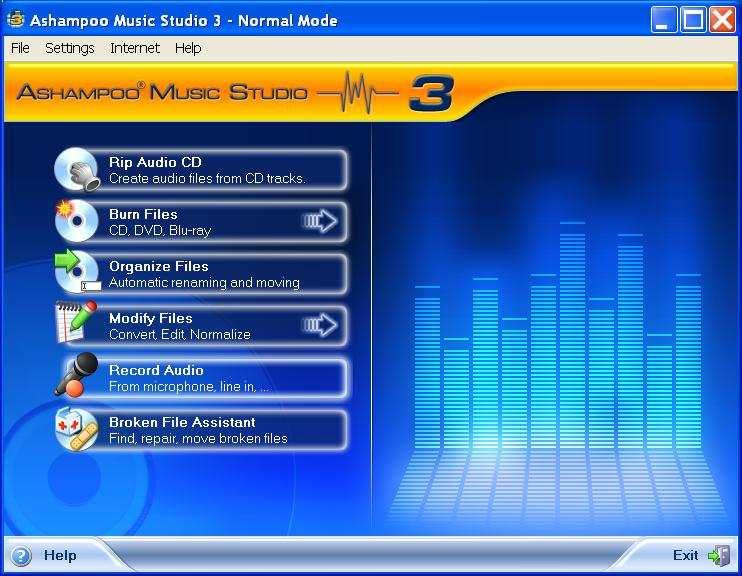
4. Re-open Ashampoo Music Studio.
5. Click Modify Files bar (Fig 22) where indicated.
 55
55Figure 22
We are going to cut and mix the file. You will learn how to shorten gaps between two tracks and insert a track marker in this section.
6. Click Edit Files option (Fig 23) where indicated.
 6
6Figure 23
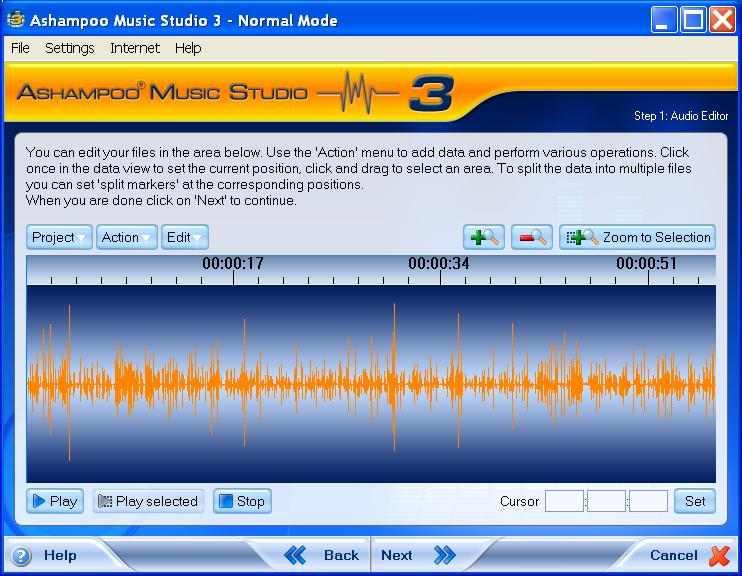
7. Your screen display should be similar to the one below (Fig 24).
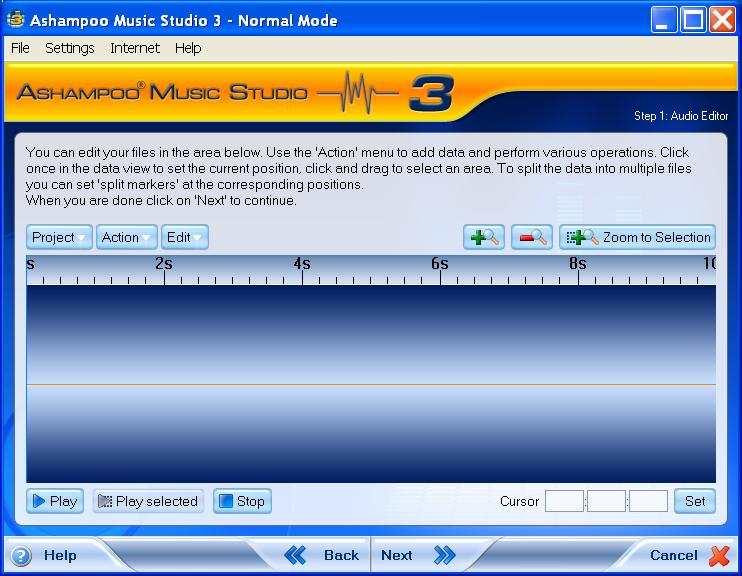
7 8. Read the following sub-pointers (ak) while examining the screen interface (Fig 25). a. The blue area of the screen is where you are going to insert the music file. b. Any files which appear in this are will look similar to a sine wave.
c. This is the area where you will insert track markers in order to test and re-test a song or
track within the file.
d. The Zoom plus (my definition) button allow you to magnify the screen to see more of
the gap between tracks in a file.
e. The Zoom minus button allows you to zoom back to normal screen when you’ve edited
a track in Zoom plus view.
f. The Zoom to Selection button allows you to select (highlight) an area and magnify the
screen in that area in order to see the gaps more clearly.
g. The Play selected button allows you to play a select area in the file– an area that is
highlighted by you.
h. The Play button allows you to play through the file. You can insert and edit tracks
whilst play commences. Play will continue until you click Stop.
i. The Edit button allows you to cut or delete unwanted areas in a file.
j. The Action button is used to insert music file into the blue area.
k. The Stop button stops the file playing and return play marker to position it started from.
8d8e8f
Figure 258k8h 8g
Let’s get started by inserting the file.
9. To insert the file, click the Action button (Fig 26).
10. Click Insert File in the drop down window (Fig26).
10
10
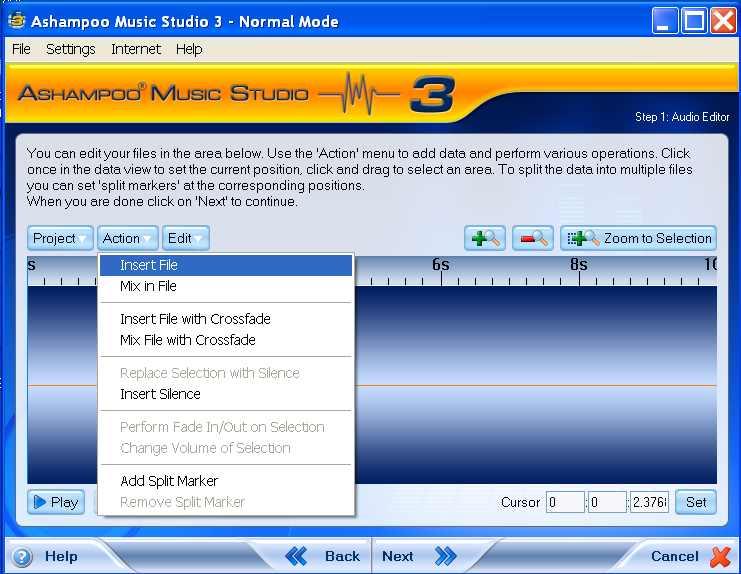 Figure 26
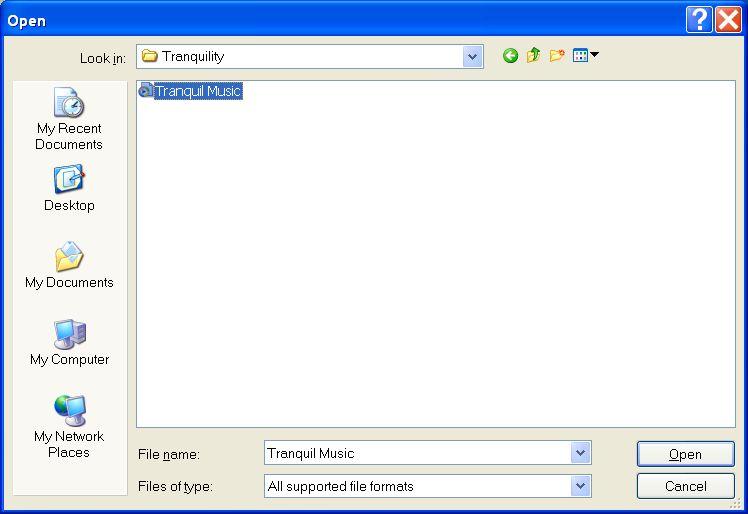
11. Click Desktop button (Fig 27).
12. Select the file within the folder that you created recently (Fig 27).
13. Click the Open button (Fig 27).
11 11
 13 14. Wait until the file appears within the blue editing area– it resembles a sine wav screen or there about (Fig 28).
 14
14Figure 28
15. The dark area of the waves is the actual music (Fig 29) and it shows the volume level. The higher the waves the louder the volume. The wider the width of the waves means the track length is long. Don’t quote me on this – you should do your own experiment when you have mastered the technique that I am showing you in this tutorial.
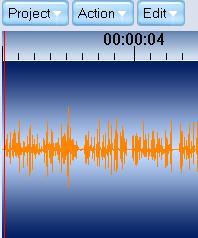 15
1516. The flattened area of the wave (Fig 30) indicates that the music has ended. Somewhere along this line a track marker can be inserted. You will learn how to do so in the next section.
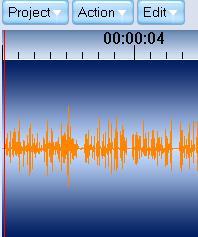 16
16Figure 30
17. Exit the application program from the file menu. Do not save changes if it asks you to do so.