1. Popup Box Message
 Allows you to customize the popup message that appears when a visitor browses your web page.
 2. Subscriptions Collector Email Address
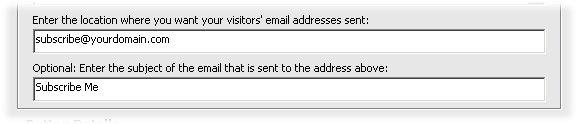 You can define any email address used by MagicSubscriber to send subscription emails.
 Note: If you change the email address where you want to receive subscription emails, you must re-generate the script code using MagicSubscriber and update the corresponding web pages that use it.
3. Email Subject
This option allows you to customize the Subject portion of the email that is sent as a subscription request to your target email address. For example, you may want to filter out email addresses that are only for subscription. By default, MagicSubscriber generates a code that makes all subscription emails come with a subject line: Subscribe Me. If you use Microsoft Outlook Express, and use a POP3 email address to collect the email addresses, you can apply a message rule on your incoming emails and have all emails that come in with this subject line moved to a specific folder. To apply such rules in your email client application, check if it supports message rules and follow the instructions in the Help provided with the application.

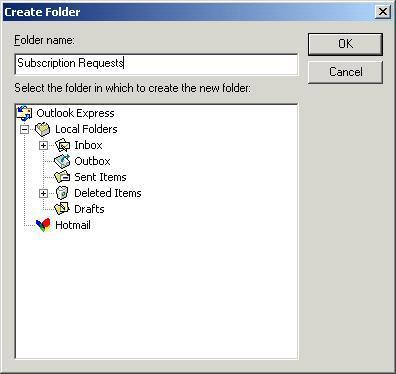
Right click on the Local Folders in your Outlook Express Folders list and select New Folder.
The newly created folder appears in the Local Folders list
Type in the name of the folder you want to collect email addresses in. Then press OK

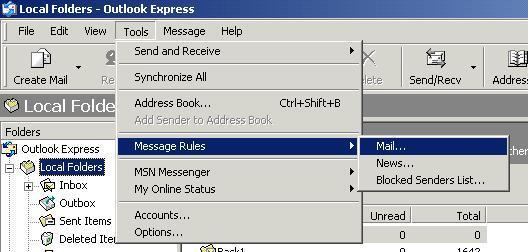
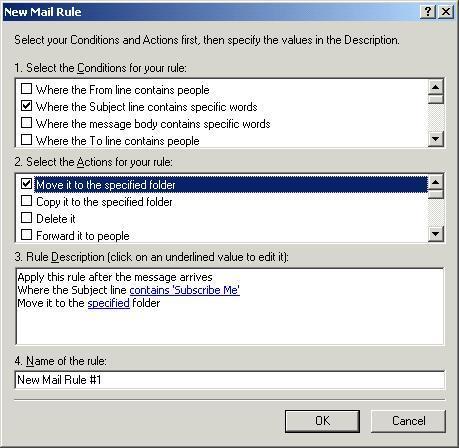
Now from the Tools Menu, select Message Rules and then Mail Select the rule “Where the Subject line contains specific words”.
Then click on the link named ‘contains specific words’ as shown here.

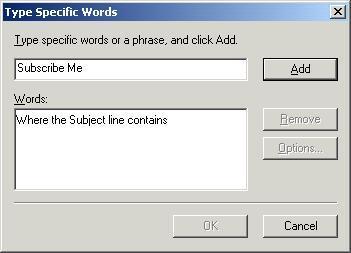
Type in the words EXACTLY as you have entered in
MagicSubscriber for generating the script code. The default words used by MagicSubscriber are: Subscribe Me. Then press Add. Now select the filter action ‘Move it to the specified folder’.
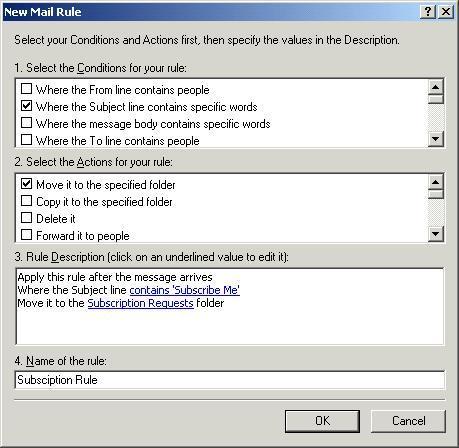
Type in a name for the rule you have just created and press OK.

Select the folder you have just created from the folders list and press OK.
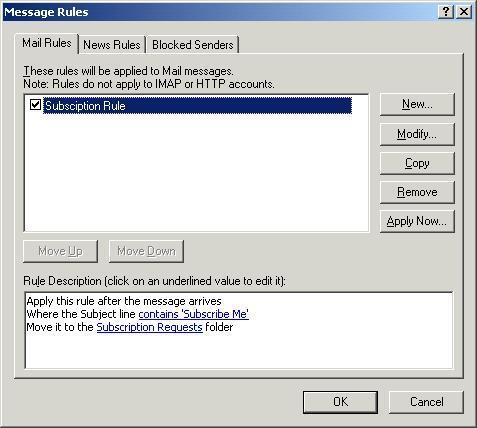
The newly created rule appears in the Mail Rules list. Make sure it is selected in order for it to work on new incoming email. All email with the subject Subscribe Me from any email address will now be directed to the Subscription Requests folder in your Microsoft Outlook Express.
 For more information, check the user help in your email client application.
 4. Web Page Button Details

This option lets you modify the text and colors of the subscription button that will appear on the subscription web page. This is done via an inline CSS code that is generated along with the popup code. To choose from many different colors click the ‘,,,’ button next to the ‘Default Color’ or ‘Color on mouse over’ field.

This will open up the Window standard color picker for you to choose a color. When you click OK, its corresponding HEX code can be visible in the relevant field and you are done.
Generating code with ‘Default Color’ as White and ‘Color on mouse over’ as Orange will give you the following effect:

A button would appear on your webpage that would be white in
color.
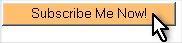
When you move your mouse cursor over it, The button changes its color to orange.
5. Popup Box Frequency

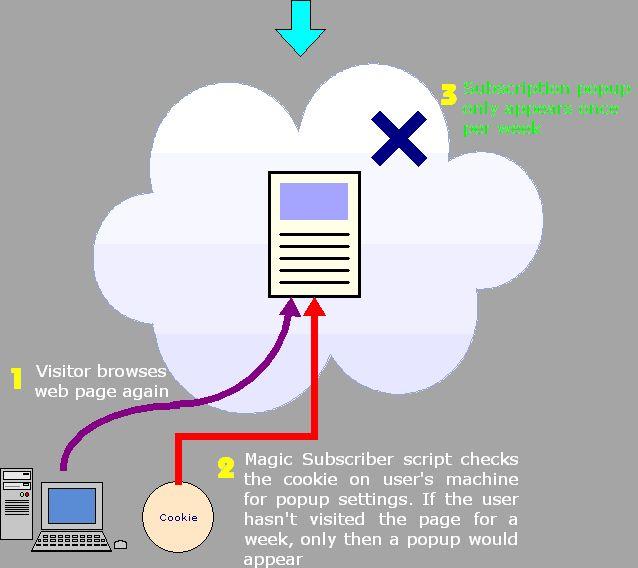
This option can enforce the frequency of the popup message that comes up on the web page. This feature relies on browser cookies to set the popup frequency at client-side. Whenever a visitor browses the subscription web page, a cookie is set on the visitor’s computer that is checked on all subsequent visits for the same visitor.
Frequency options include: Having the subscription message popup once per visit whenever a regular visitor browses your web pages, or setting the popup message to be displayed every time or weekly, and enabling the message to spring up after a little delay once the web page is opened up. As seen, the delay is setup in terms of seconds.
Example :
Let’s say we generate a popup script from MagicSubscriber with the setting of Popup Box Frequency to Weekly, and embed the generated code into an HTML webpage. If a new visitor browses the web page containing the script, a cookie is set on the user’s machine so that whenever he/she comes to that page again, the script checks to see if a week has past since the last visit and a popup appears accordingly. If it has been less than a week, then no popup appears. This option becomes handy if you want to keep your site with minimum popups for your regular visitors.

 6. Popup Box Trigger

This option enables you to define exactly when to open up the popup box. It includes setting the popup box to open on entry to the web page or on exit from the web page or both.
Setting the popup box to ‘On Entry’ will generate a code to spring up the popup box whenever the web page is opened.Setting the option to ‘On Exit’ will open up the popup box when the visitor chooses to close the window or moves off the web page to another web page in the same browser window.
Both actions are performed by setting the option to ‘Both Entry and Exit’.7. Script Code Generator
 The two buttons here provide the actual functionality of creating or viewing a sample of the popup message box that would appear on a web page.
 You can view the preview of the popup message box via ‘Preview Box’. This will generate a temporary web page with the message box you will end up with after setting the different options.
The ‘Generate Code’ button can be used to create the actual popup script- all custom-made - using your option settings.
8. Header Code
 This area provides the script you need to put in the header area of your HTML web page. All you need to do is:
 1. Open the HTML code for the web page you want to have the popup message box attached to;
2. Click on the ‘Copy Code’ button on the right;
3. Right click anywhere in the area between <HEAD> and </HEAD> tags in your HTML page and simply Paste the copied script into that area.
The <HEAD> and </HEAD> tags are found at the topmost section of any HTML page.

This is the code for the Subscription button to appear on your web page. You need to Copy it and then Paste anywhere inside the HTML code of your web page. The button will appear on your page where you insert the code in its HTML.
10. Script Activation Code

This code is required to be put in the <body> tag. Again, simply click on the ‘Copy Code’ button then right click and paste it in your HTML file, replacing the <body> tag with the newly generated one.
For Advanced users, notice that it actually inserts:onload:javascript:JS_Confirm();
into the <body> tag. So, if your <body> tag contains more than just <body>, then you just need to add the above code inside your <body> tag.